Pomodoro Solder Kit - Assembly Guide
On this page, we'll guide you step-by-step on how to assemble your Pomodoro Solder Kit. Let's go!
10k Ohm Resistors
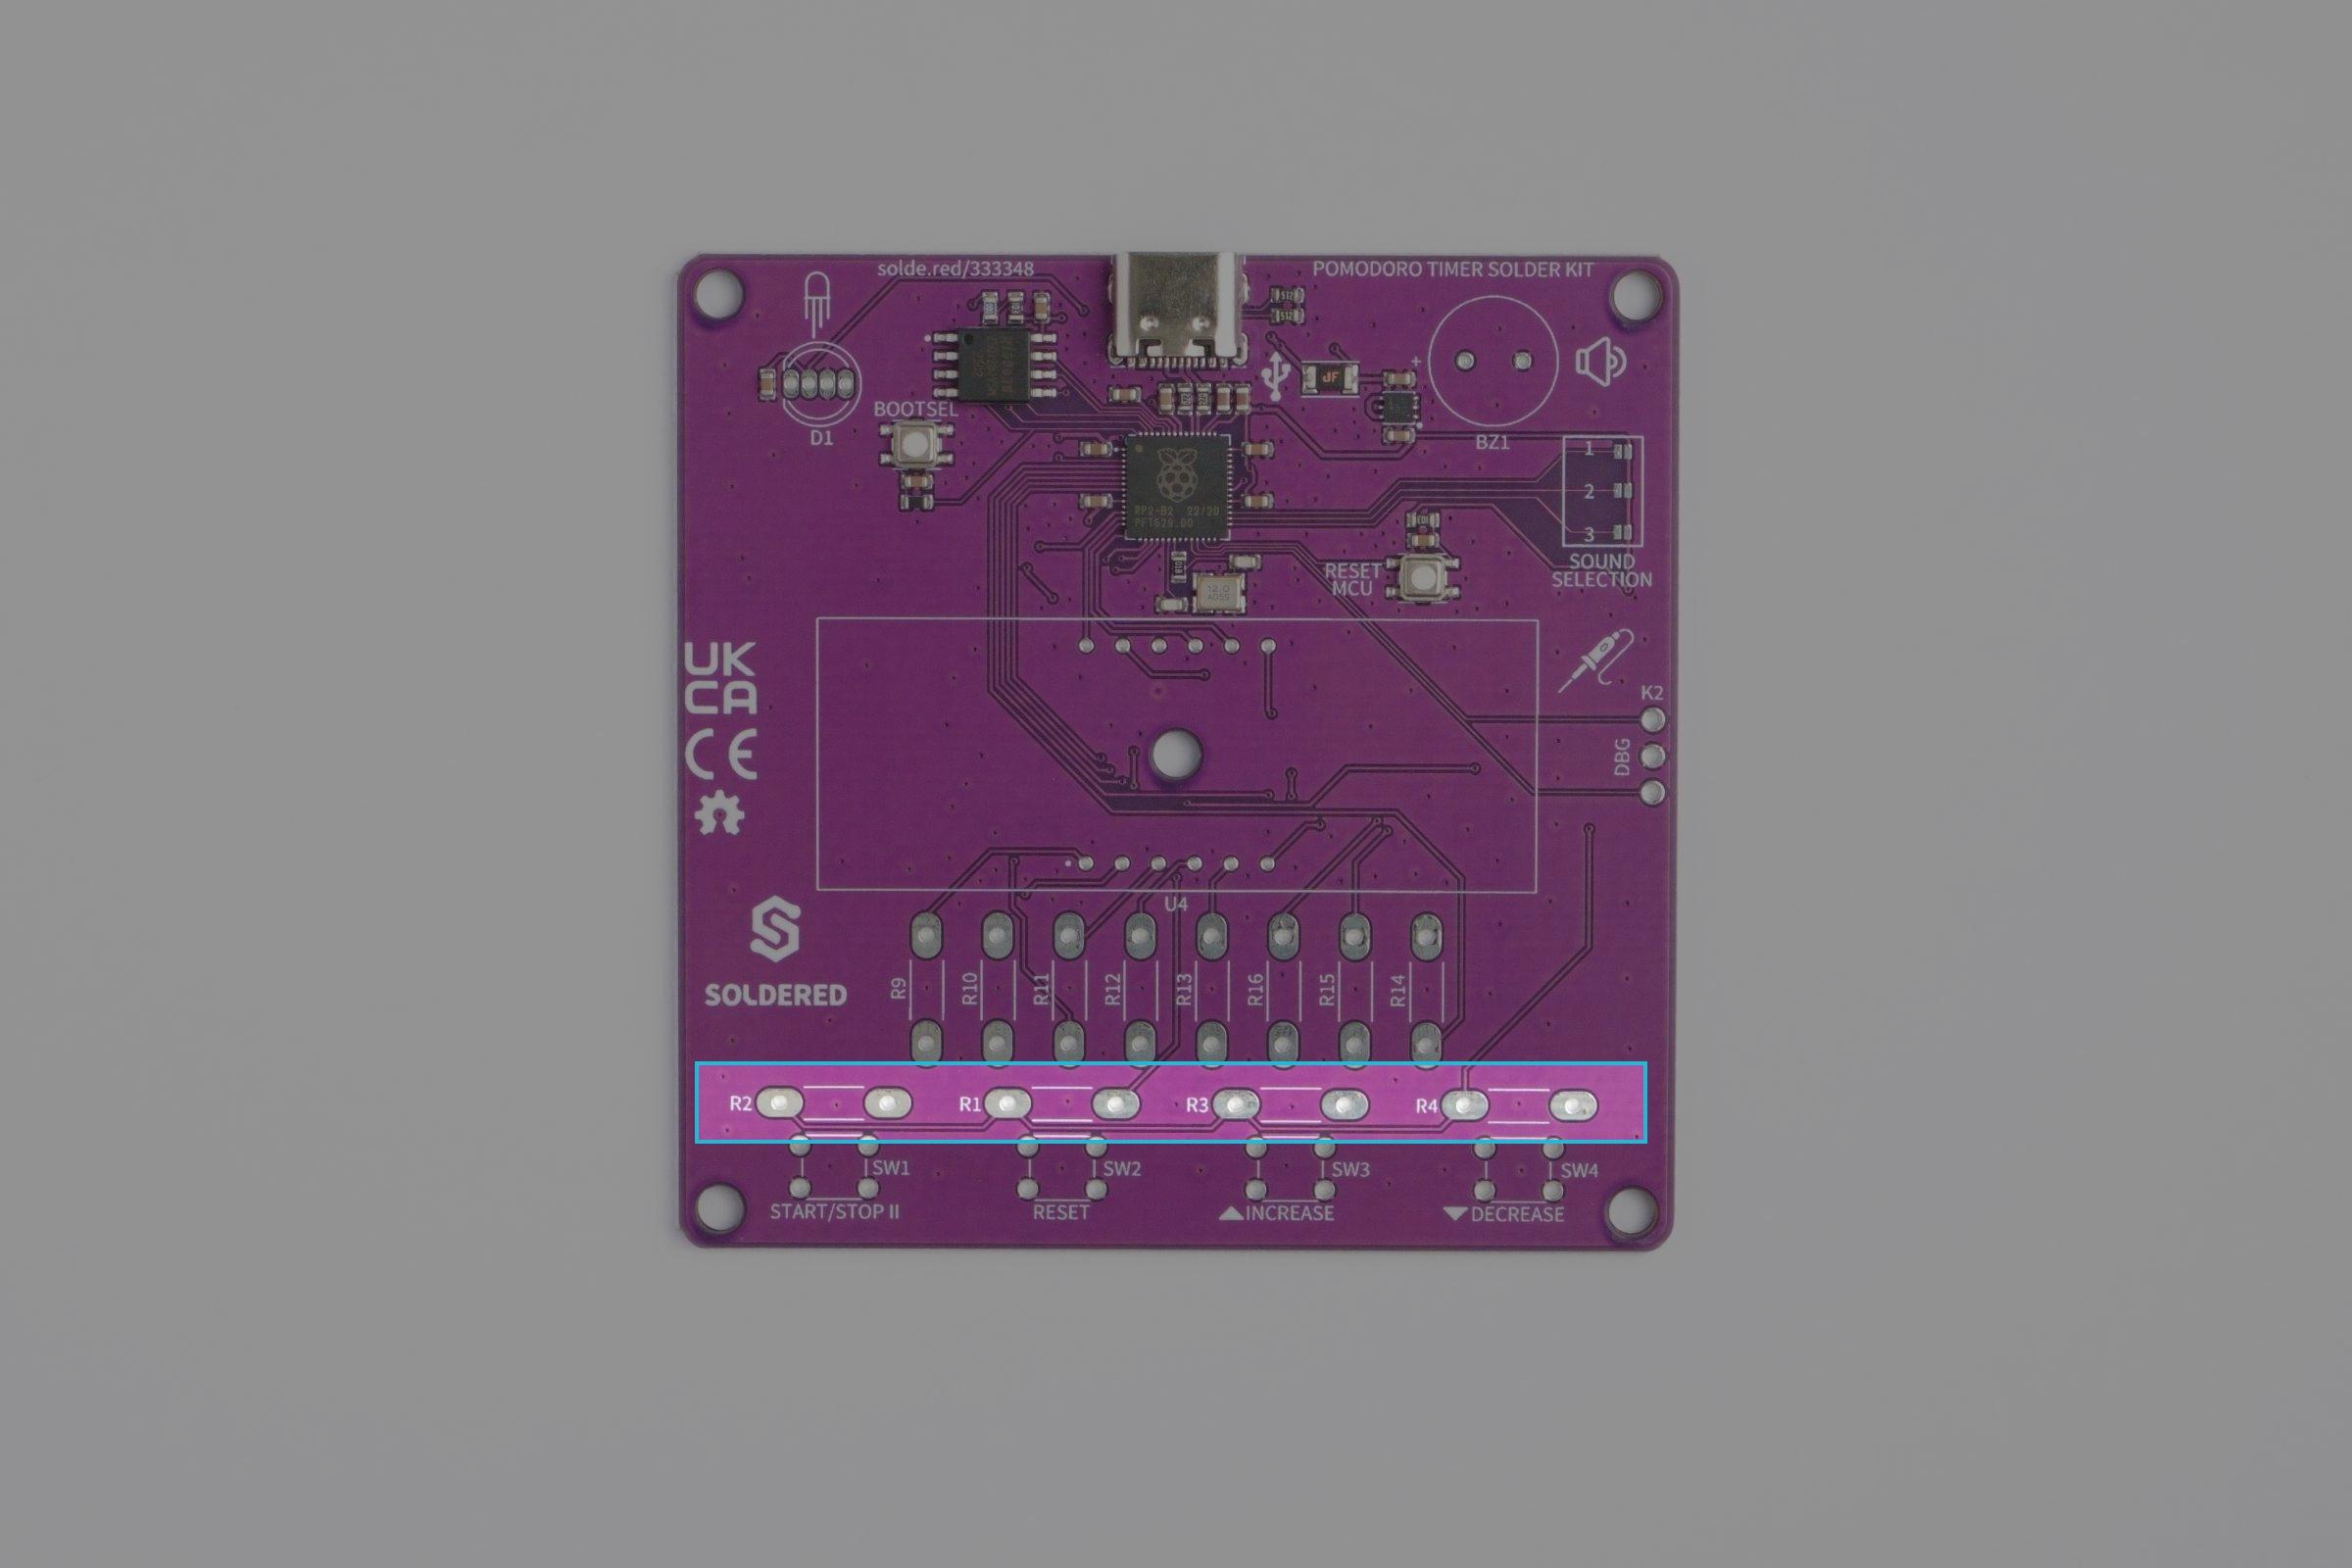
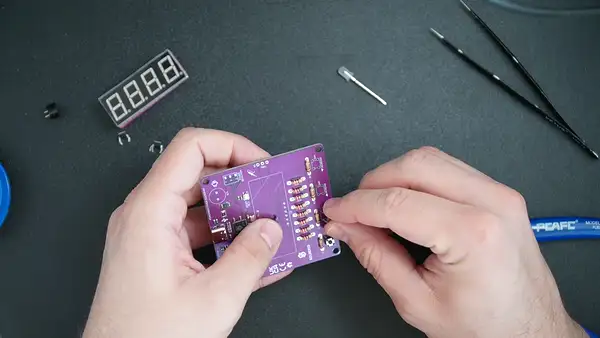
Let's start by soldering the 4 10k ohm resistors which are used as pull-ups for the user buttons. They are easy to spot in your package because they will come in a pack of 4, this is the color code of a 10k ohm resistor:

Here's where they need to be Soldered, R1, R2, R3 and R4:
First, bend the resistor leads in a 'U' shape so that it fits into the through-holes and place it in one of the four resistor locations.
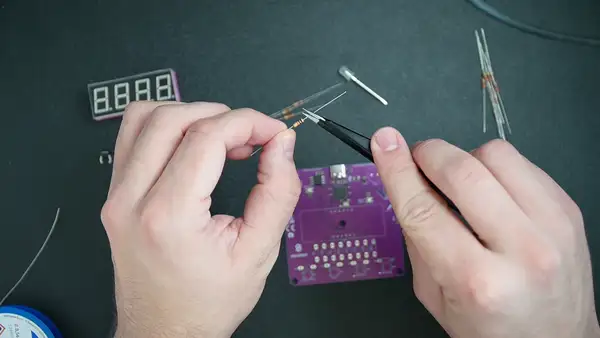
Now, bend the leads on the other side so that the component stays in place!
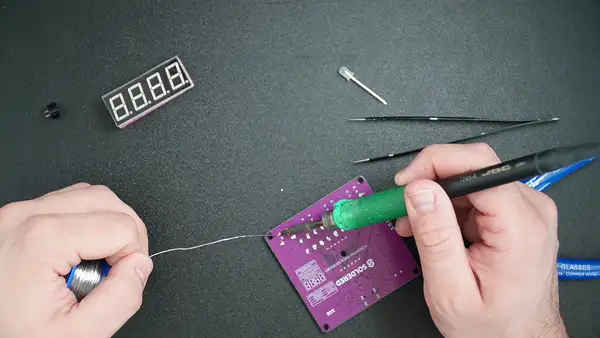
Now, solder away!

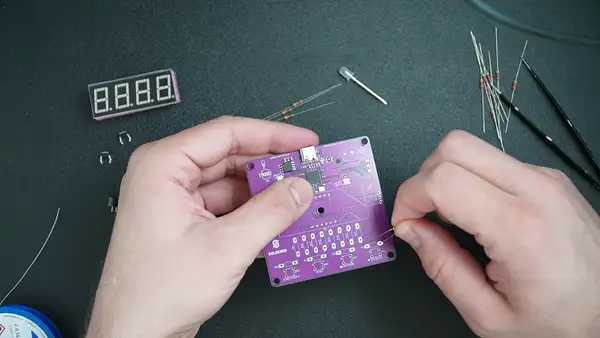
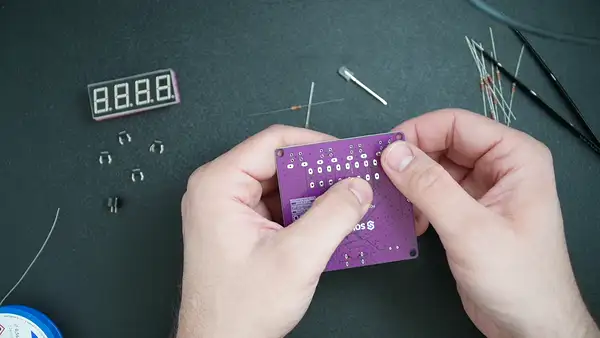
Now, we can remove the extra lead on the other side with some wire cutters, ensuring a clean finish.
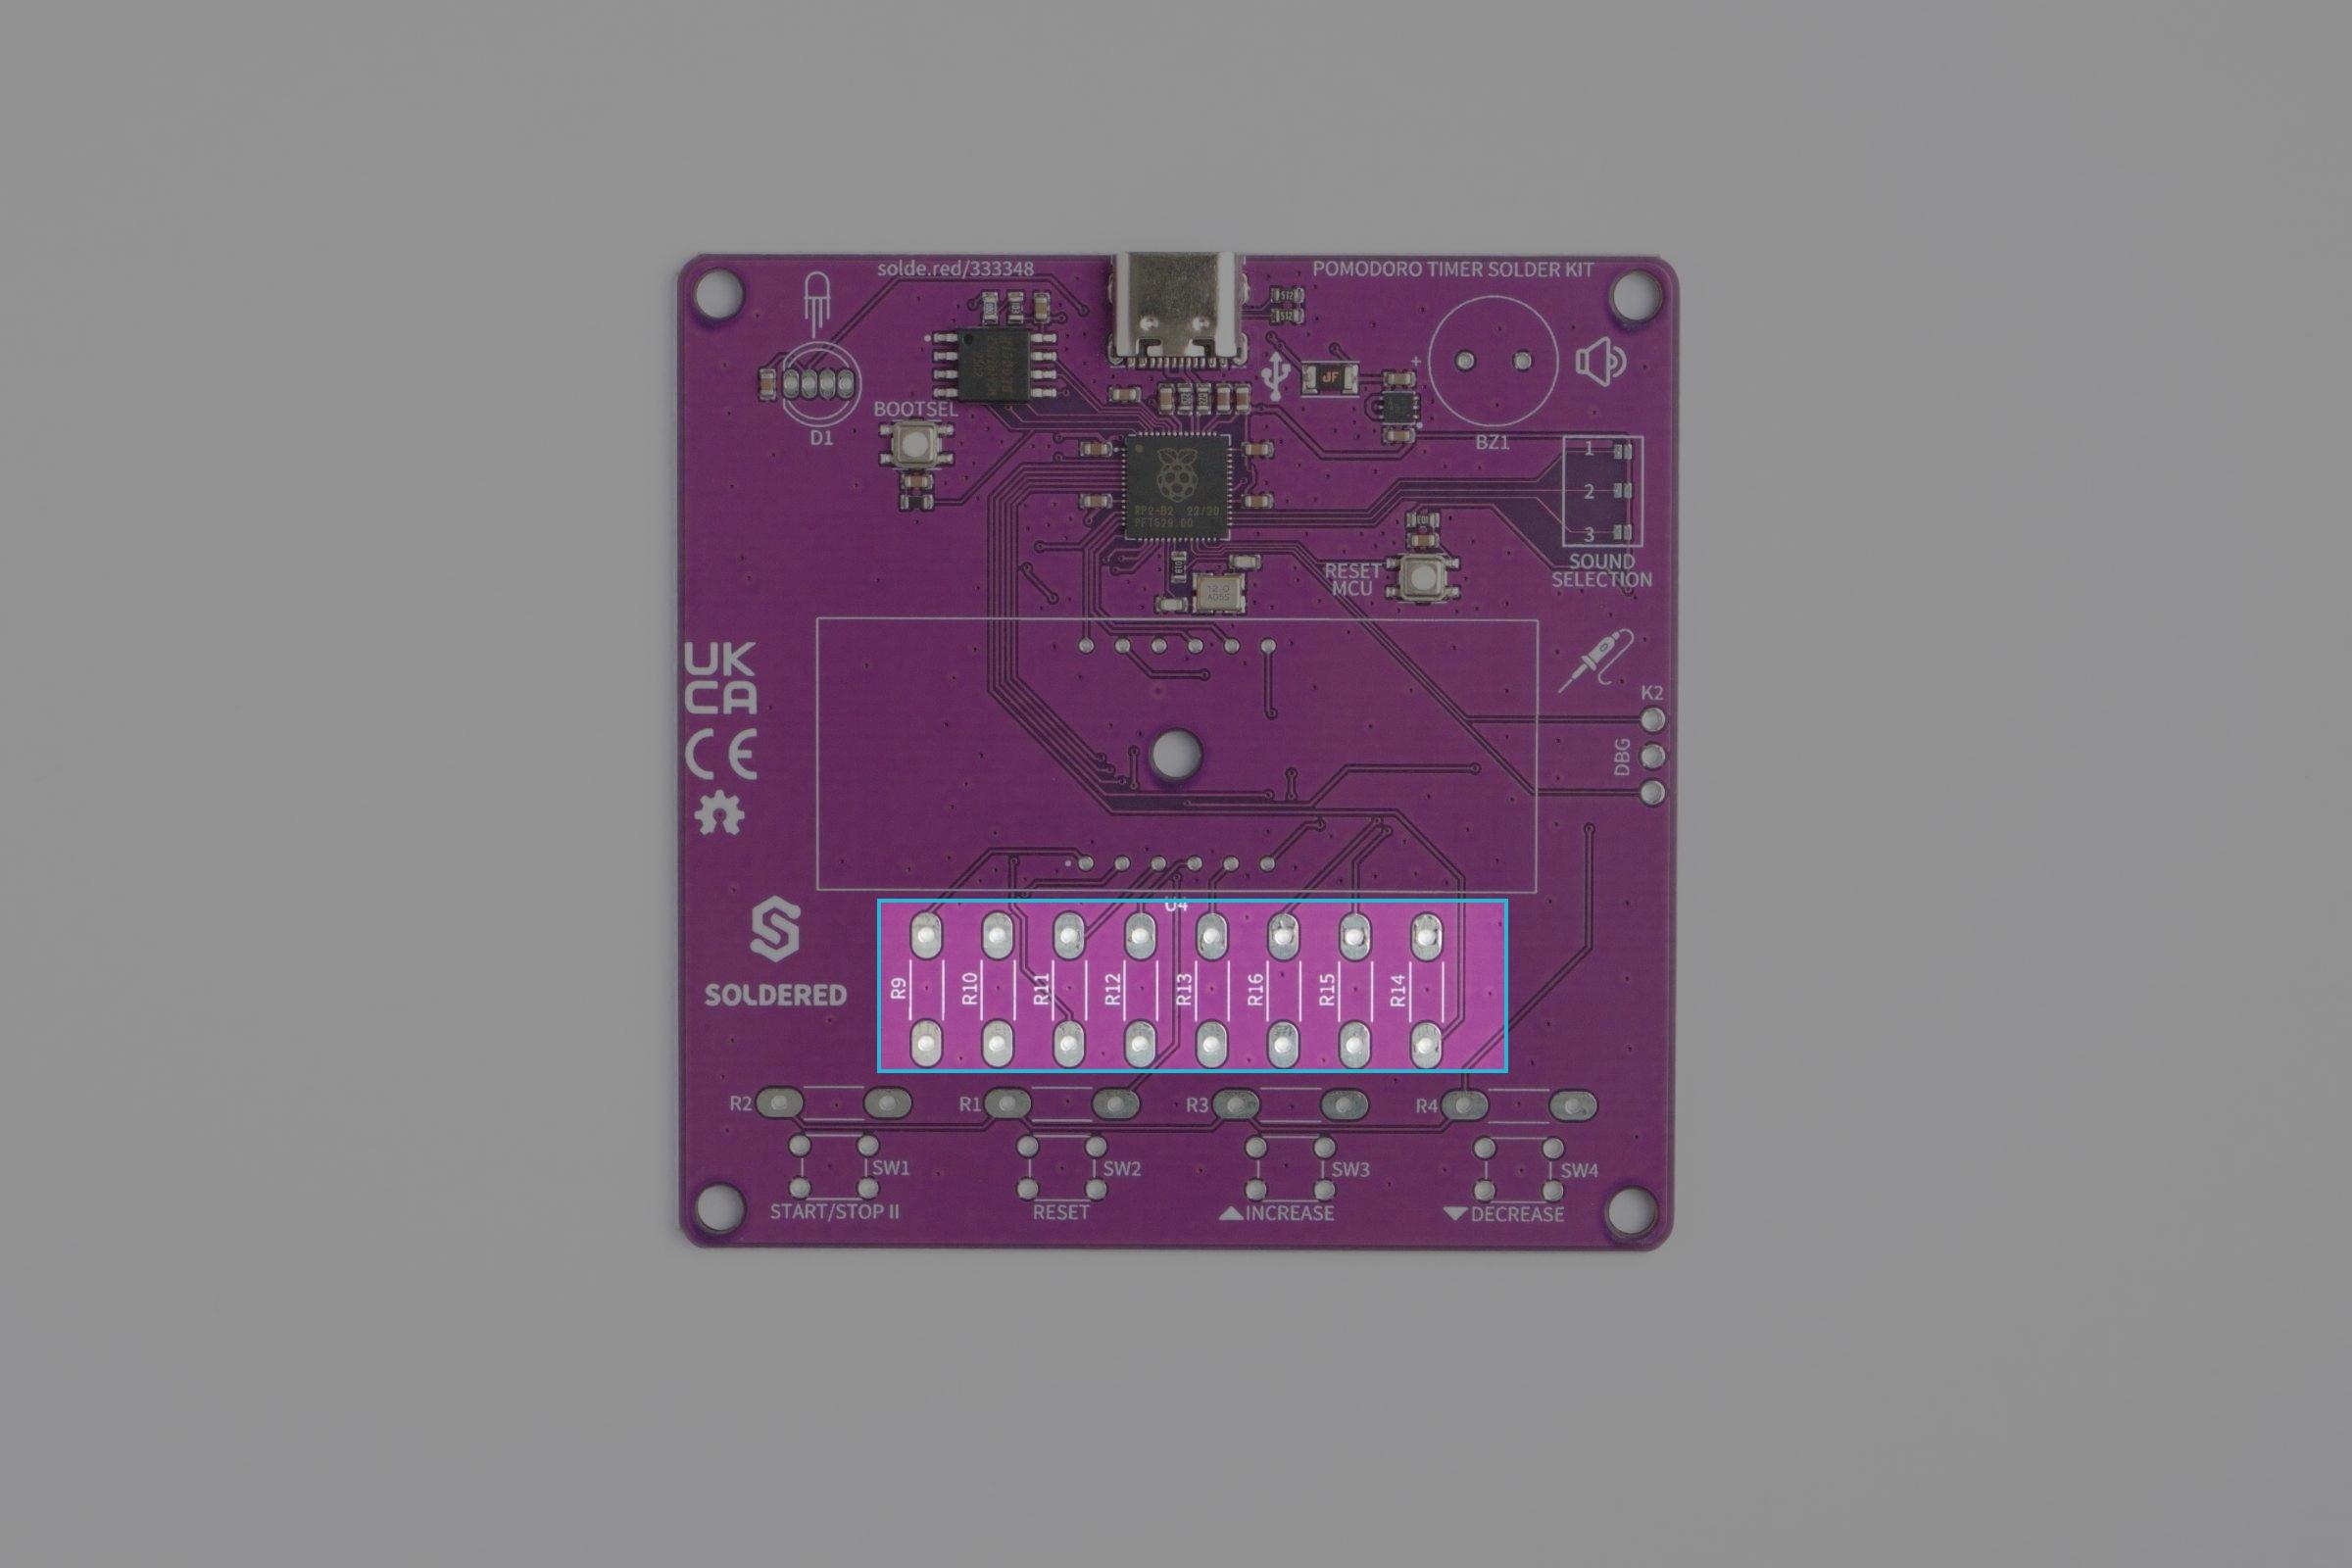
220 Ohm Resistors
The 220 ohm resistors are connected in series to anodes on the 7 segment display, as a resistor always needs to be connected to a diode in series to limit current.
8 of these resistors are included in the kit:

Here's where they need to go: R9, R10, R11, R12, R13, R14, R15, R16:
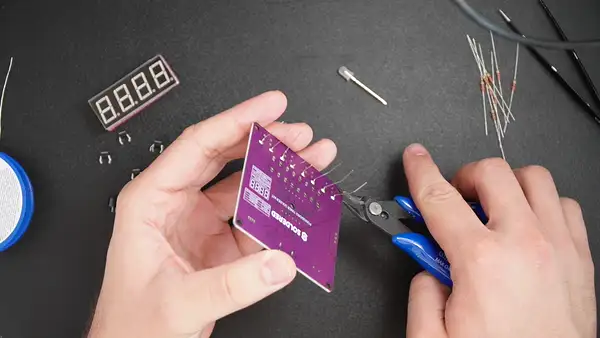
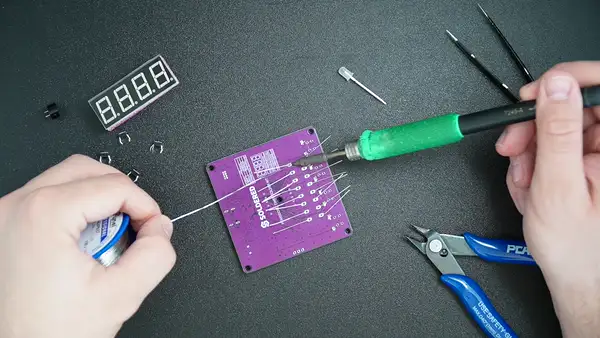
We will use the same soldering technique as with the 10k ohm resistors: bend, insert, bend, solder, cut:
Pushbuttons
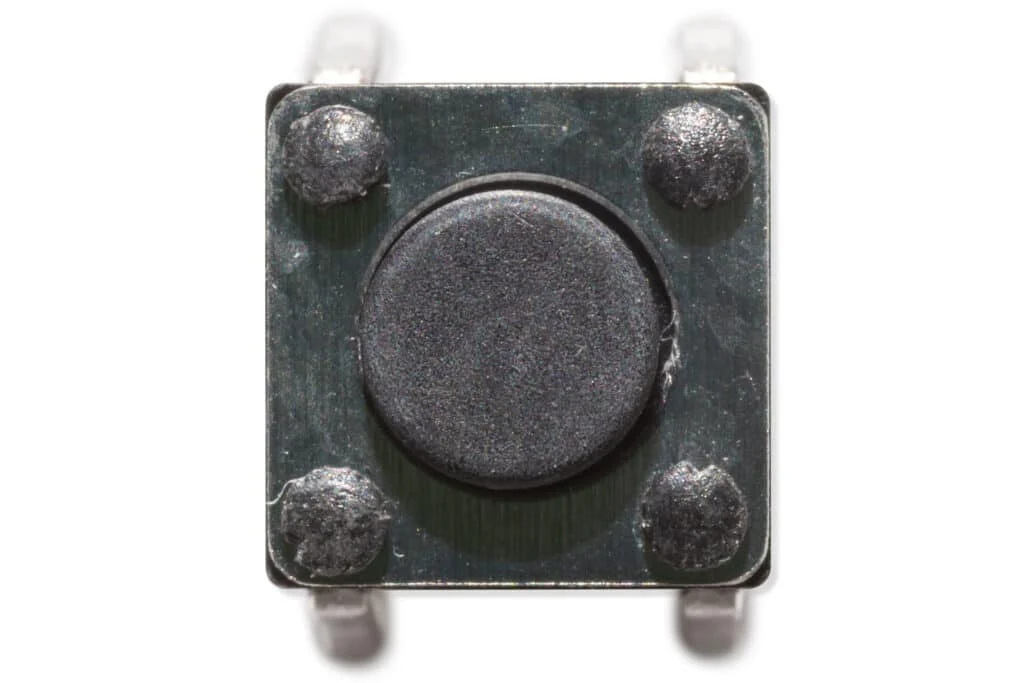
The buttons are here to provide user interaction, here's where they are located on the PCB:
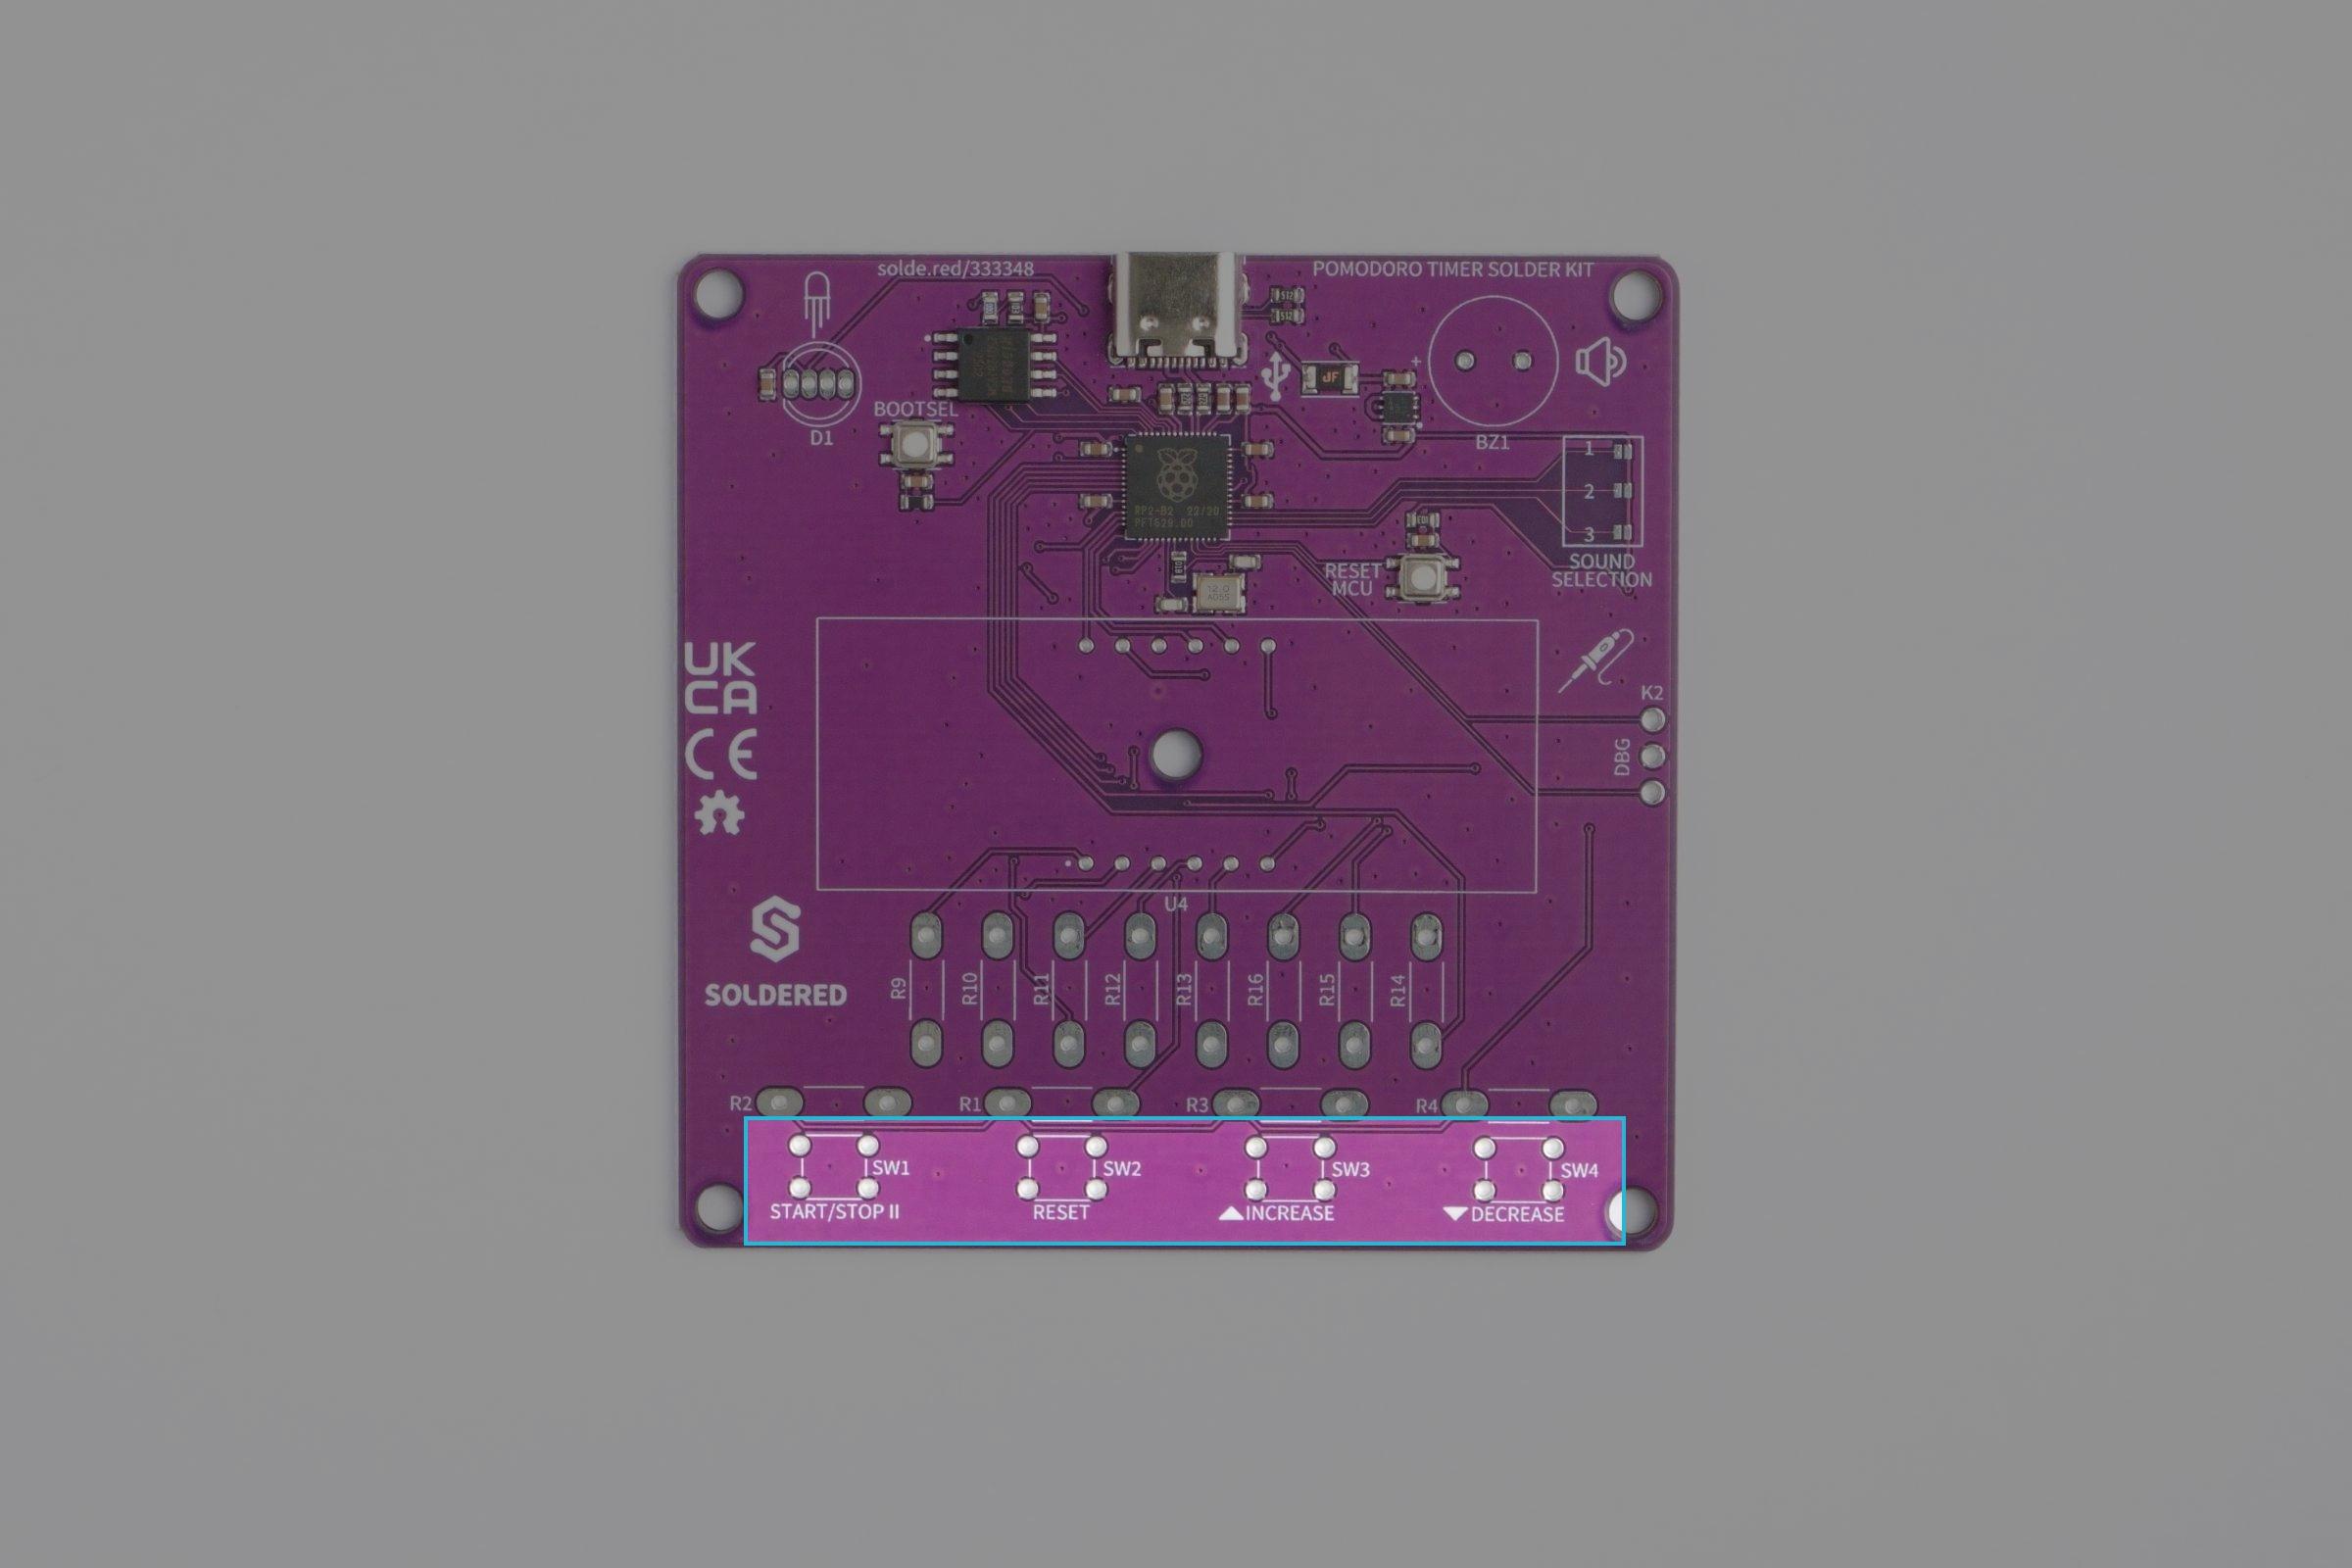
Insert the buttons in the through-holes, making sure the button pins don't bend:
Now you can solder them:
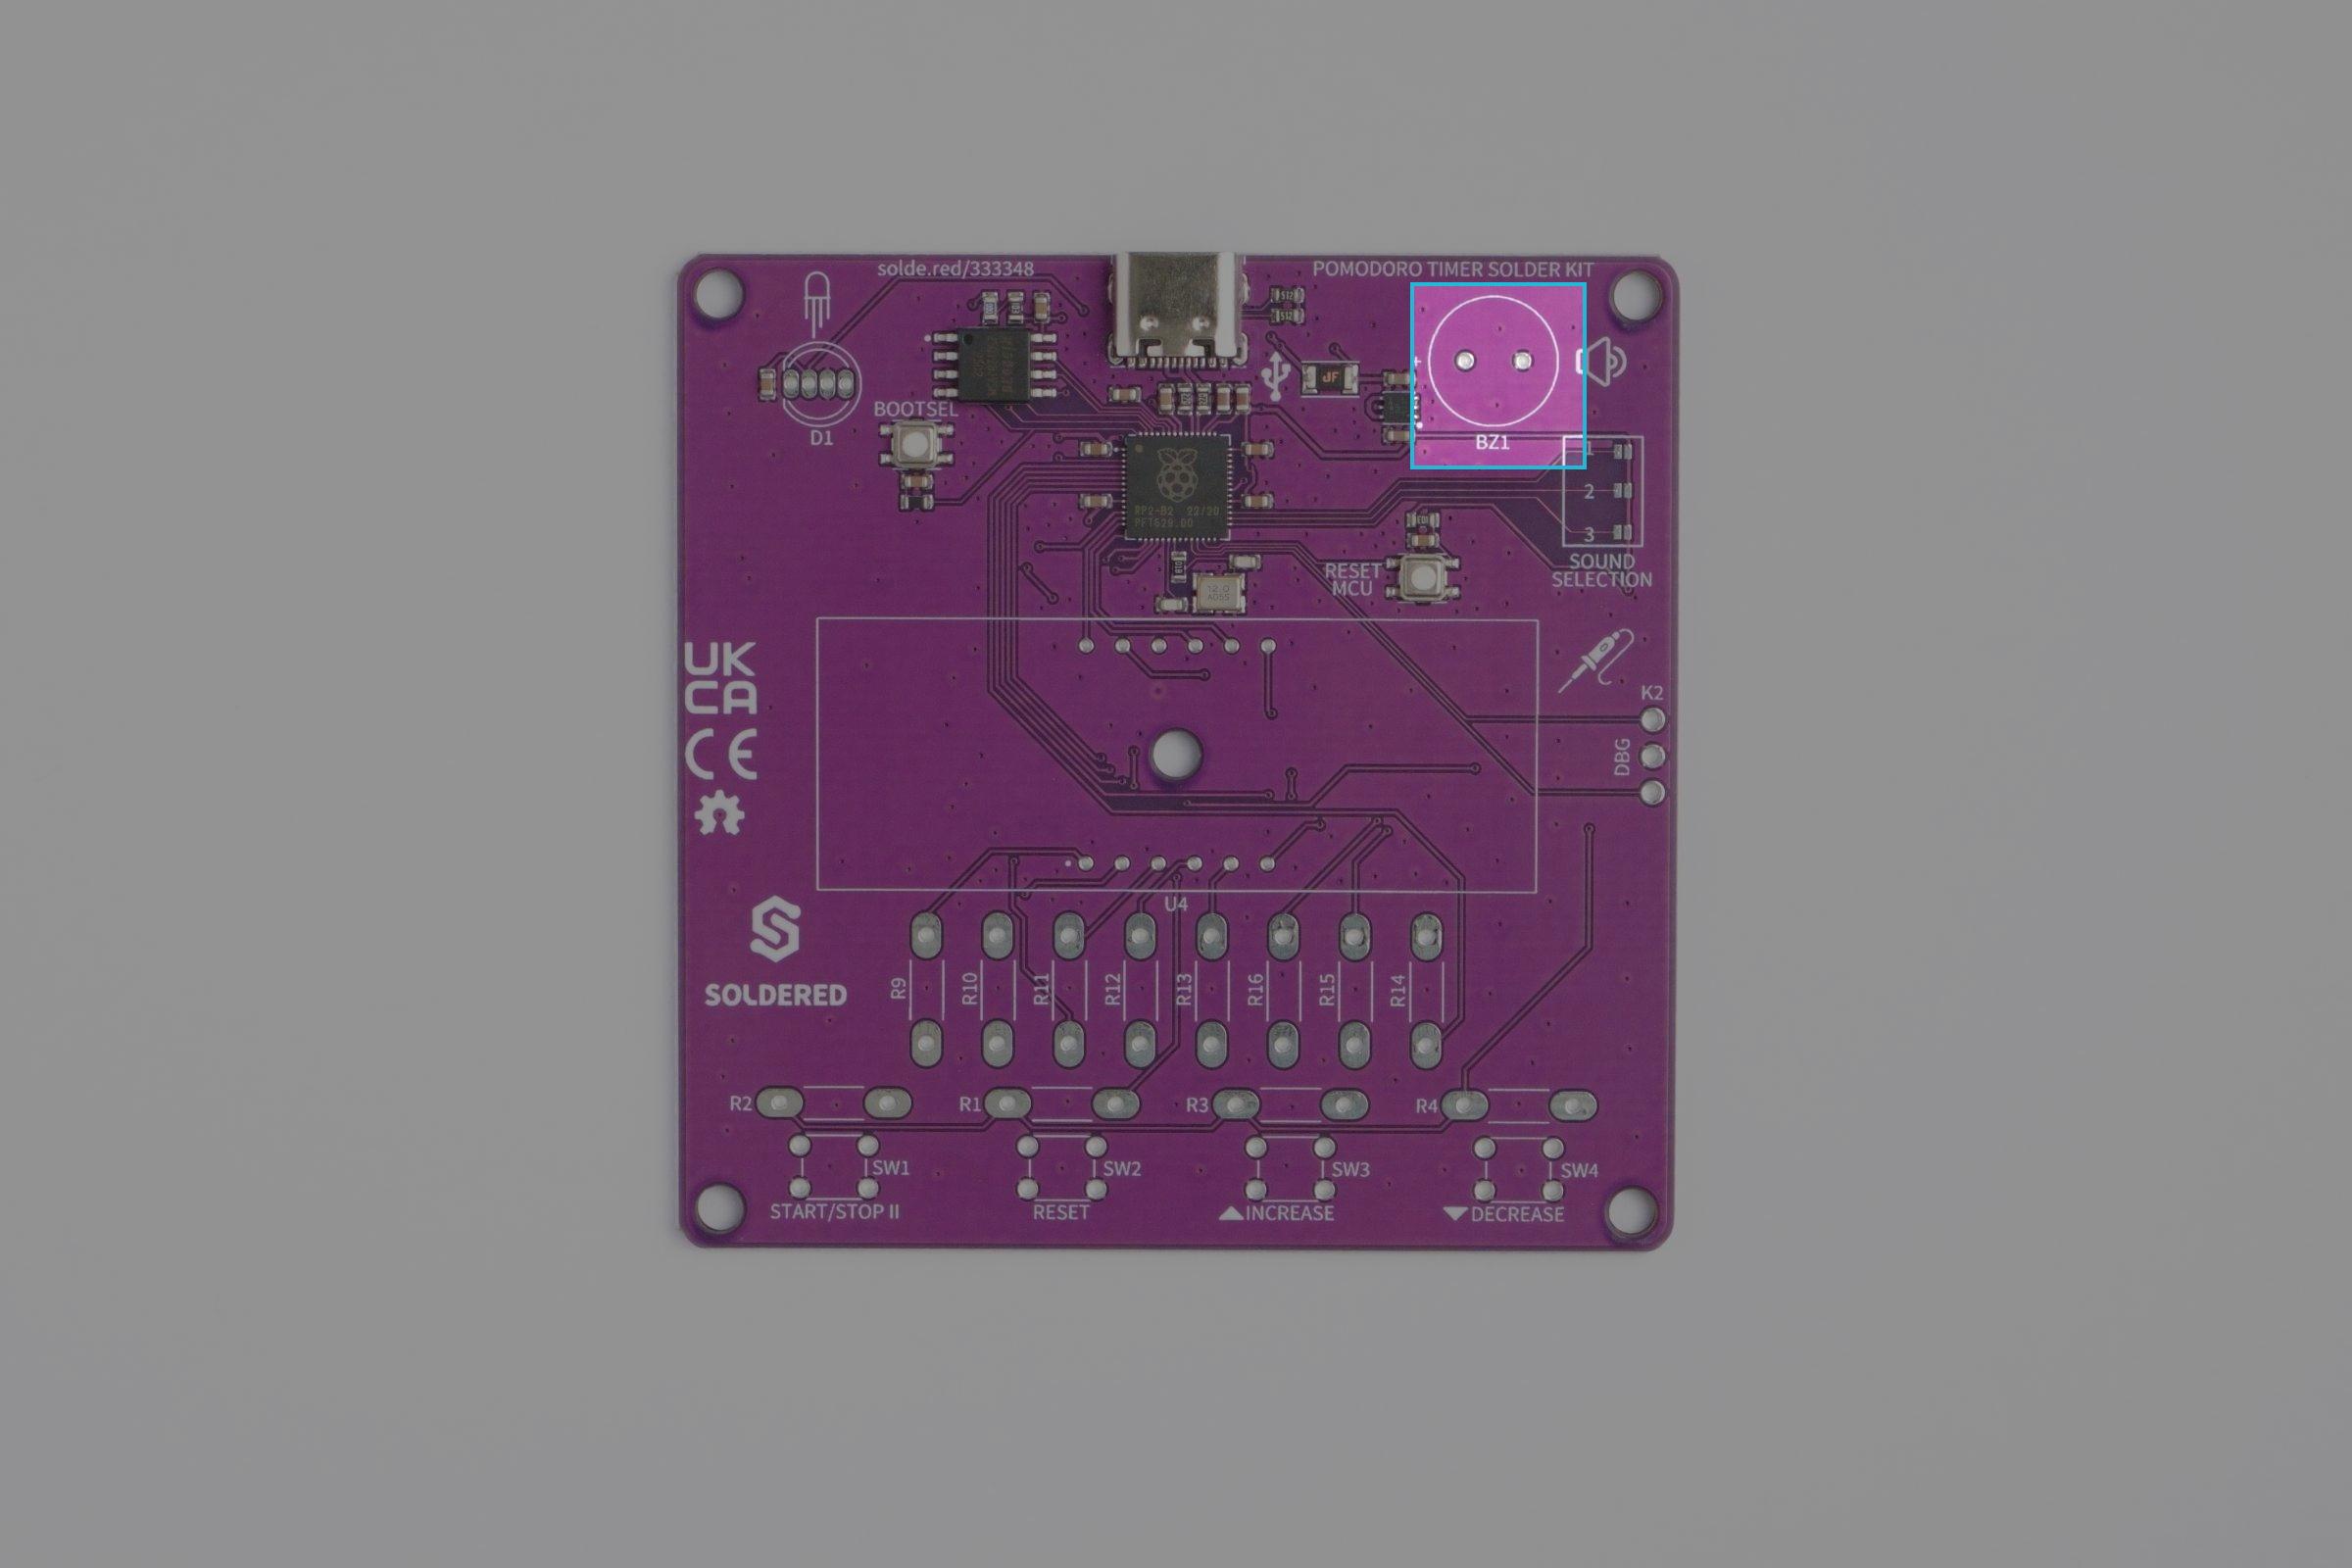
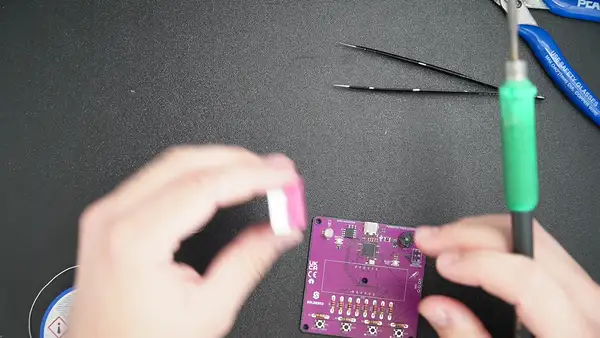
Buzzer
The buzzer is here to beep when it's time to rest or work! You'll easily spot it in the kit:

Insert the buzzer here, making sure to match the + sign with the + side marked on the PCB:
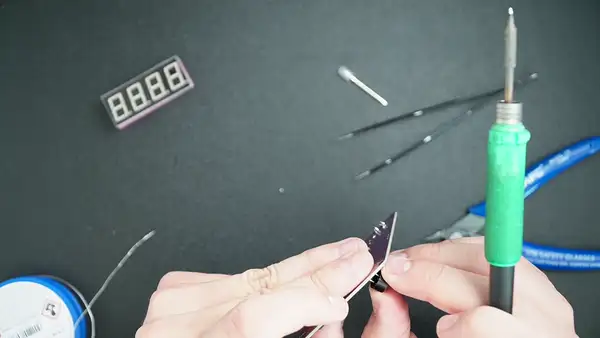
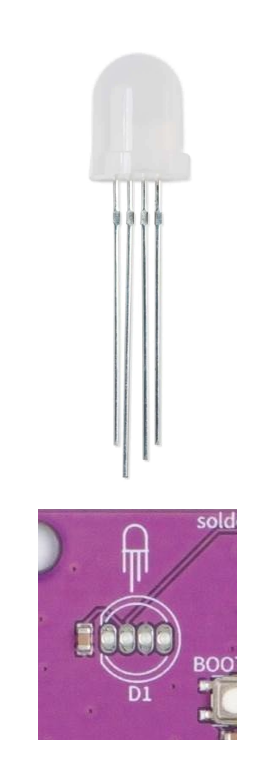
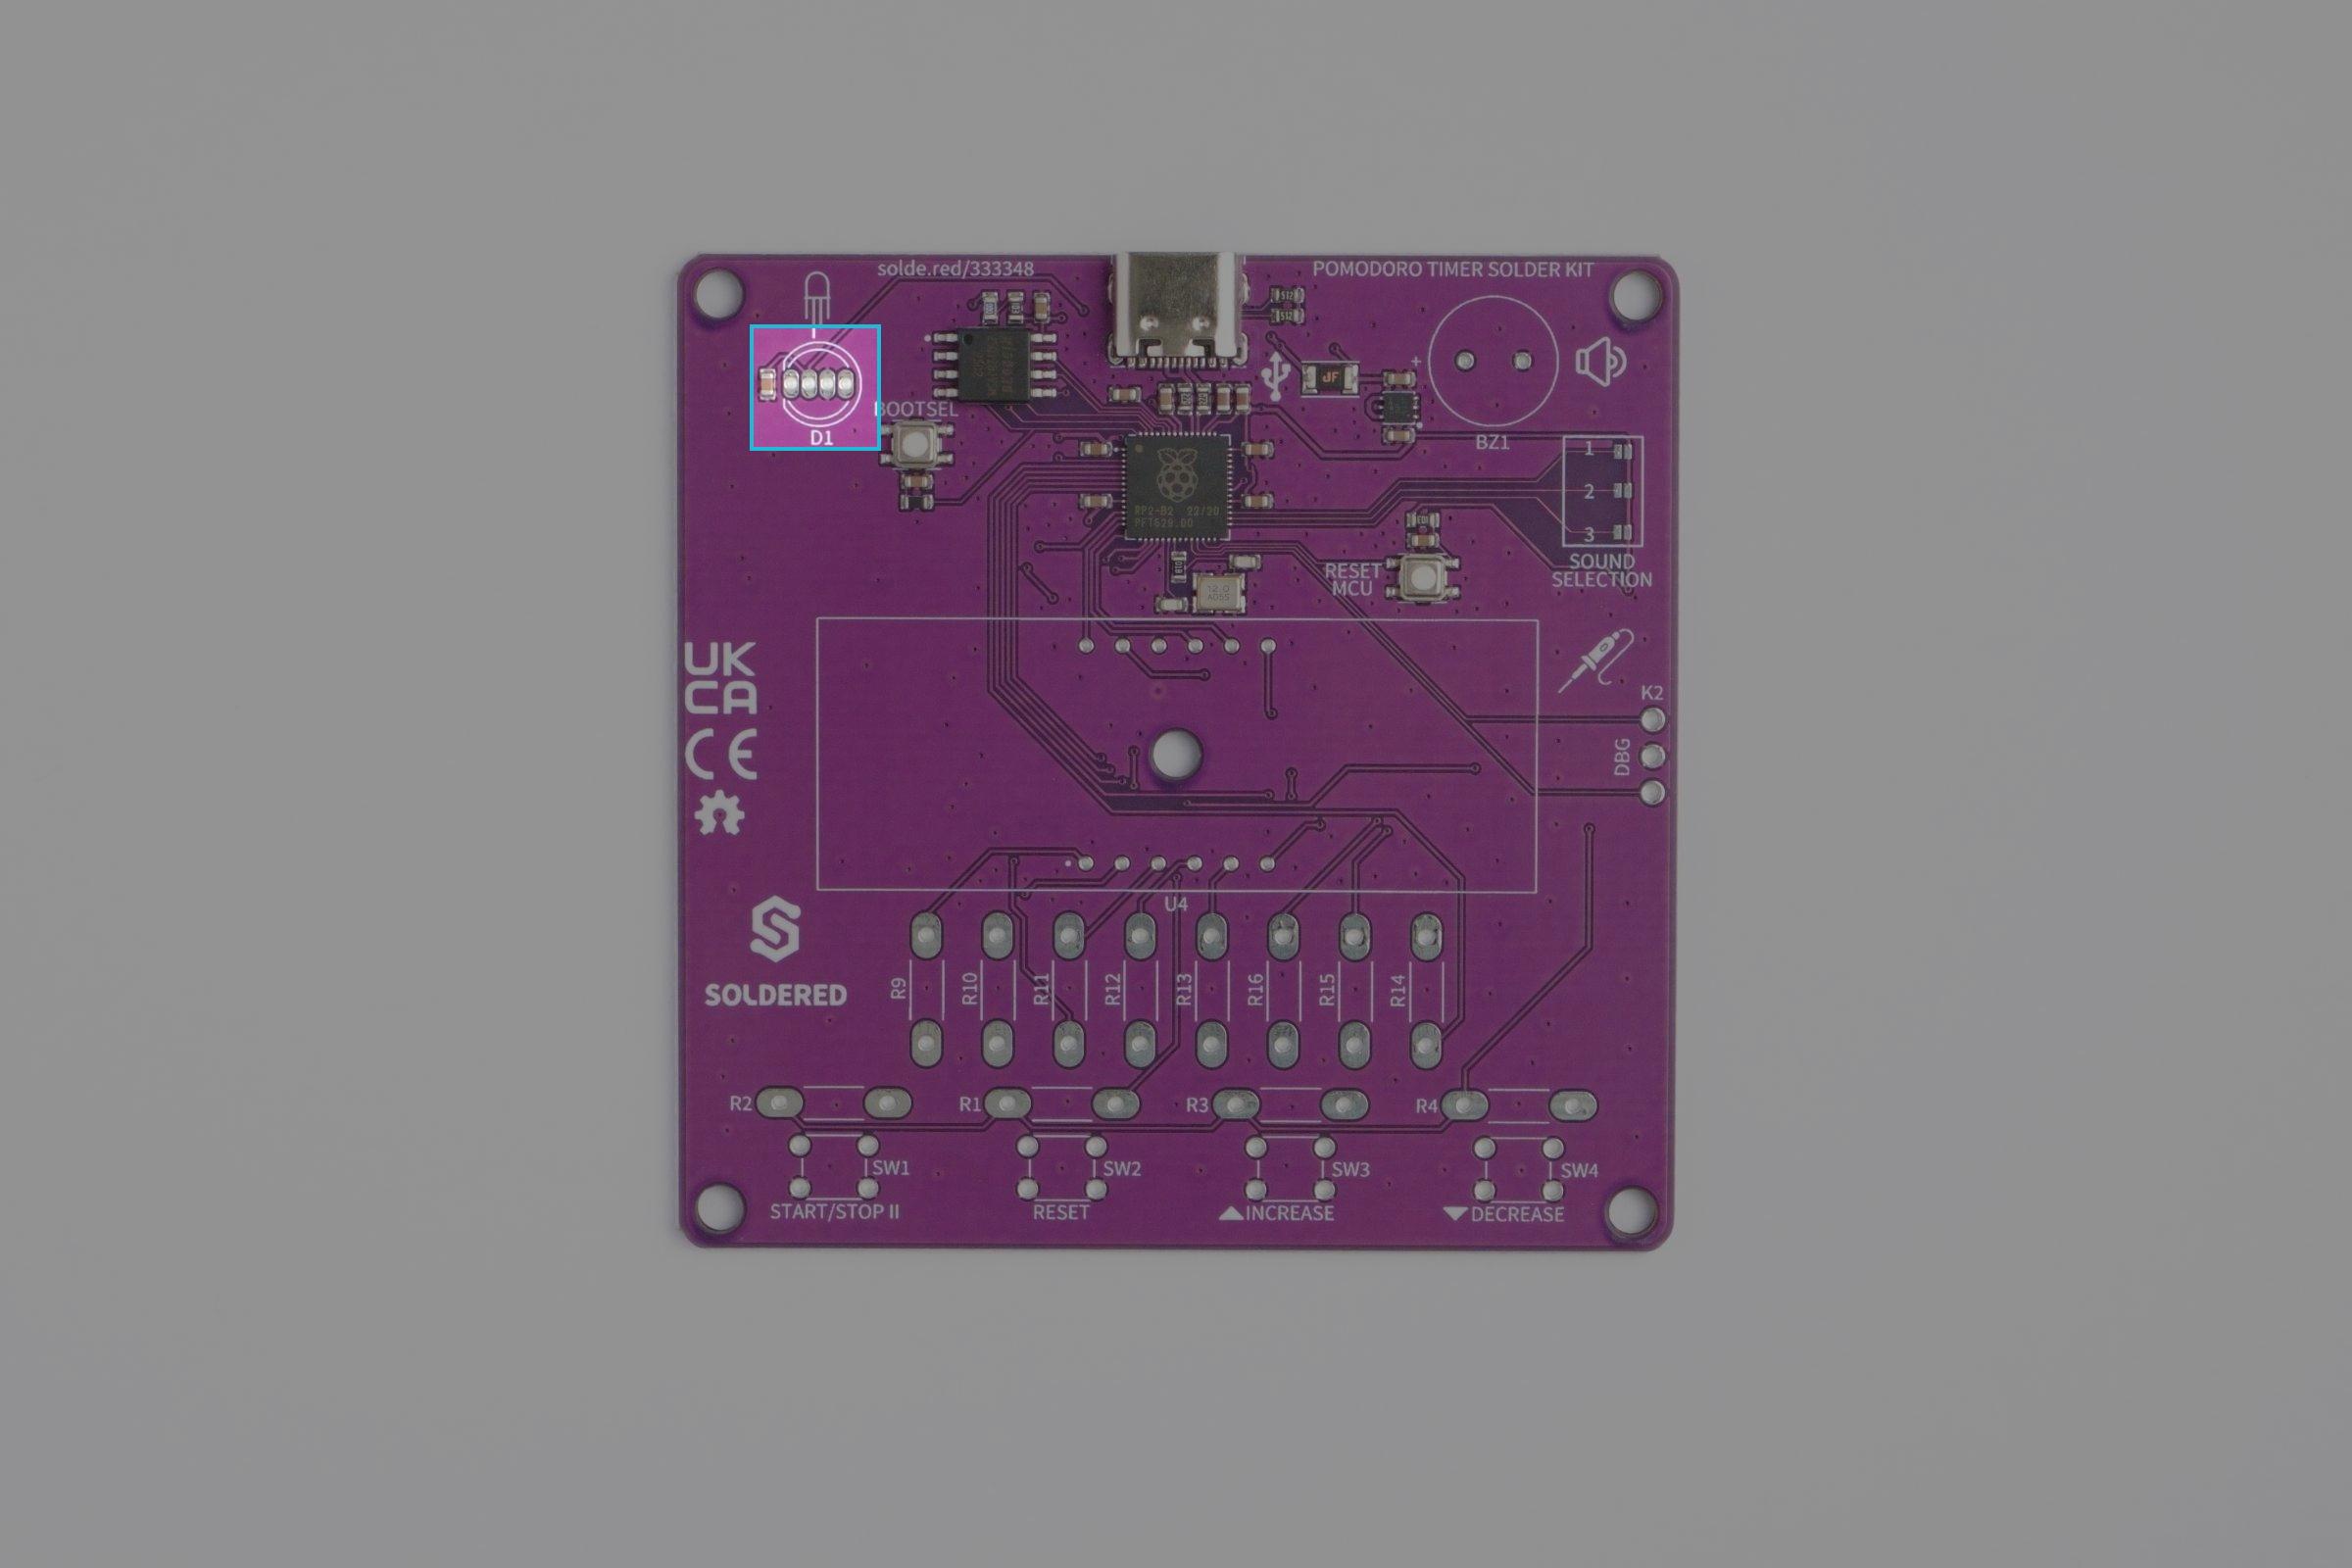
WS2812B RGB LED
To insert the RGB LED correctly, pay attention to the symbol on the front and the lenghts of the leads of the LED, they should match up like this:
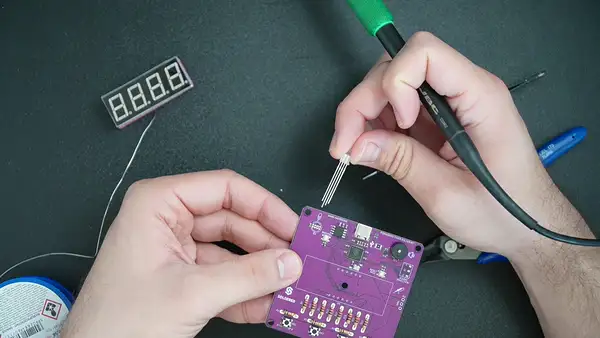
7 Segment Display
Finally, the star of the show, the red 4 digit 7 segment display. Take off the protective cover and insert the 7 segment display, for orientation, pay attention the the decimal dots on the display, they should face down.
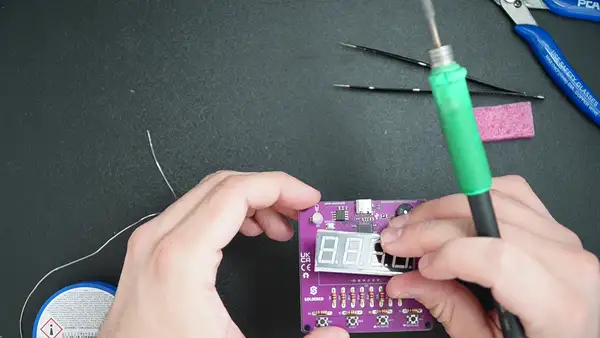
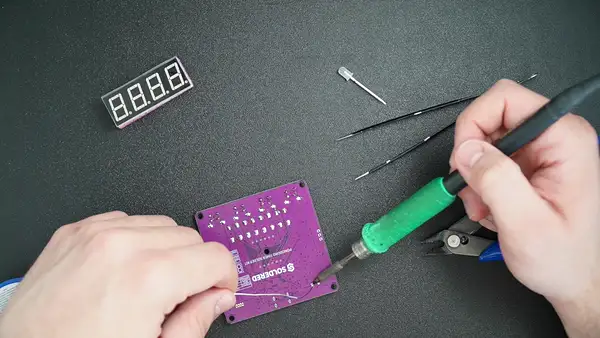
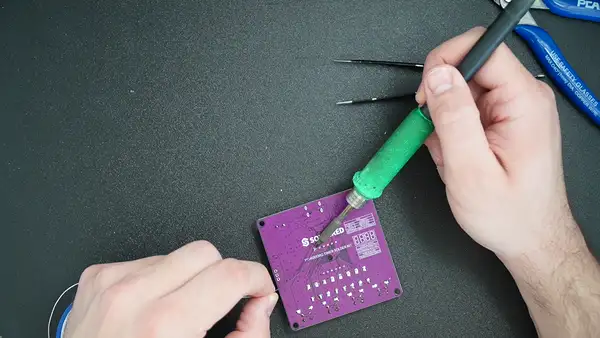
Now solder away!
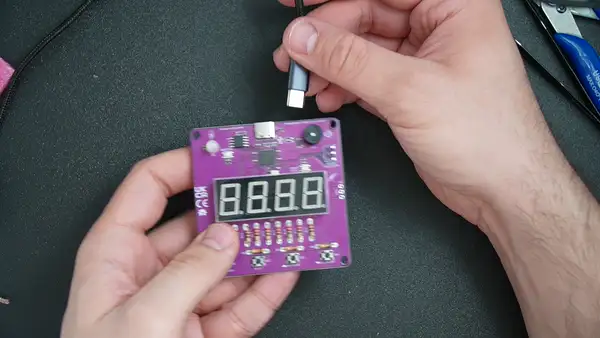
All done!
Now, simply plug in via USB-C and give your new Pomodoro Timer a try! It should welcome you with a
- Purple LED
- A Beep
- Settings menu where you can set the time interval
Check out the next page for details on how to use the pomodoro timer!