4.1 Print Message
The goal of this example is to show you how to display a simple message on an LCD screen using the Soldered LCD library.
You will learn how to initialize the display, turn on its backlight, and print text to specific positions on the screen.
This example serves as your first introduction to displaying information on a 16×2 LCD module connected to the NULA MINI.
In this documentation you will learn:
- How to download and set a custom arduino library.
- Basics of I2C communication.
- How to initialize and control an LCD using the Soldered LCD library (
LCD-SOLDERED.h). - How to clear the screen, position the cursor, and print text (
lcd.clear(),lcd.setCursor(),lcd.print()).
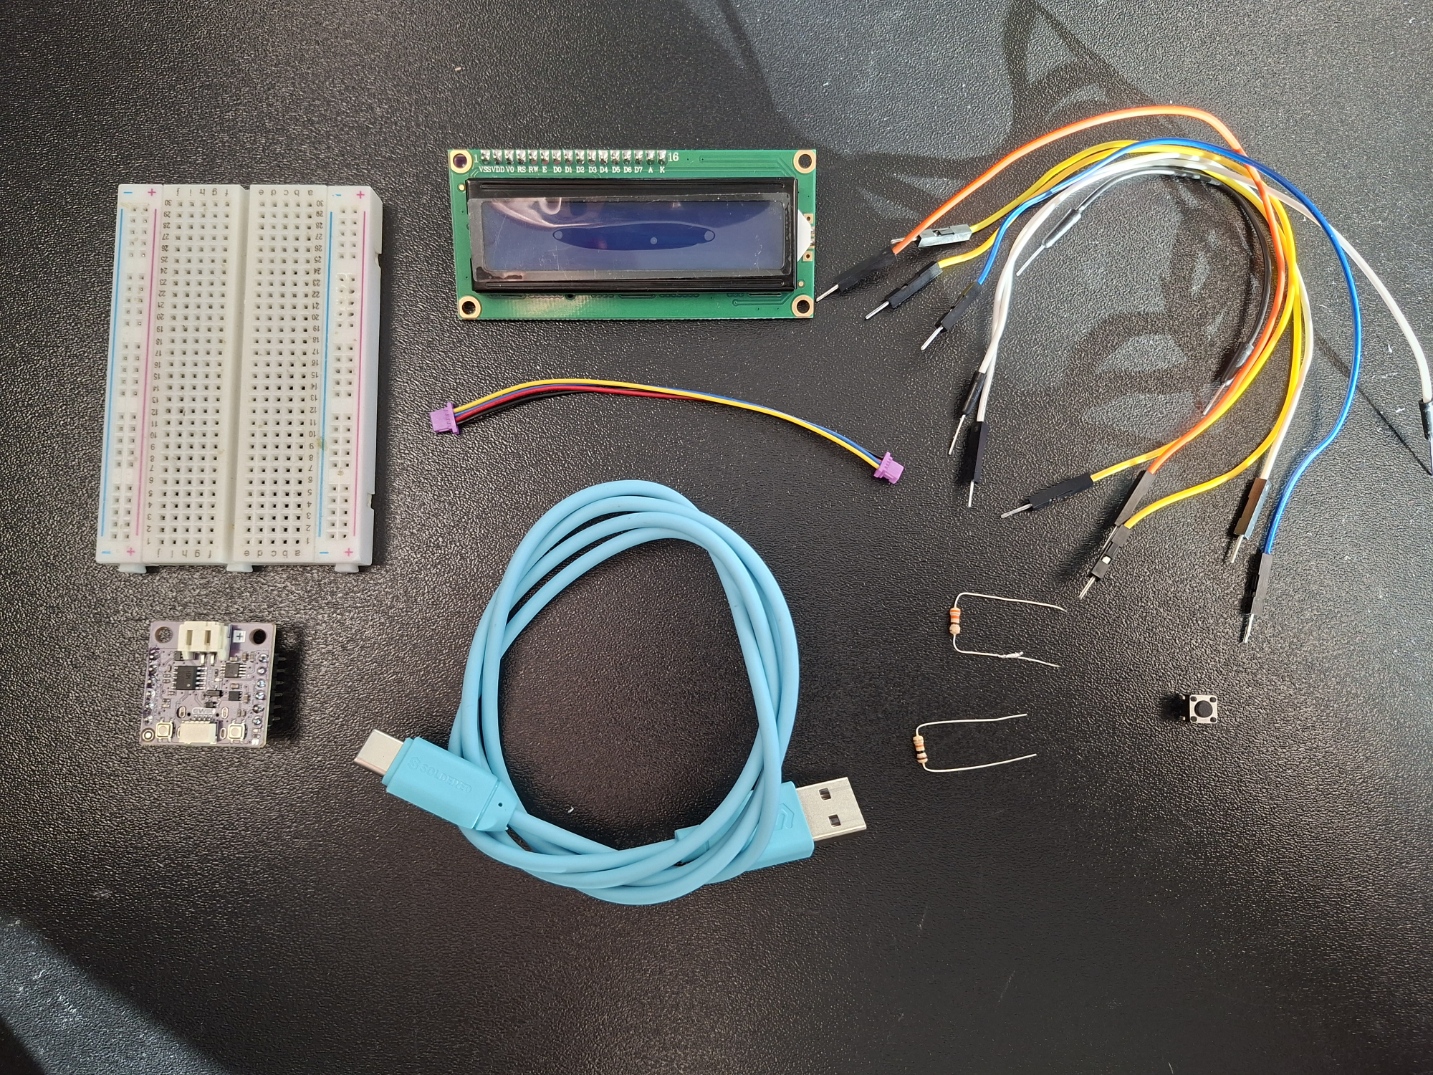
Hardware required:
- 1× Soldered NULA MINI board
- 1× 16×2 Qwiic LCD display
- 1× Qwiic connector
- Breadboard (optional, only for mounting)
- USB-C cable
Putting the components together
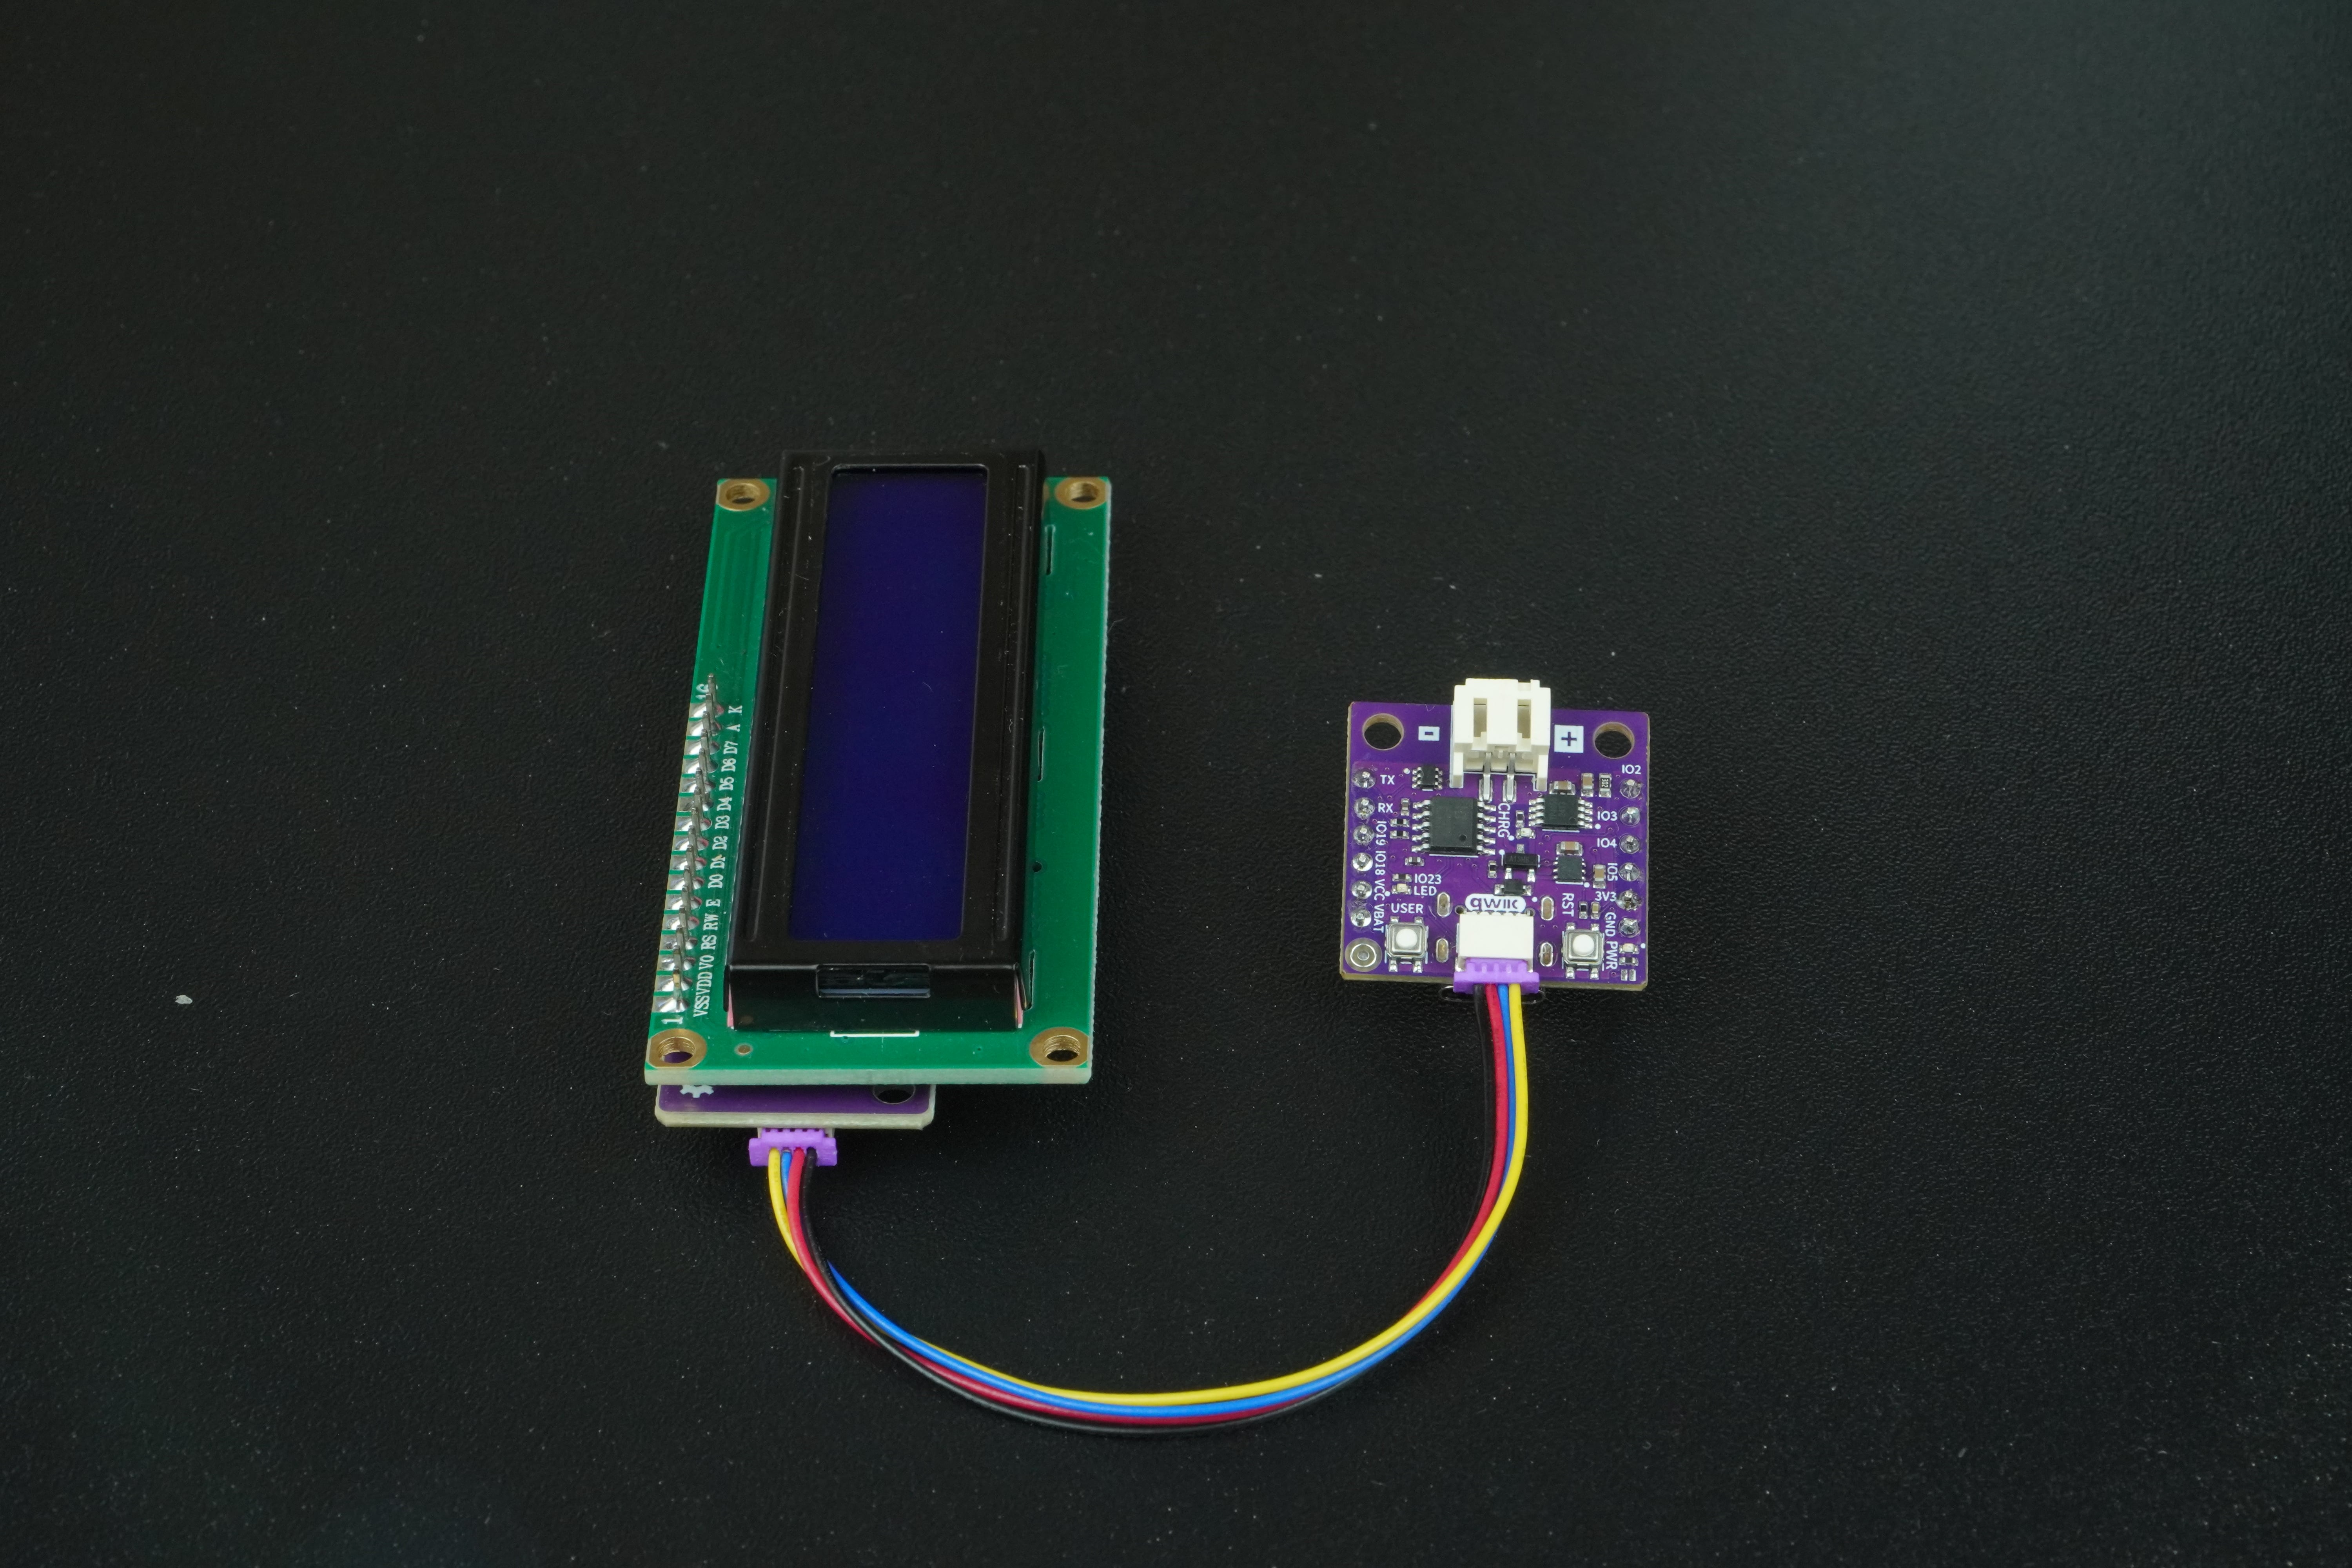
1. Connect the LCD
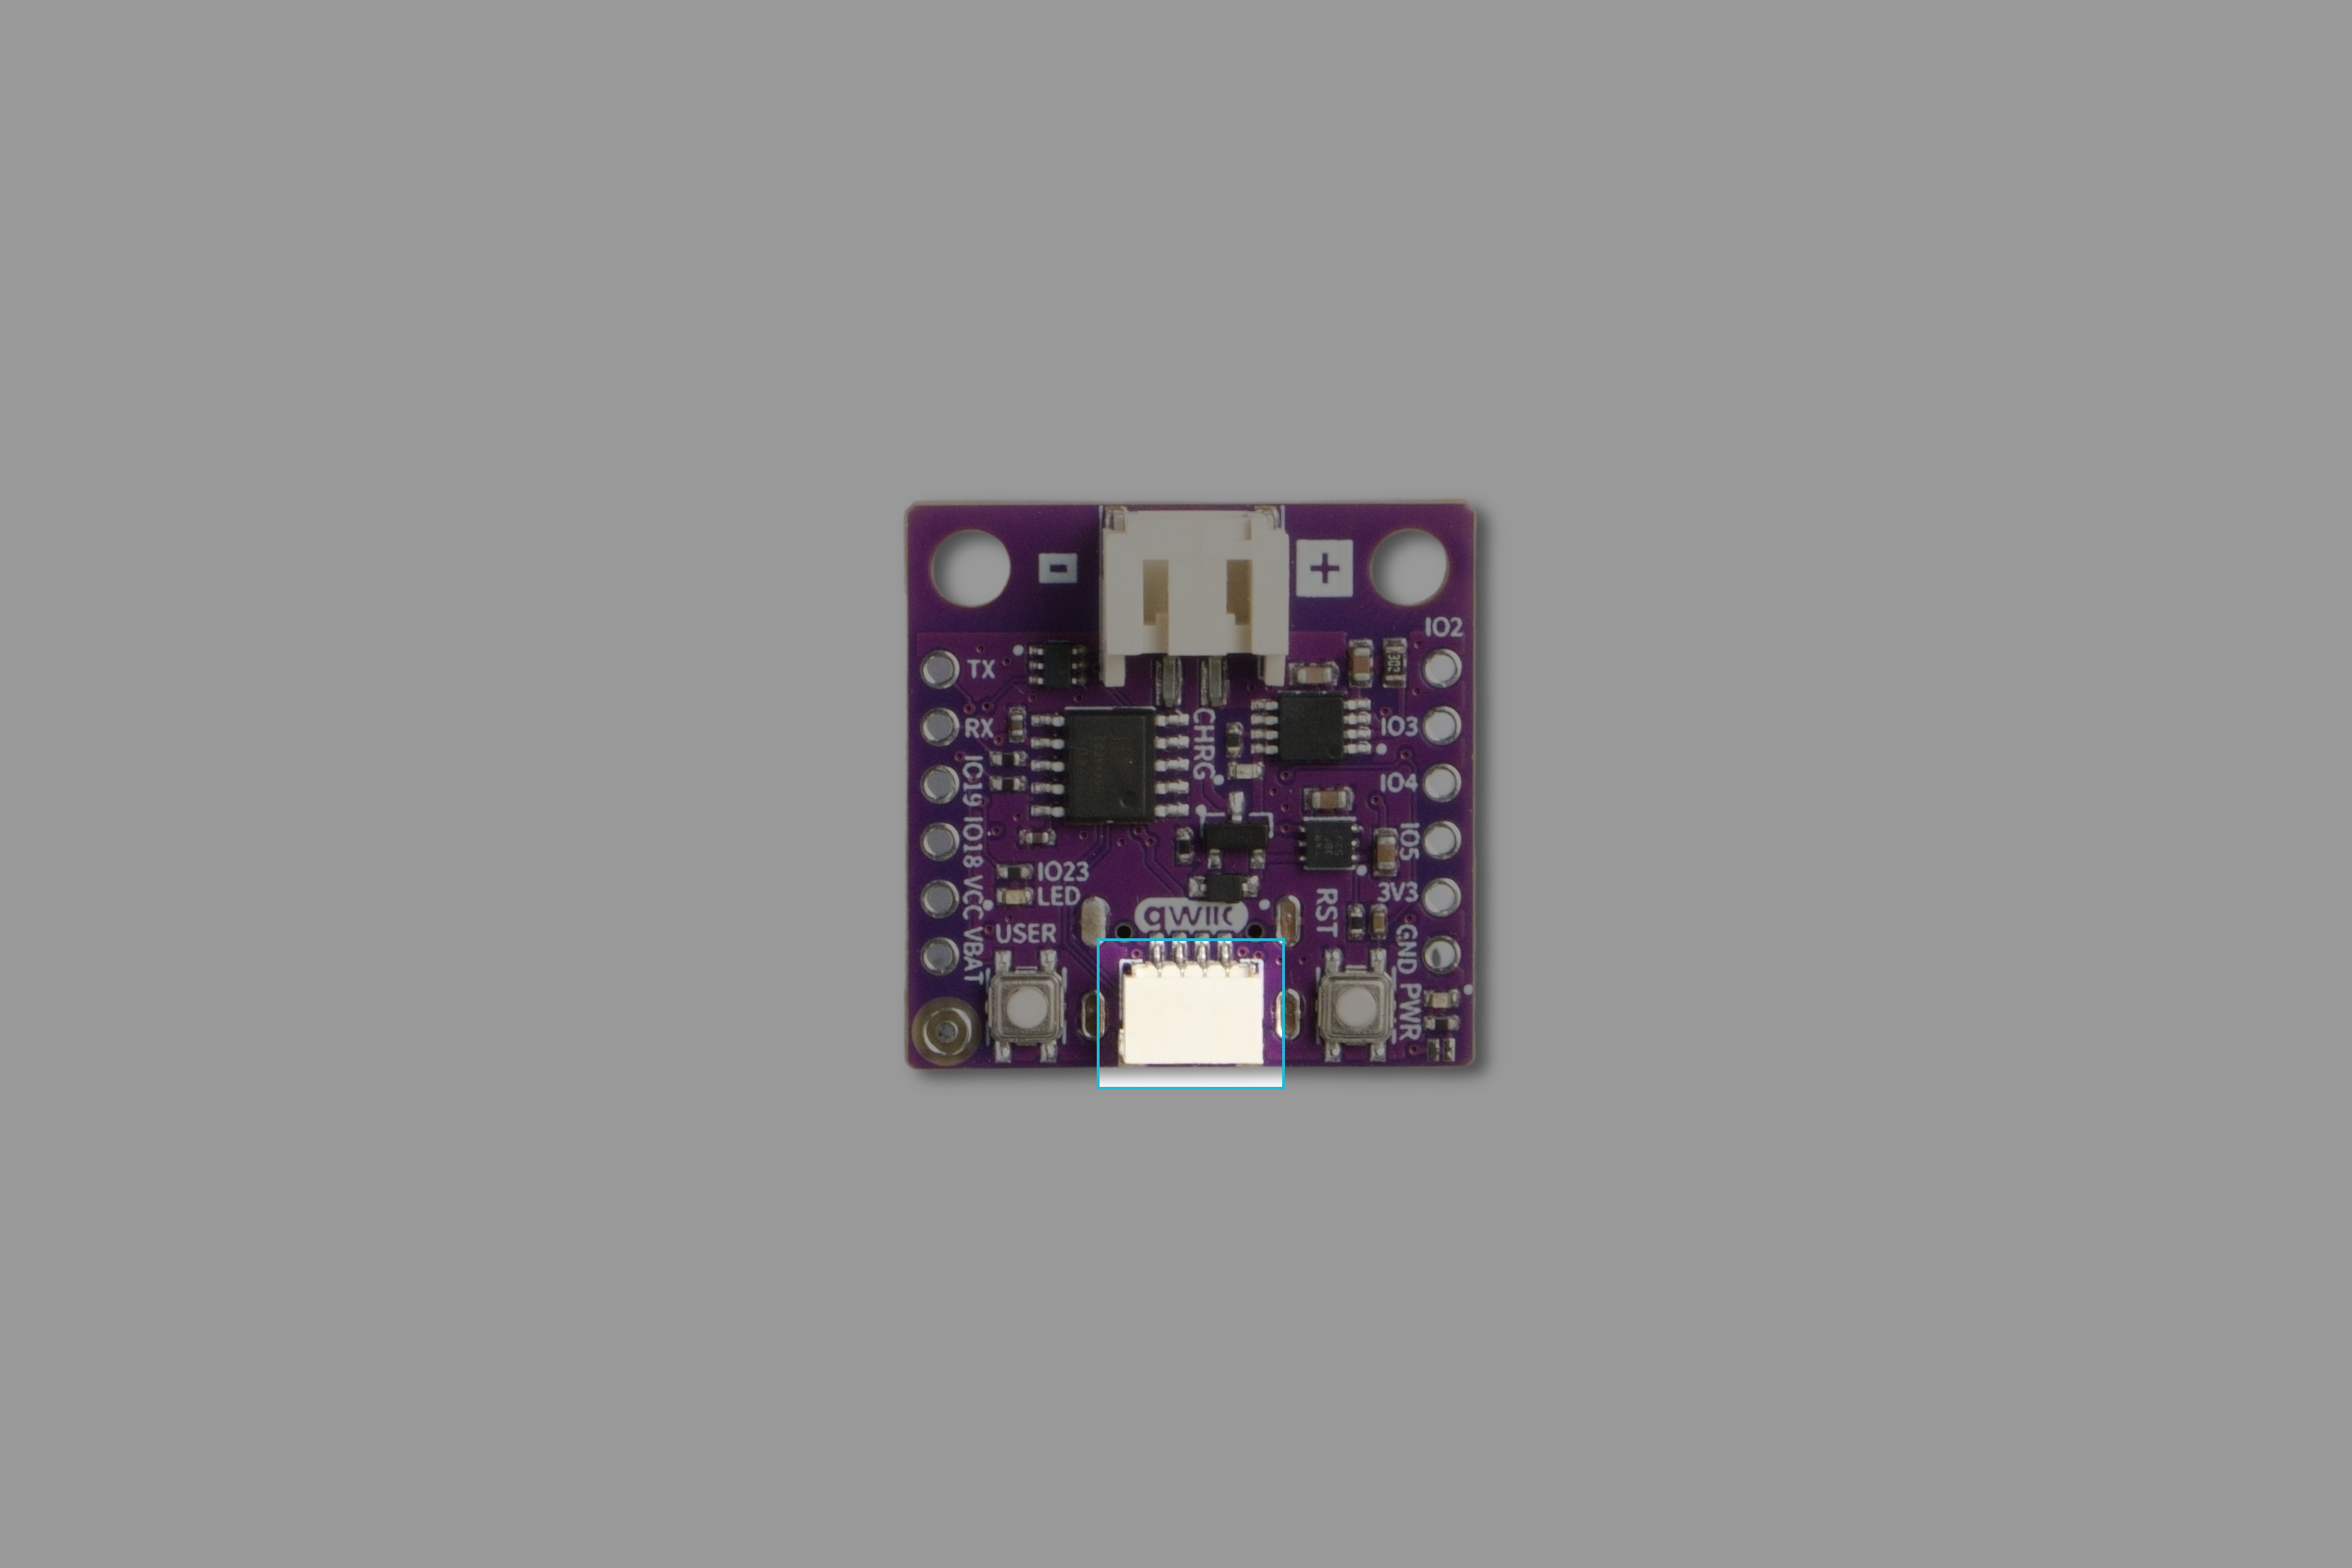
Use a Qwiic cable to connect the LCD module to the NULA MINI board. That’s it — no extra wiring required! The Qwiic system carries power (3.3V), ground, SDA, and SCL through a single connector.
Setting up the LCD Library
Before you start programming the actual example, you need to download the Soldered LCD Library. This library is just a piece of code that has some premade functions that make it easier to use the module.
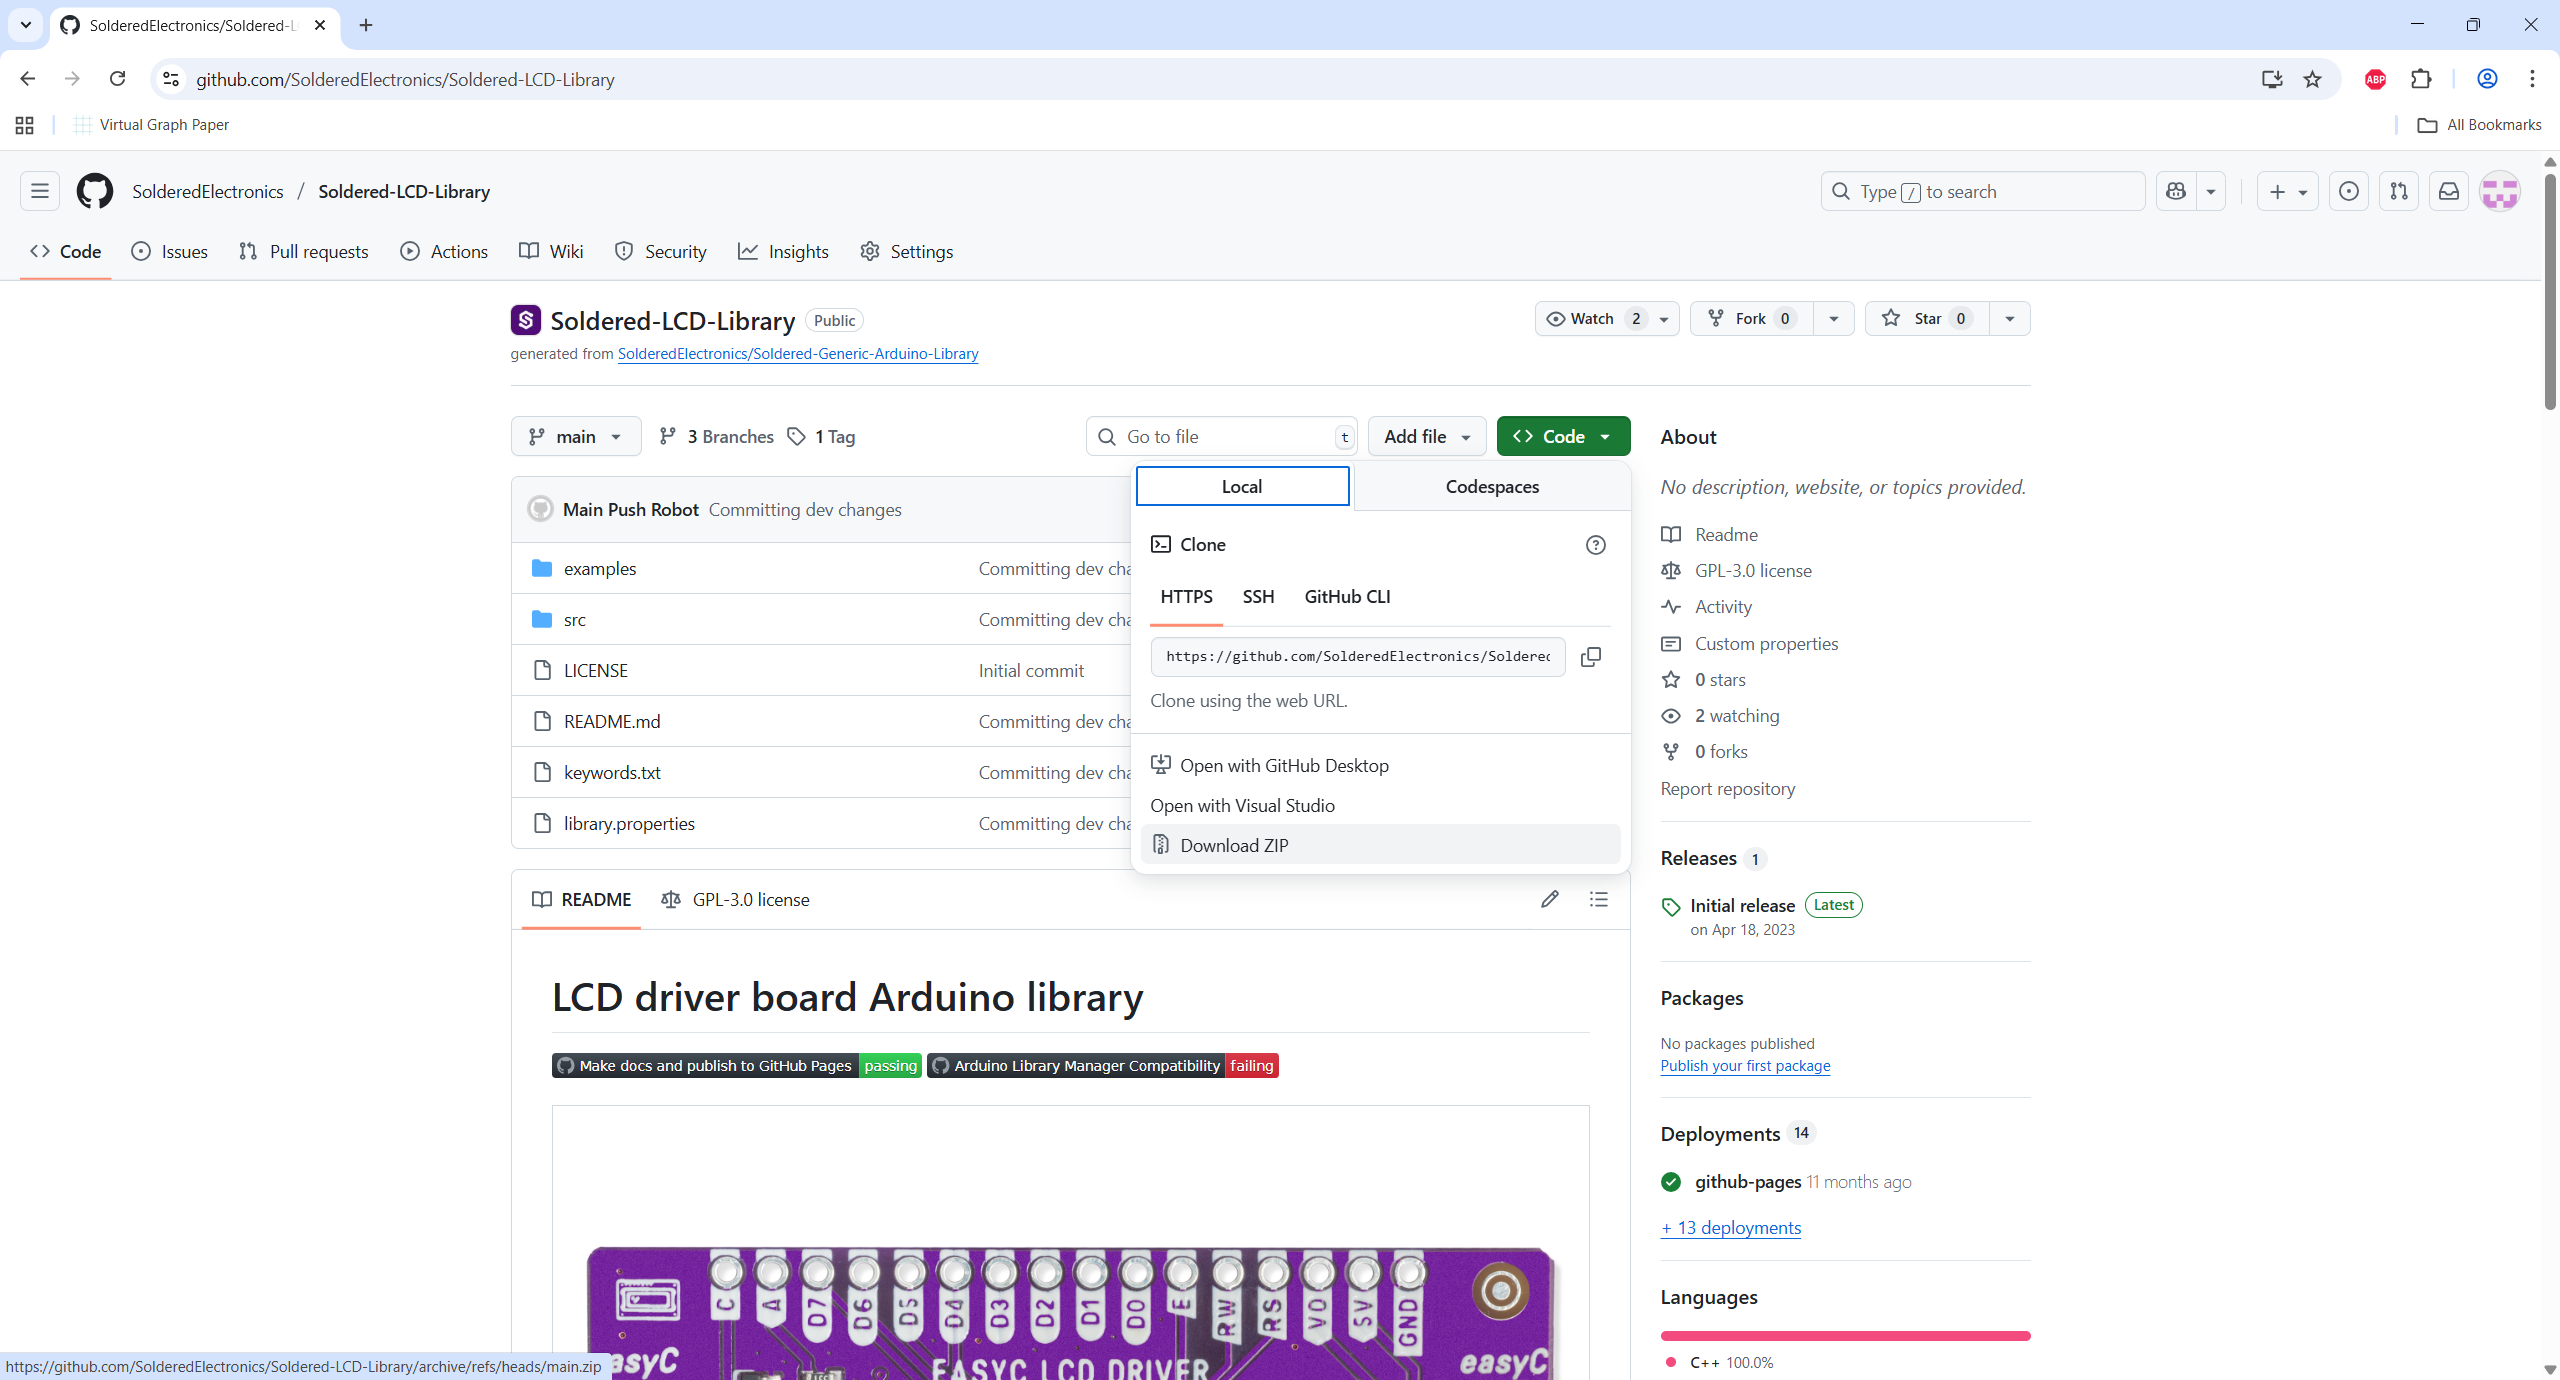
Go to https://github.com/SolderedElectronics/Soldered-LCD-Library and download the repository as a zip file.
Inside the Arduino IDE navigate to: Sketch->Include Library->Add .ZIP Library....
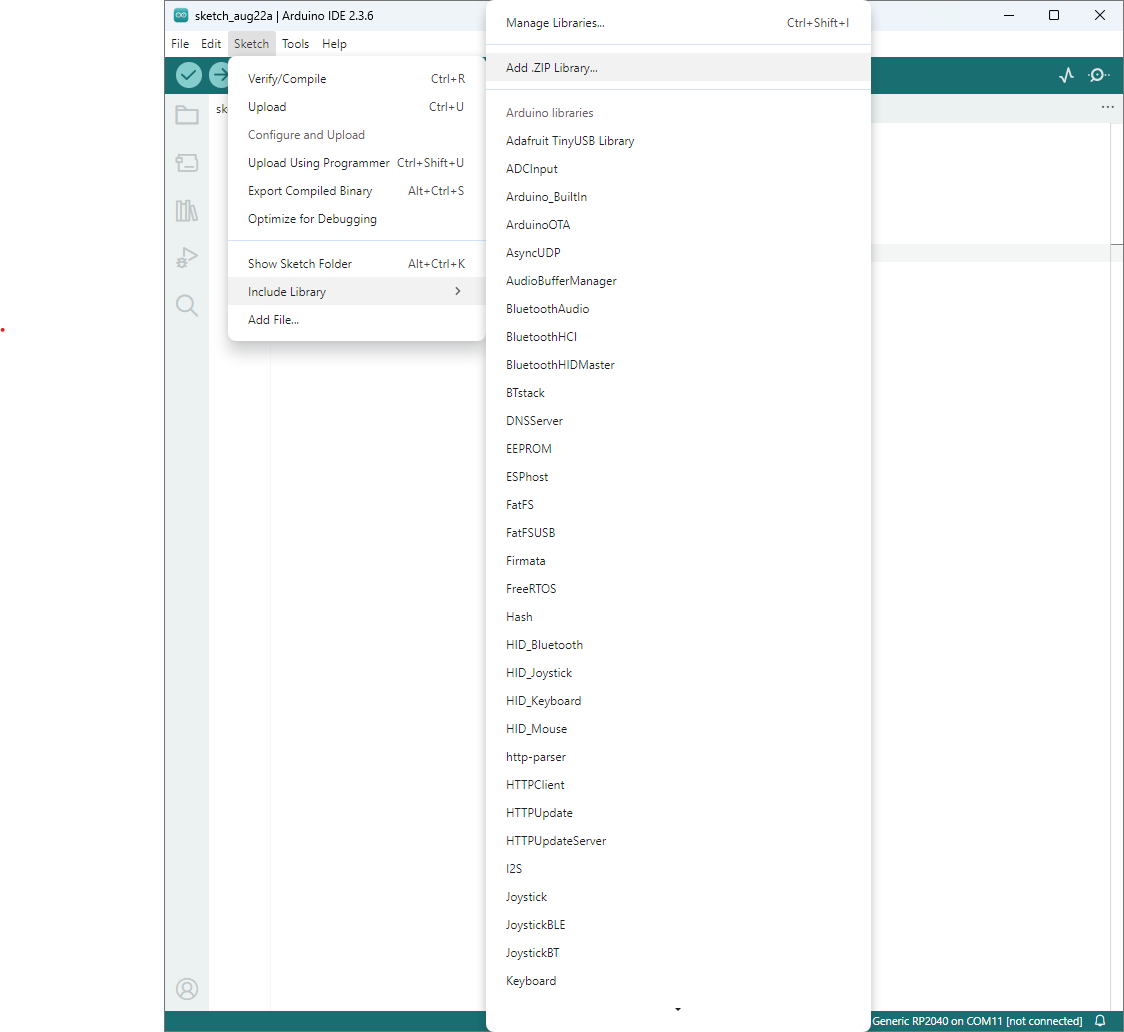
Locate the downloaded library and you are all set.
Basics of I2C Communication
I2C is a way for electronic devices to talk to each other using only two wires:
- SDA (data line) carries the actual information.
- SCL (clock line) tells the device when to send or read the data.
One device acts as the controller (in this case, your NULA board), and the others are peripherals (like the LCD). Each peripheral has a unique address, so the NULA knows which device it’s talking to.
The advantage of I²C is that you can connect many devices to the same two wires, and they won’t interfere with each other as long as they have different addresses.
When you use the Qwiic connector, all of this wiring (power, ground, SDA, and SCL) is already included in one simple cable, making it much easier for beginners.

Initializing the Display
Before we can actually do anything with the library, we need to include it in the file by writting: #include "LCD-SOLDERED.h" at the top of the file. After that we need to create an object from the LCD class. In this example we will use the lcd(column, row) constructor. Before we can use most of the modules, we need to initialize them (especially the qwiic ones). We do this by calling the lcd.begin() function inside setup() function.
#include "LCD-SOLDERED.h"   // Include the Soldered LCD library

/*
Create an LCD object.
The parameters (16, 2) mean the LCD has 16 columns and 2 rows.
*/
LCD lcd(16,2);

void setup() {
  /*
  Initialize the LCD so it is ready to use.
  */
  lcd.begin();
}
Displaying the message
Now that the LCD is initialized, we can print text to it using lcd.print(). We use lcd.setCursor(column, row) to control where on the screen the message appears. The top-left corner of the display is position (0, 0).
void setup(){
lcd.begin();
lcd.backlight();
lcd.clear(); // Clear any previous text
lcd.setCursor(0, 0); // Start at the first row, first column
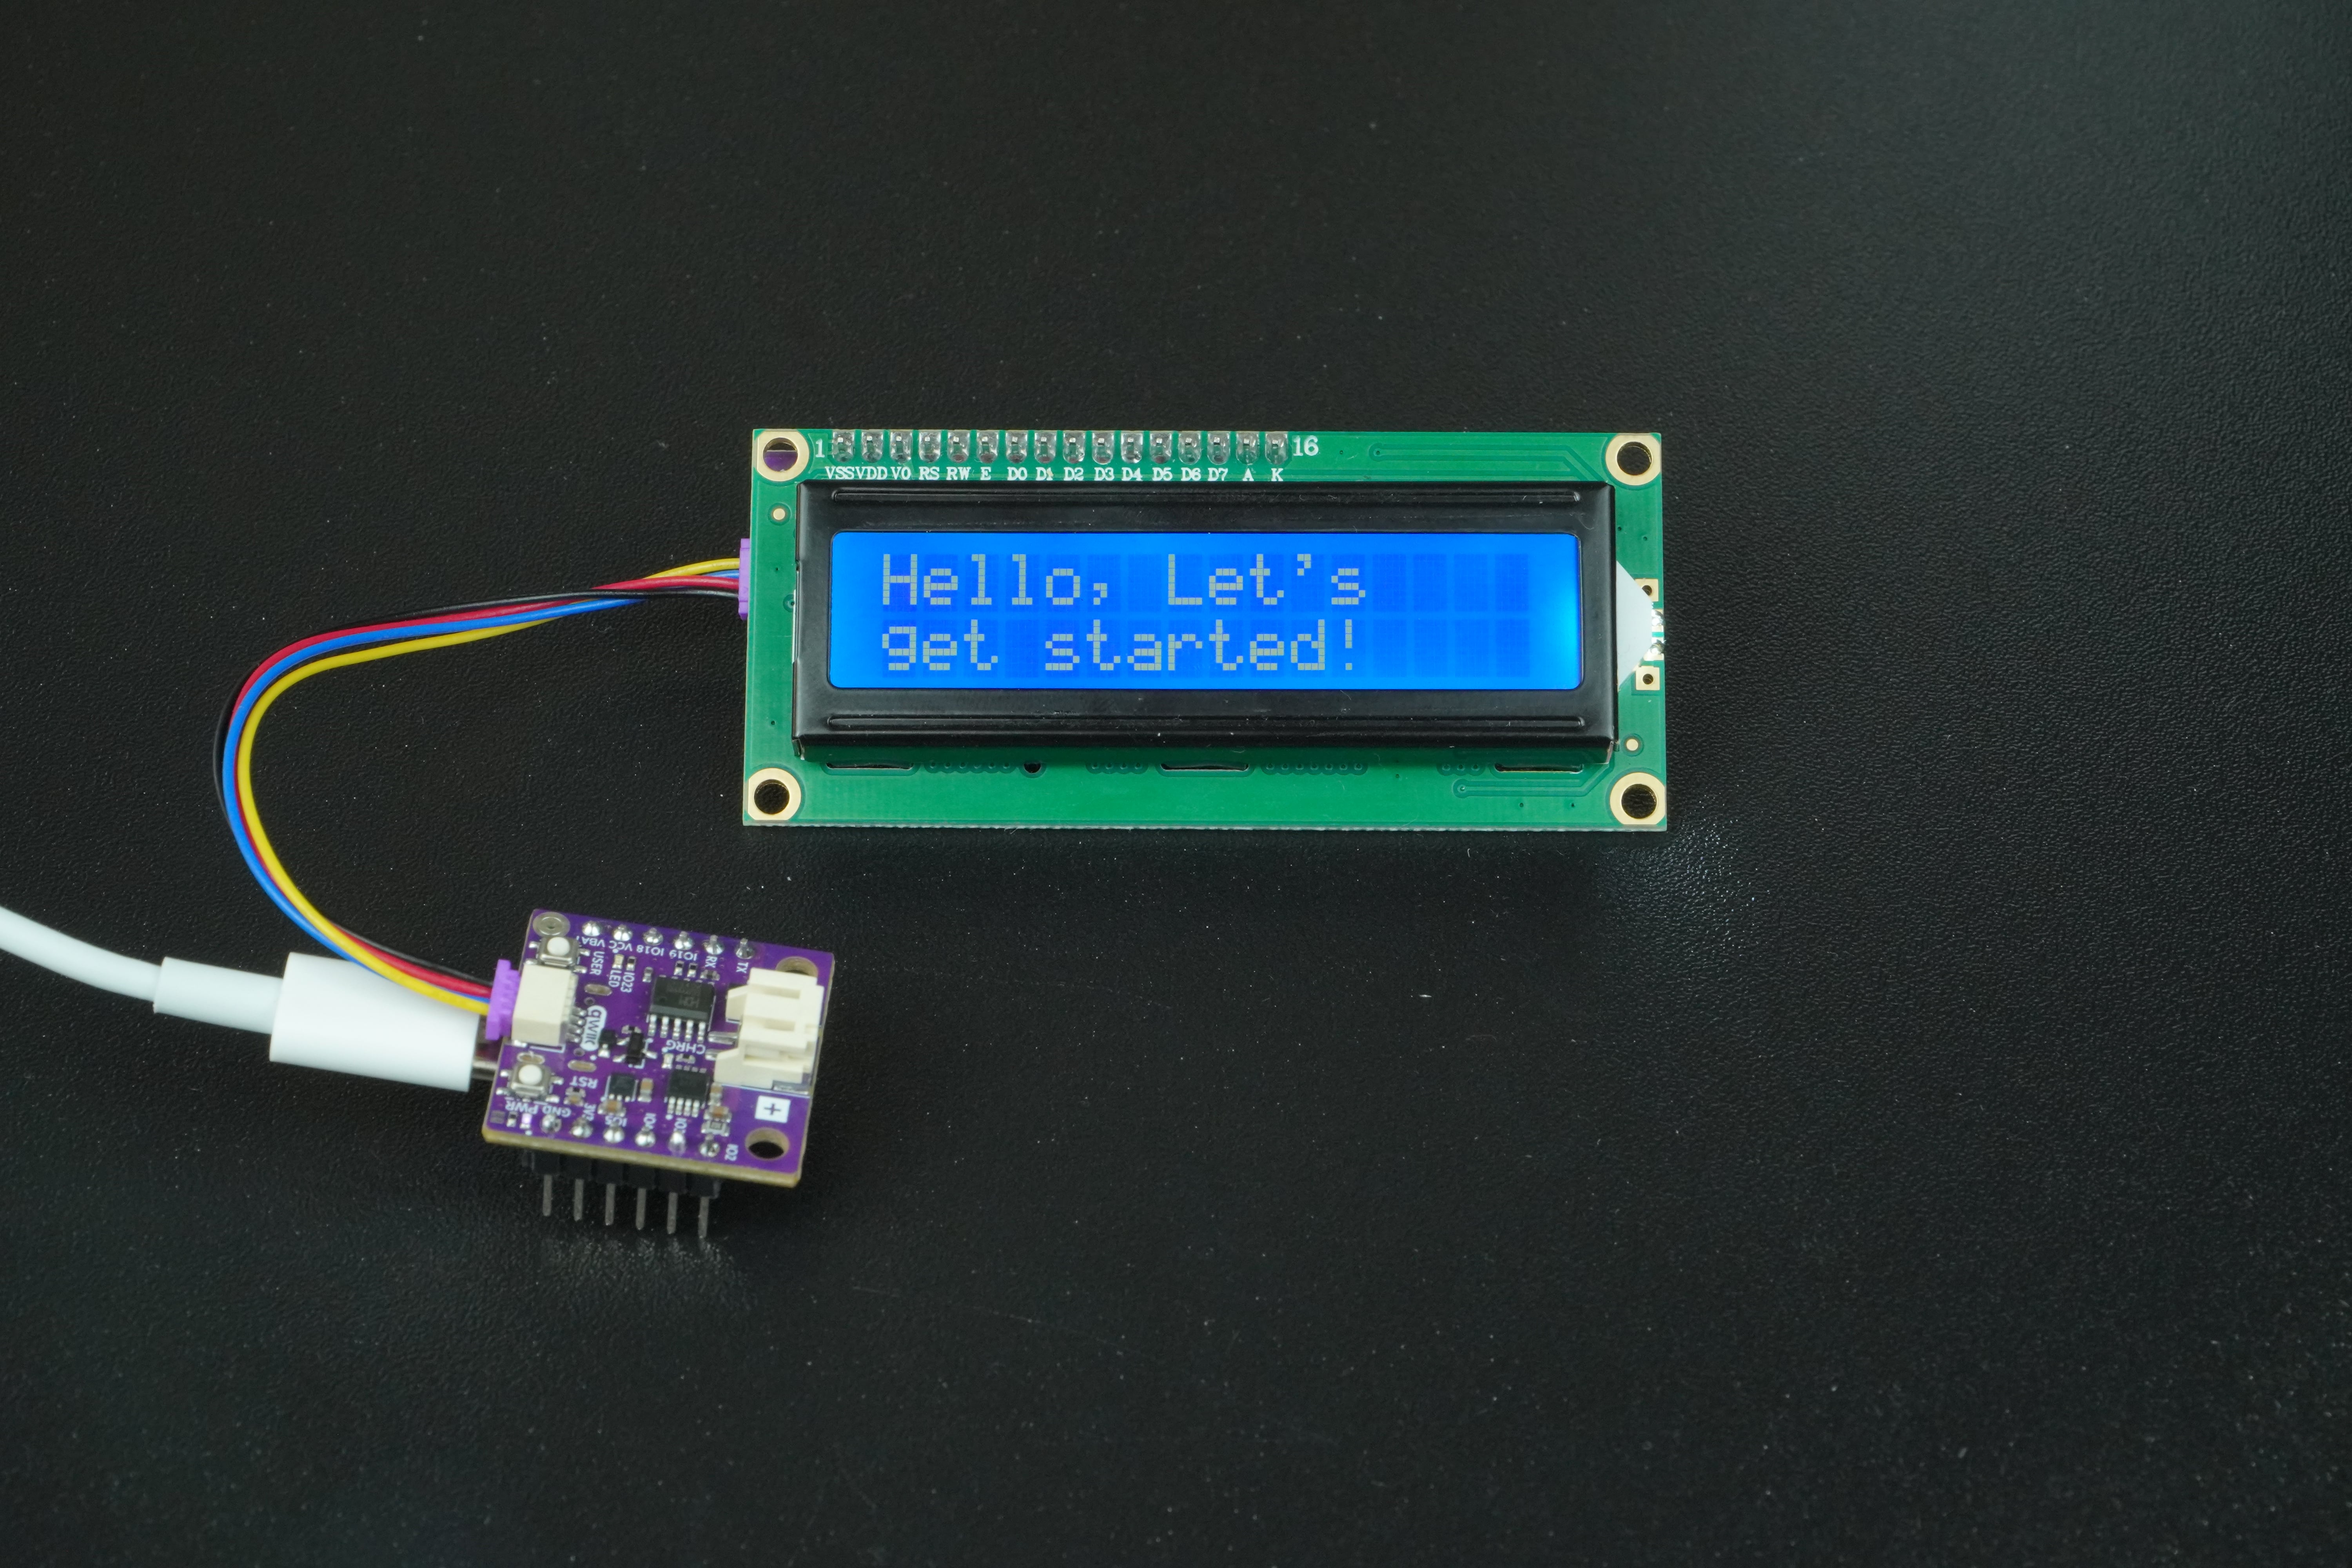
lcd.print("Hello, Let's");
lcd.setCursor(0, 1); // Move to the second row
lcd.print("get started!");
}
void loop(){
}
Full example
Check out the full example code on the link below:
4.1_Print_Message.ino
Example that shows how to initialize the LCD display and print a static message using the Soldered LCD library.