5.1 Reading Temperature and Humidity

The goal of this example is to show you how to use the SHTC3 temperature and humidity sensor to measure environmental data and display it on the Serial Monitor.
The NULA board reads both temperature (°C) and humidity (%) at fixed intervals using the Soldered SHTC3 library.
In this documentation you will learn:
- How to connect the SHTC3 temperature and humidity sensor to the NULA MINI board using Qwiic (I²C).
- How to install and use the Soldered SHTC3 library.
- How to periodically read sensor values using
millis(). - How to display readings on the Serial Monitor.
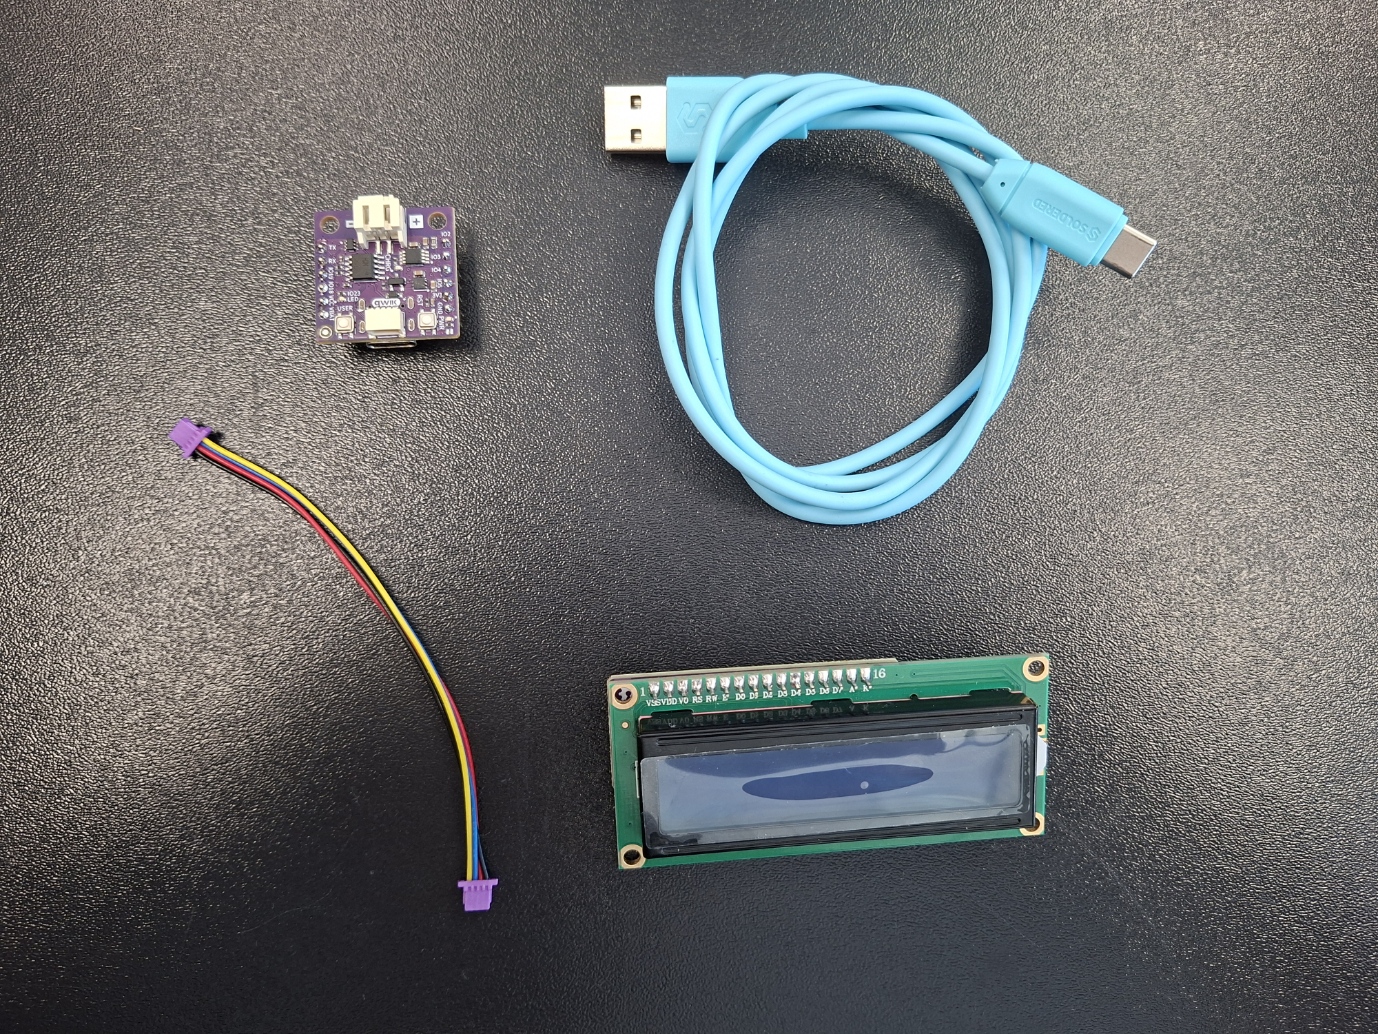
Hardware required
- 1× Soldered NULA MINI board
- 1× Soldered SHTC3 temperature and humidity sensor (Qwiic)
- 1× Qwiic cable
- USB-C cable
Putting the components together
The SHTC3 sensor uses the I²C communication protocol, meaning it only requires two data lines: SDA and SCL, plus power and ground.
Using a Qwiic connector makes this connection simple and clean.
| SHTC3 Pin | NULA MINI Pin |
|---|---|
| Qwiic | Qwiic |
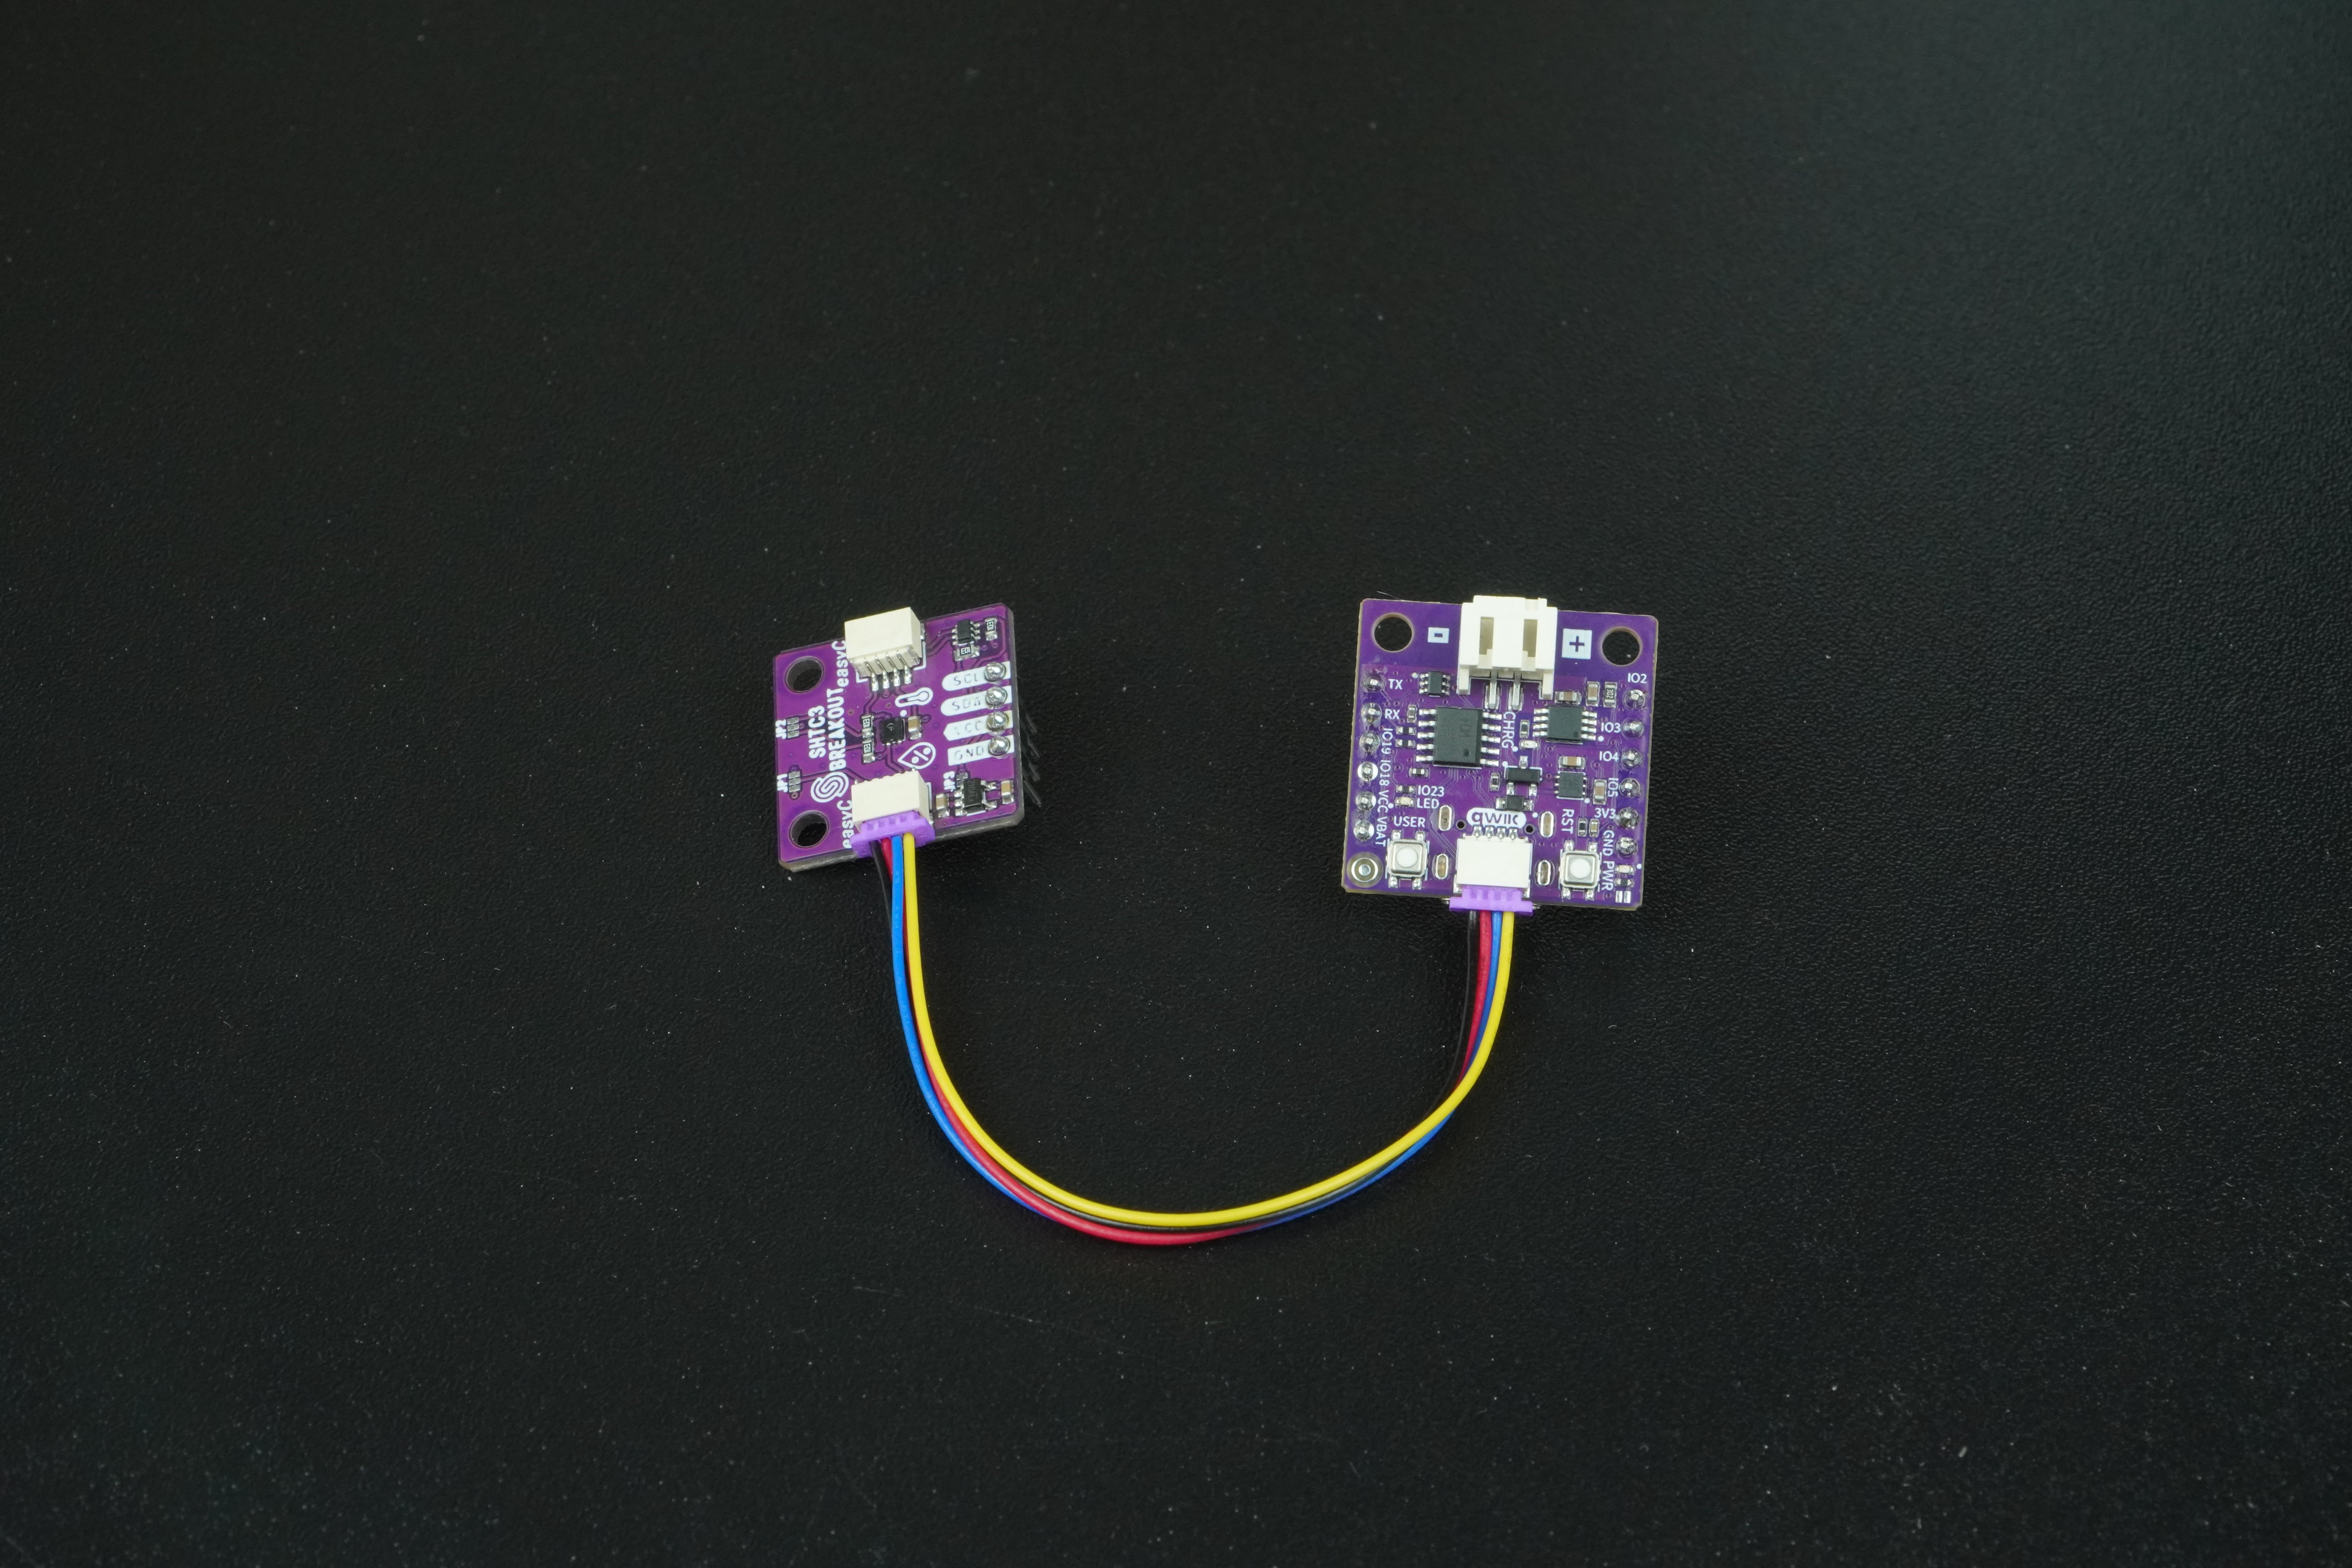
If your SHTC3 module does not have a Qwiic connector, you can connect it manually using jumper wires as shown above.
Always check your pin connections before powering the board.
Setting up the library
This example uses the Soldered SHTC3 Library, which simplifies communication with the sensor and provides easy-to-use functions for reading temperature and humidity.
- Visit the official GitHub repository:
Soldered SHTC3 Library - Download the repository as a ZIP file.
- In the Arduino IDE, navigate to Sketch → Include Library → Add .ZIP Library...
- Locate the downloaded file and confirm.
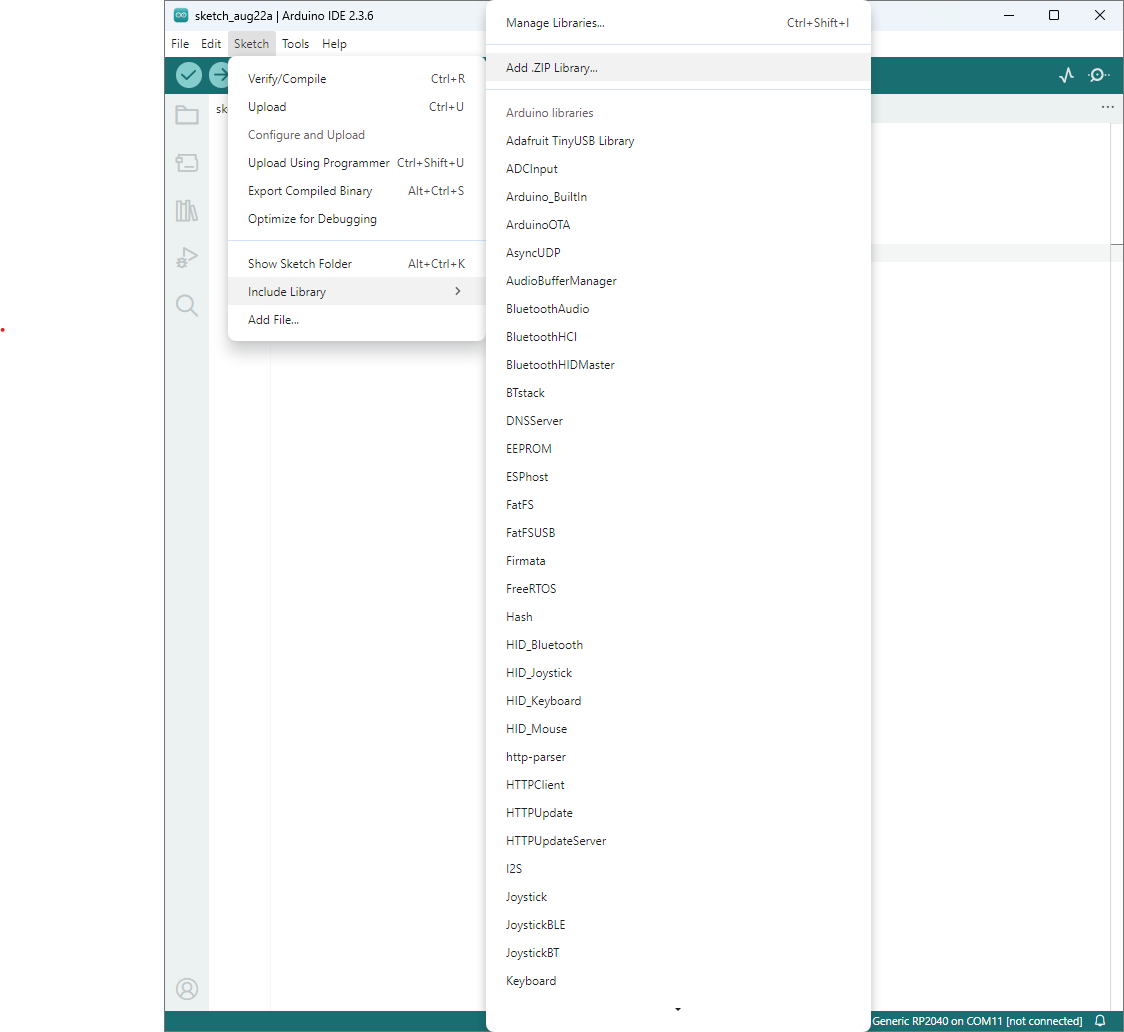
Once installed, include it at the top of your sketch with:
#include "SHTC3-SOLDERED.h"
Initializing the sensor
Before using the SHTC3, we need to initialize it using the library’s begin() function.
The library automatically handles I²C communication setup, so we don’t need to call Wire.begin() manually.
If initialization fails, the Serial Monitor will show an error message.
#include "SHTC3-SOLDERED.h"

SHTC3 shtcSensor;   // Create the sensor object

void setup() {
  Serial.begin(115200);       // Open Serial Monitor for output

  if (!shtcSensor.begin()) {  // Initialize the sensor
    Serial.println("SHTC3 initialization failed!");
  } else {
    Serial.println("SHTC3 sensor ready!");
  }
}
Reading and displaying data
The shtcSensor.sample() function triggers a new measurement, and then the reading are retrieved with: readTemp() for temperature reading in Celsius and readHumidity() for relative humidity in percent. Every 2 seconds, the program takes a new measurement and prints the temperature and humidity values to the Serial Monitor
const unsigned long UPDATE_MS = 2000;
unsigned long lastUpdate = 0;

void loop() {
  unsigned long now = millis();

  if (now - lastUpdate >= UPDATE_MS) {
    lastUpdate = now;

    shtcSensor.sample();                 // Take a new measurement
    float tC  = shtcSensor.readTempC();  // Temperature in °C
    float hum = shtcSensor.readHumidity(); // Humidity in %

    // --- Serial output ---
    Serial.print("Temperature: ");
    Serial.print(tC, 2);
    Serial.print(" °C, Humidity: ");
    Serial.print(hum, 2);
    Serial.println(" %");
  }
}
Full example
Check out the full example code on the link below:
5.1_Reading_Temperature_and_Humidity.ino
Example that shows how to measure temperature and humidity using the Soldered SHTC3 sensor and display the readings on the Serial Monitor.