Arduino - Using VSCode with Arduino
Why Use VSCode with Arduino?
Using Visual Studio Code (VSCode) alongside Arduino IDE allows you to organize your code into smaller, reusable files, making your projects cleaner and easier to maintain. Instead of working with long .ino files that can quickly become overwhelming, VSCode enables structured development with .cpp and .h files. This approach is ideal for larger projects that require modularity and scalability while still leveraging Arduino's upload pipeline.
Requirements
- Arduino IDE 2.0+ installed→ Download Arduino IDE
- VSCode installed→ Download VSCode
- An Arduino-compatible board (e.g., Uno, ESP32, etc.)
Step 1: Create a Project in Arduino IDE 2.0+
- Open Arduino IDE 2.0.
- Go to File → New Sketch.
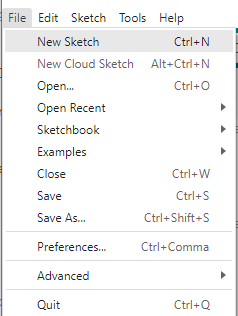
- Save the project with a clear name:File → Save As → exampleProject.

- This creates a folder in:
Documents/Arduino/exampleProject/where inside this folder, you’ll find:exampleProject/exampleProject.ino
Step 2: Open the Sketch Folder in VSCode
- Launch VSCode.
- Select File → Open Folder.
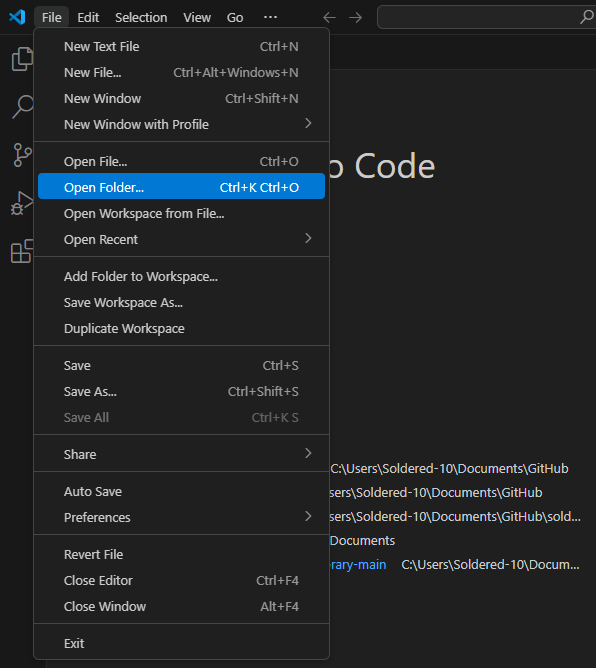
- Choose the folder created by Arduino IDE:
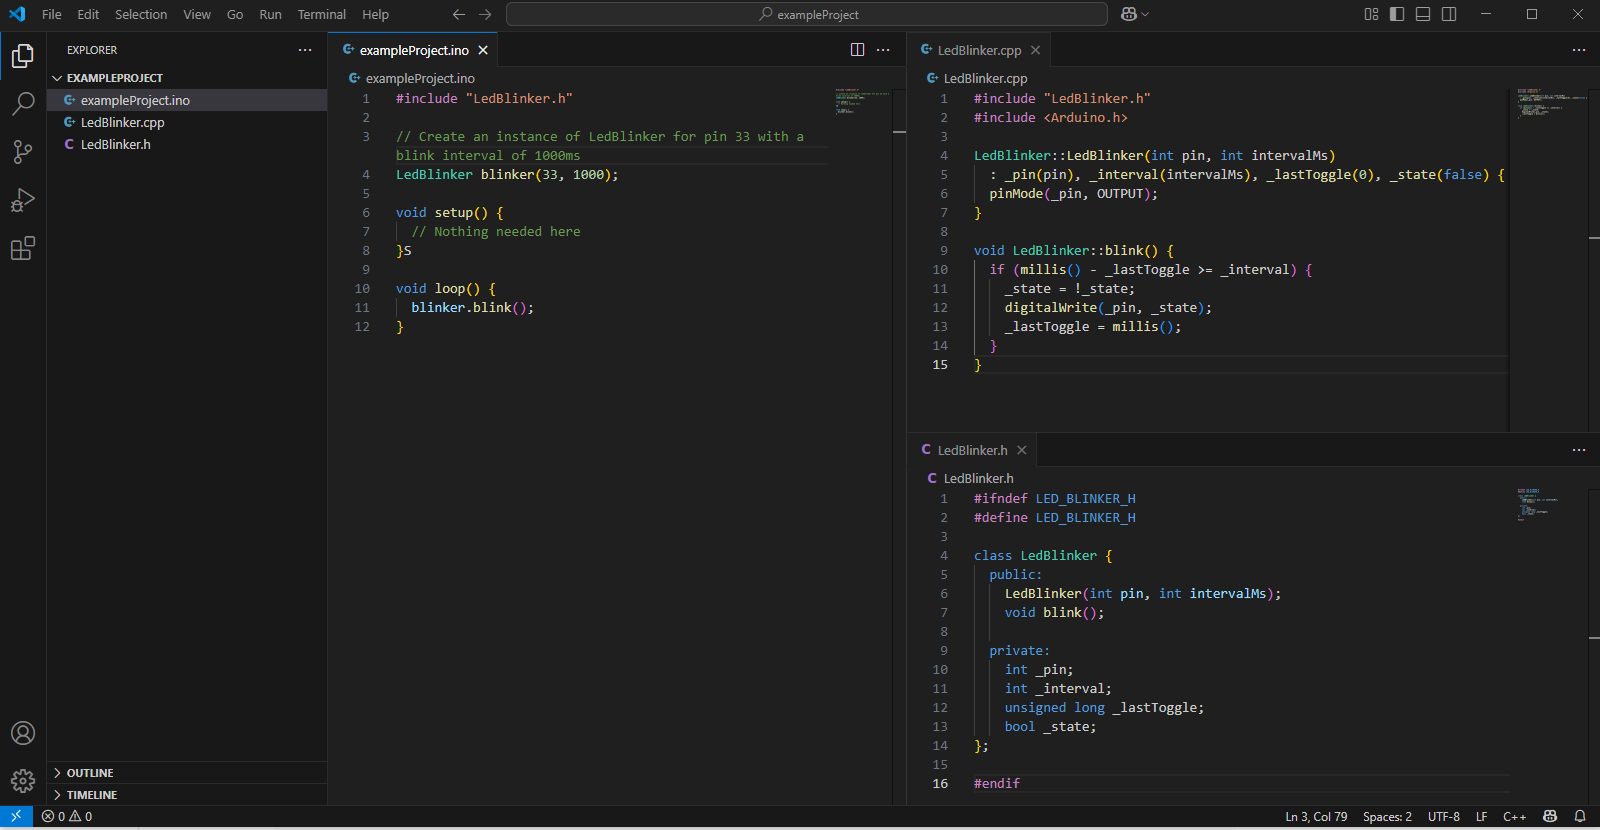
Documents/Arduino/exampleProject/ - VSCode will treat this as your working project folder, allowing you to add
.cppand.hfiles and enjoy full IntelliSense and code navigation.
.ino file! You must open the entire sketch folder to ensure relative paths and file structure work correctly.Step 3: Use Arduino Libraries
Arduino IDE handles libraries globally, meaning they are accessible to all sketches without additional configuration. Libraries installed through Arduino IDE are stored in: Documents/Arduino/libraries/ and these libraries are automatically visible during compilation.
Example:
If you install the Soldered Smart LEDs WS2812 library via the Library Manager:
#include <WS2812-SOLDERED.h>
You can use it in your .ino file without manually setting include paths.
Step 4: Add Custom C++ Code (.cpp/.h)
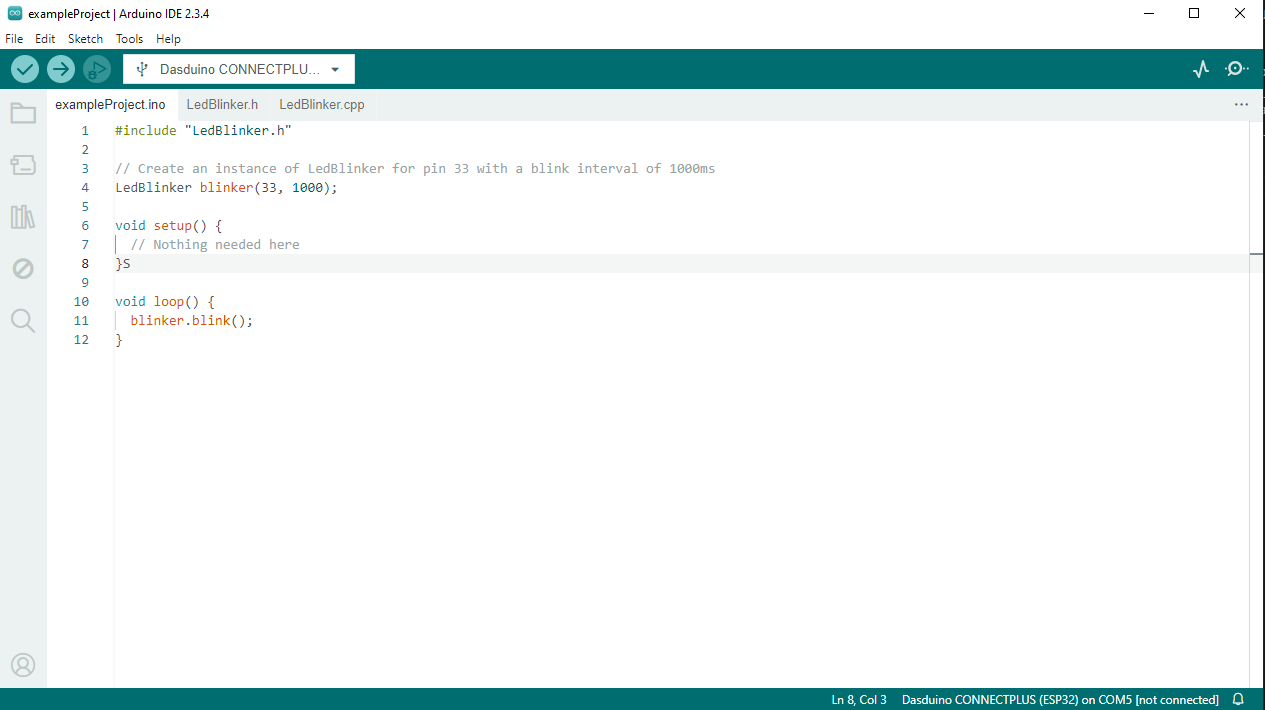
Using VSCode for Arduino projects makes your code more organized and scalable by encouraging modular structures with .ino, .h, and .cpp files, as shown in the following example, where a separate class used for blinking a LED is included through external files. Navigating between files, such as jumping from exampleProject.ino to LedBlinker.cpp, is seamless with features like “Go to Definition.” Refactoring and debugging are much easier, especially when working with larger or more complex projects. Overall, VSCode brings a professional development experience that helps you write cleaner, more maintainable Arduino code.
The code defines a LedBlinker class that controls an LED by toggling its state at a set interval using the blink() method. In the exampleProject.ino file, an instance of this class is created for pin 33 with a 1000ms blink interval, and blink() is called repeatedly inside the loop(). This structure keeps the main sketch clean while encapsulating the LED logic inside a reusable class.
Example Project Structure:
exampleProject/
├── exampleProject.ino
├── LedBlinker.h
└── LedBlinker.cpp
LedBlinker.h
#ifndef LED_BLINKER_H
#define LED_BLINKER_H

class LedBlinker {
  public:
    LedBlinker(int pin, int intervalMs);
    void blink();

  private:
    int _pin;
    int _interval;
    unsigned long _lastToggle;
    bool _state;
};

#endif
LedBlinker.cpp
#include "LedBlinker.h"
#include <Arduino.h>

LedBlinker::LedBlinker(int pin, int intervalMs)
  : _pin(pin), _interval(intervalMs), _lastToggle(0), _state(false) {
  pinMode(_pin, OUTPUT);
}

void LedBlinker::blink() {
  if (millis() - _lastToggle >= _interval) {
    _state = !_state;
    digitalWrite(_pin, _state);
    _lastToggle = millis();
  }
}
exampleProject.ino
#include "LedBlinker.h"

// Create an instance of LedBlinker for pin 33 with a blink interval of 1000ms
LedBlinker blinker(33, 1000);

void setup() {
  // Nothing needed here
}

void loop() {
  blinker.blink();
}
Step 5: Upload from Arduino IDE 2.0+
- Go back to Arduino IDE 2.0.
- Open your .ino file.
- Select your board and port (bottom left dropdowns).
- Click the upload icon (checkmark).
- Arduino IDE will compile all files (.ino, .cpp, .h) in the sketch folder and upload them to your board.