Lcd I2C - Basic Examples
This page contains some simple examples with function documentation on how to use the LCD display in different ways.
Initialization
To use the LCD display include the required library, create the LCD object and initialize the LCD in the setup() function with begin(). Backlight is also initialized here.
// Include the library
#include "16x2-LCD-SOLDERED.h"

LCD lcd; // Create the LCD object

void setup()
{
    lcd.begin();     // Initialize LCD
    lcd.backlight(); // Turn the backlight on
}
// ...
lcd.begin()
Calls the Wire.begin() function which initializes the Wire library and joins the I2C bus as a controller or a peripheral.
Returns value: None
Hello World
This code snippet shows how the cursor is used with the setCursor() function and how we can print() out words and sentences.
// Include the library
#include "16x2-LCD-SOLDERED.h"

LCD lcd; // Define LCD object

void setup()
{
    lcd.begin();     // Initialize LCD
    lcd.backlight(); // Turn the backlight on
}

void loop()
{
    lcd.print("     Hello"); // Prints Hello on the LCD
    lcd.setCursor(5, 1);     // Set the cursor to the 5th character in line 1
    lcd.print("World!");     // Prints World! on the LCD
    delay(500);

    lcd.clear();     // Clear the LCD
    delay(500);
}
lcd.setCursor()
Sets the position of the cursor on the LCD display. The parameters 'col' and 'row' determine the column and row where the next character will be displayed. The cursor is positioned by updating the DDRAM address of the LCD.
Returns value: None
Function parameters:
| Type | Name | Description |
|---|---|---|
uint8_t | col | The column position (0-15) where the cursor will be placed. |
uint8_t | row | The row position (0-1) where the cursor will be placed. |
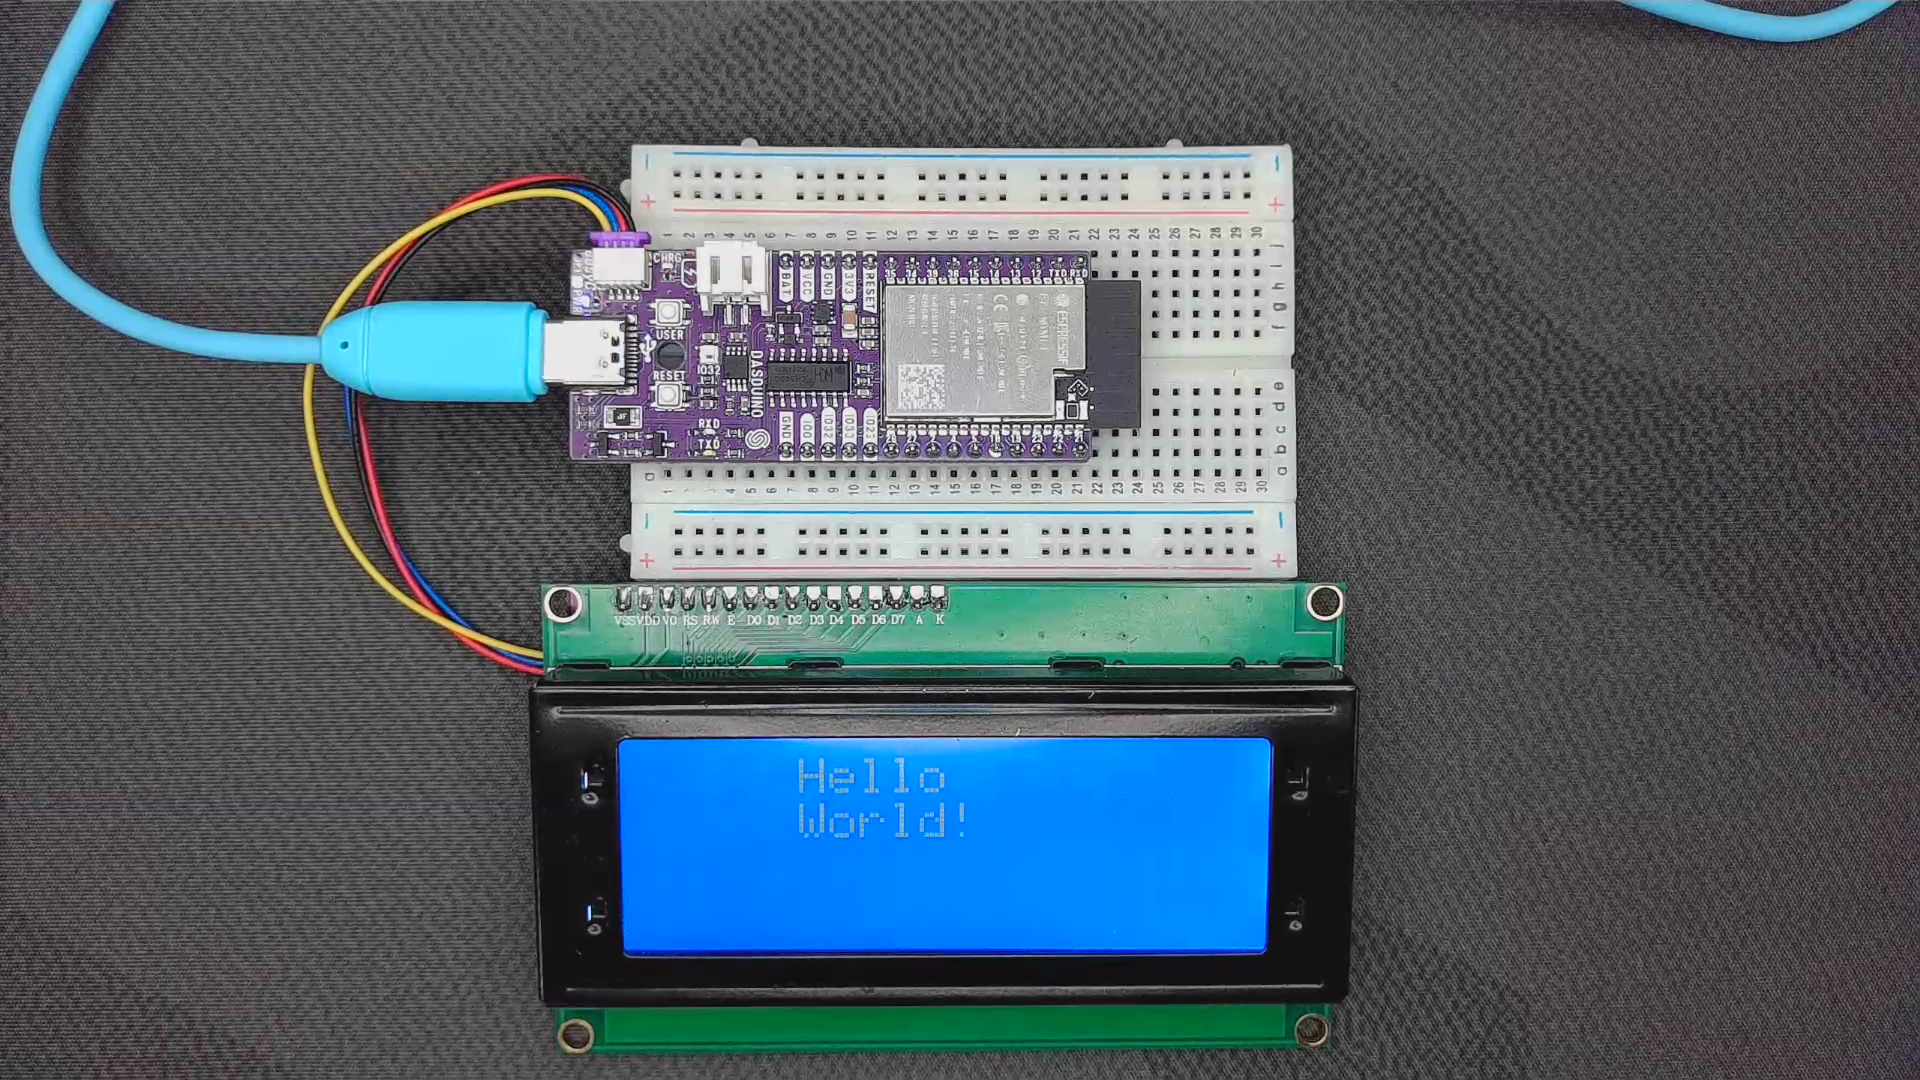
Hello_World.ino
Example file for a Hello World printout using the LCD I2C display