Electrochemical Gas Sensors – Custom configuration example
In different environments, a custom configuration may need to be created. We will cover it in this example.
First, include the library and create the custom configuration. Each attribute is defined below:
// Include the required library
#include "Electrochemical-Gas-Sensor-SOLDERED.h"

/**
 * Here are parameters to configure for the custom sensor:
 *
 * nanoAmperesPerPPM: From the datasheet of the particular electrochemical
 * sensor, used in the calculation of PPM/PPB
 *
 * internalZeroCalibration: A fixed value that is added to the voltage
 * measured by the ADS. The value here should make the reading be
 * just barely 0 PPM when the sensor is in a place with none of the target gas
 *
 * adsGain: The gain of the ADS
 * The voltage here represents the maximum range it can measure
 * ADS_GAIN_6_144V              6.144 V
 * ADS_GAIN_4_096V              4.096 V
 * ADS_GAIN_2_048V              2.048 V
 * ADS_GAIN_1_024V              1.024 V
 * ADS_GAIN_0_512V              0.512 V
 * ADS_GAIN_0_256V              0.256 V
 *
 * TIA_GAIN_IN_KOHMS: The gain of the amplifier
 * This increases the sensitivity of the measurement
 * TIA_GAIN_EXTERNAL            External resistance
 * TIA_GAIN_2_75_KOHM           2.75 kOhm
 * TIA_GAIN_3_5_KOHM            3.5 kOhm
 * TIA_GAIN_7_KOHM              7 kOhm
 * TIA_GAIN_14_KOHM             14 kOhm
 * TIA_GAIN_35_KOHM             35 kOhm
 * TIA_GAIN_120_KOHM            120 kOhm
 * TIA_GAIN_350_KOHM            350 kOhm
 *
 * RLOAD: The load resistor in the LMP91000
 * Specified in the electrochemical sensor's datasheet
 * RLOAD_10_OHM                 10 Ohm
 * RLOAD_33_OHM                 33 Ohm
 * RLOAD_50_OHM                 50 Ohm
 * RLOAD_100_OHM                100 Ohm
 *
 * REF_SOURCE: Source of the control voltage reference
 * For our breakout, use external; there is a 2.5V external
 * reference voltage
 * REF_INTERNAL                 Internal
 * REF_EXTERNAL                 External
 *
 * INTERNAL_ZERO: Internal zero selection
 * If the electrochemical sensor has a positive polarity, you
 * would usually want to use 20% for the most headroom in the signal
 * INTERNAL_ZERO_20_PERCENT             20%
 * INTERNAL_ZERO_50_PERCENT             50%
 * INTERNAL_ZERO_67_PERCENT             67%
 * INTERNAL_ZERO_BYPASSED               Internal zero bypassed
 *
 * BIAS_SIGN: The polarity of the bias voltage
 * BIAS_SIGN_NEGATIVE           Negative
 * BIAS_SIGN_POSITIVE           Positive
 *
 * BIAS: Added bias, percentage of the reference voltage
 * Most sensors don't require this; check each sensor's datasheet
 * BIAS_0_PERCENT               0%
 * BIAS_1_PERCENT               1%
 * BIAS_2_PERCENT               2%
 * BIAS_4_PERCENT               4%
 * BIAS_6_PERCENT               6%
 * ...
 * BIAS_22_PERCENT              22%
 * BIAS_24_PERCENT              24%
 *
 * FET_SHORT: Short the FET
 * Used to preserve the electrochemical sensor
 * It must be disabled for the sensor to be operable
 * FET_SHORT_DISABLED           Disabled
 * FET_SHORT_ENABLED            Enabled
 *
 * OP_MODE: Mode of operation
 * OP_MODE_DEEP_SLEEP               Deep Sleep (default)
 * OP_MODE_2LEAD_GROUND_CELL        2-lead ground referred galvanic cell
 * OP_MODE_STANDBY                  Standby
 * OP_MODE_3LEAD_AMP_CELL           3-lead amperometric cell
 * OP_MODE_TEMPERATURE_TIA_OFF      Temperature measurement (TIA Off)
 * OP_MODE_TEMPERATURE_TIA_ON       Temperature measurement (TIA On)
 *
 * For more details, check the LMP91000 datasheet, chapter 7.6
 */

// Here is an example of a custom configuration:
const sensorType SENSOR_CUSTOM = {
    100.0F,                   // nanoAmperesPerPPM
    0,                        // internalZeroCalibration
    ADS_GAIN_4_096V,          // adsGain
    TIA_GAIN_120_KOHM,        // TIA_GAIN_IN_KOHMS
    RLOAD_10_OHM,             // RLOAD
    REF_EXTERNAL,             // REF_SOURCE
    INTERNAL_ZERO_20_PERCENT, // INTERNAL_ZERO
    BIAS_SIGN_NEGATIVE,       // BIAS_SIGN
    BIAS_0_PERCENT,           // BIAS
    FET_SHORT_DISABLED,       // FET_SHORT
    OP_MODE_3LEAD_AMP_CELL,   // OP_MODE
};

// Create the sensor object with the custom type
ElectrochemicalGasSensor sensor(SENSOR_CUSTOM);
The rest of the sketch follows the same structure as the previous example:
void setup()
{
    Serial.begin(115200); // For debugging

    // Init the breakout
    if (!sensor.begin())
    {
        // Can't initialize? Notify the user and go to an infinite loop
        Serial.println("ERROR: Can't init the sensor! Check connections!");
        while (true)
            delay(100);
    }

    Serial.println("Sensor initialized successfully!");
}

void loop()
{
    // Take a reading
    double reading = sensor.getPPM();

    // Print the reading with 5 digits of precision
    Serial.println("Sensor reading: ");
    Serial.print(reading, 5);
    Serial.println(" PPM");

    // Wait a bit before reading again
    delay(2500);
}
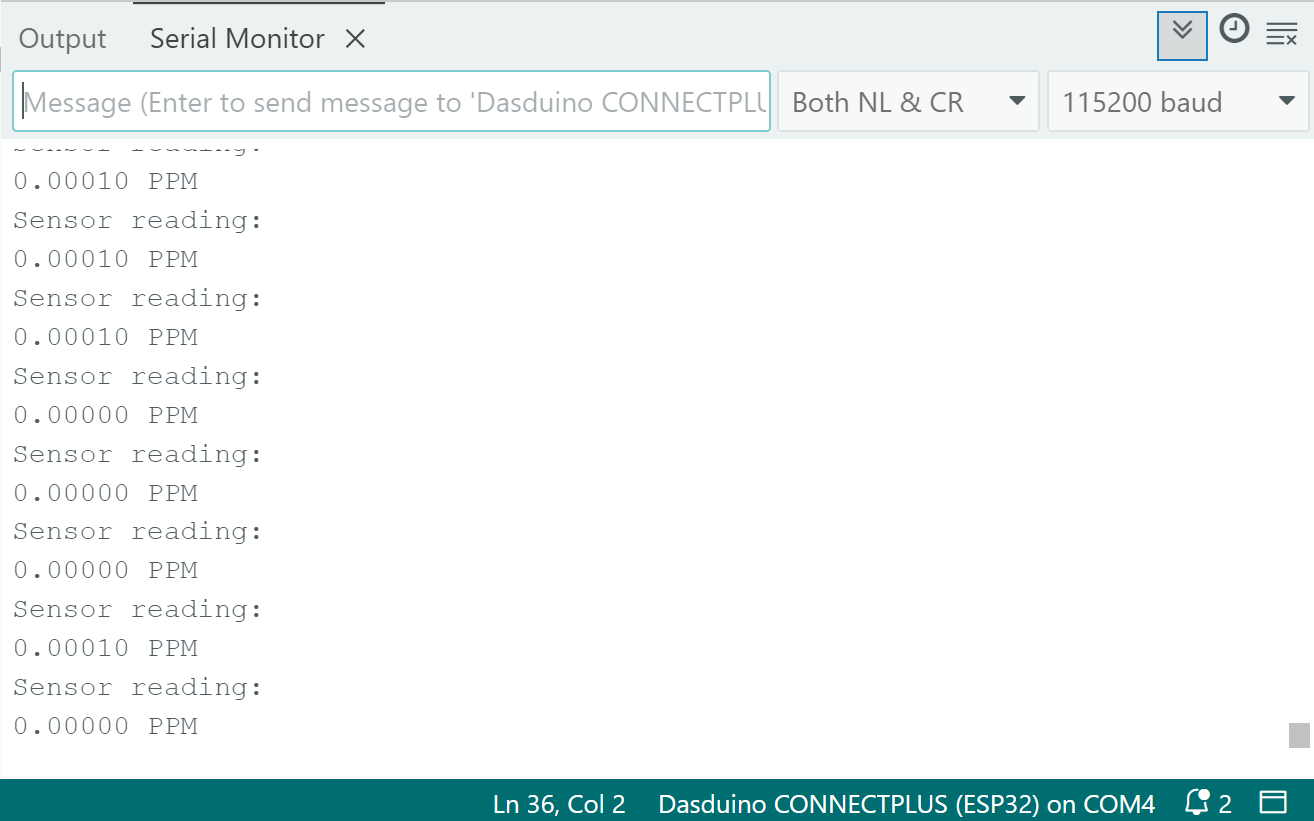
Serial monitor
sensor.begin()
Initializes the LMP91000 and ADS1115 on the board and establishes an I2C connection
Returns value: Boolean value; returns true if successful, false if it fails
sensor.getPPM()
Makes a measurement with the ADS1115 ADC and calculates the PPM value of the measured gas
Returns value: Double value; gas measurement in PPM (parts per million)
Full example
See the full example here:
Custom configuration example
Custom configuration example for electrochemical sensors