Lcd I2C - Getting started
This page provides the essential information for getting started, including board and library installation.
Arduino library
To install the Arduino library, you can use the Arduino library manager or download it from the GitHub repository:
Soldered 16x2 LCD I2C Arduino Library
16x2 LCD I2C Arduino library by Soldered
First-time Arduino user? For a detailed tutorial on how to get started with Arduino, see this section of our docs:
Getting started with Arduino
A full, comprehensive tutorial on how to fully set up and upload code for the first time on an Arduino board, from scratch!
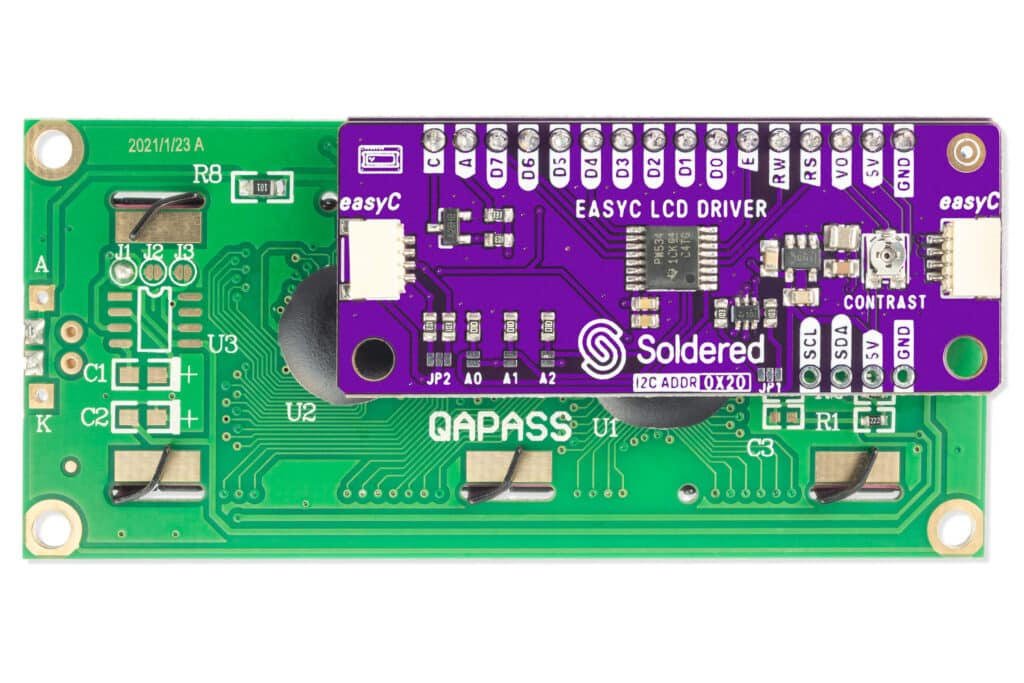
Connections
Below is an example connection diagram for Dasduino CONNECTPLUS. These pins will be used in the examples throughout this documentation.
| Dasduino CONNECTPLUS | I2C LCD Driver Board |
|---|---|
| Qwiic | Qwiic |
| Dasduino CONNECTPLUS | I2C LCD Driver Board |
|---|---|
| IO21 (Default SDA pin) | SDA |
| IO22 (Default SCL pin) | SCL |
| VCC (5V) | 5V |
| GND | GND |
What About the Other Pins?
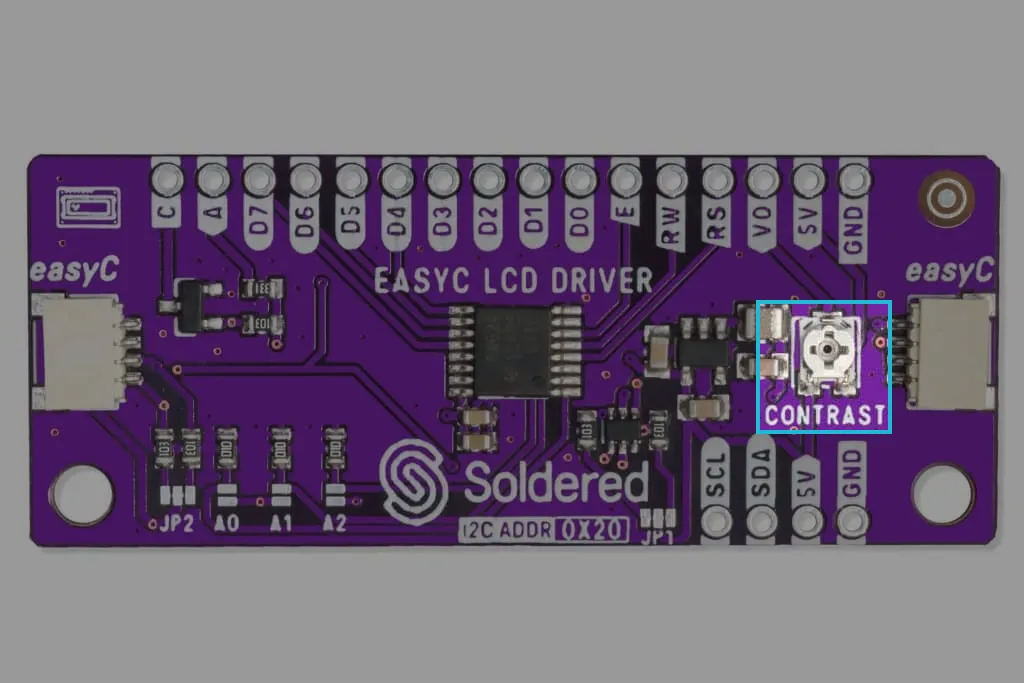
Most of the other pins (D0-D7, E, R/W, RS, VO) are used for parallel communication with an LCD. However, since this board is an I2C interface, these extra pins don't require connecting with Dasduino.
Adjusting the contrast
If your LCD display appears blank or the characters are not visible, you may need to adjust the contrast. This is a common issue when first setting up an LCD with the Dasduino.
On the back of the adapter board, there is a small potentiometer (usually a square component with a tiny screw). Use a small screwdriver to carefully turn it left or right until the characters become visible.