Mcp23017 - Blinking LED example
This page contains an example for setting up a blinking LED via the I/O extender.
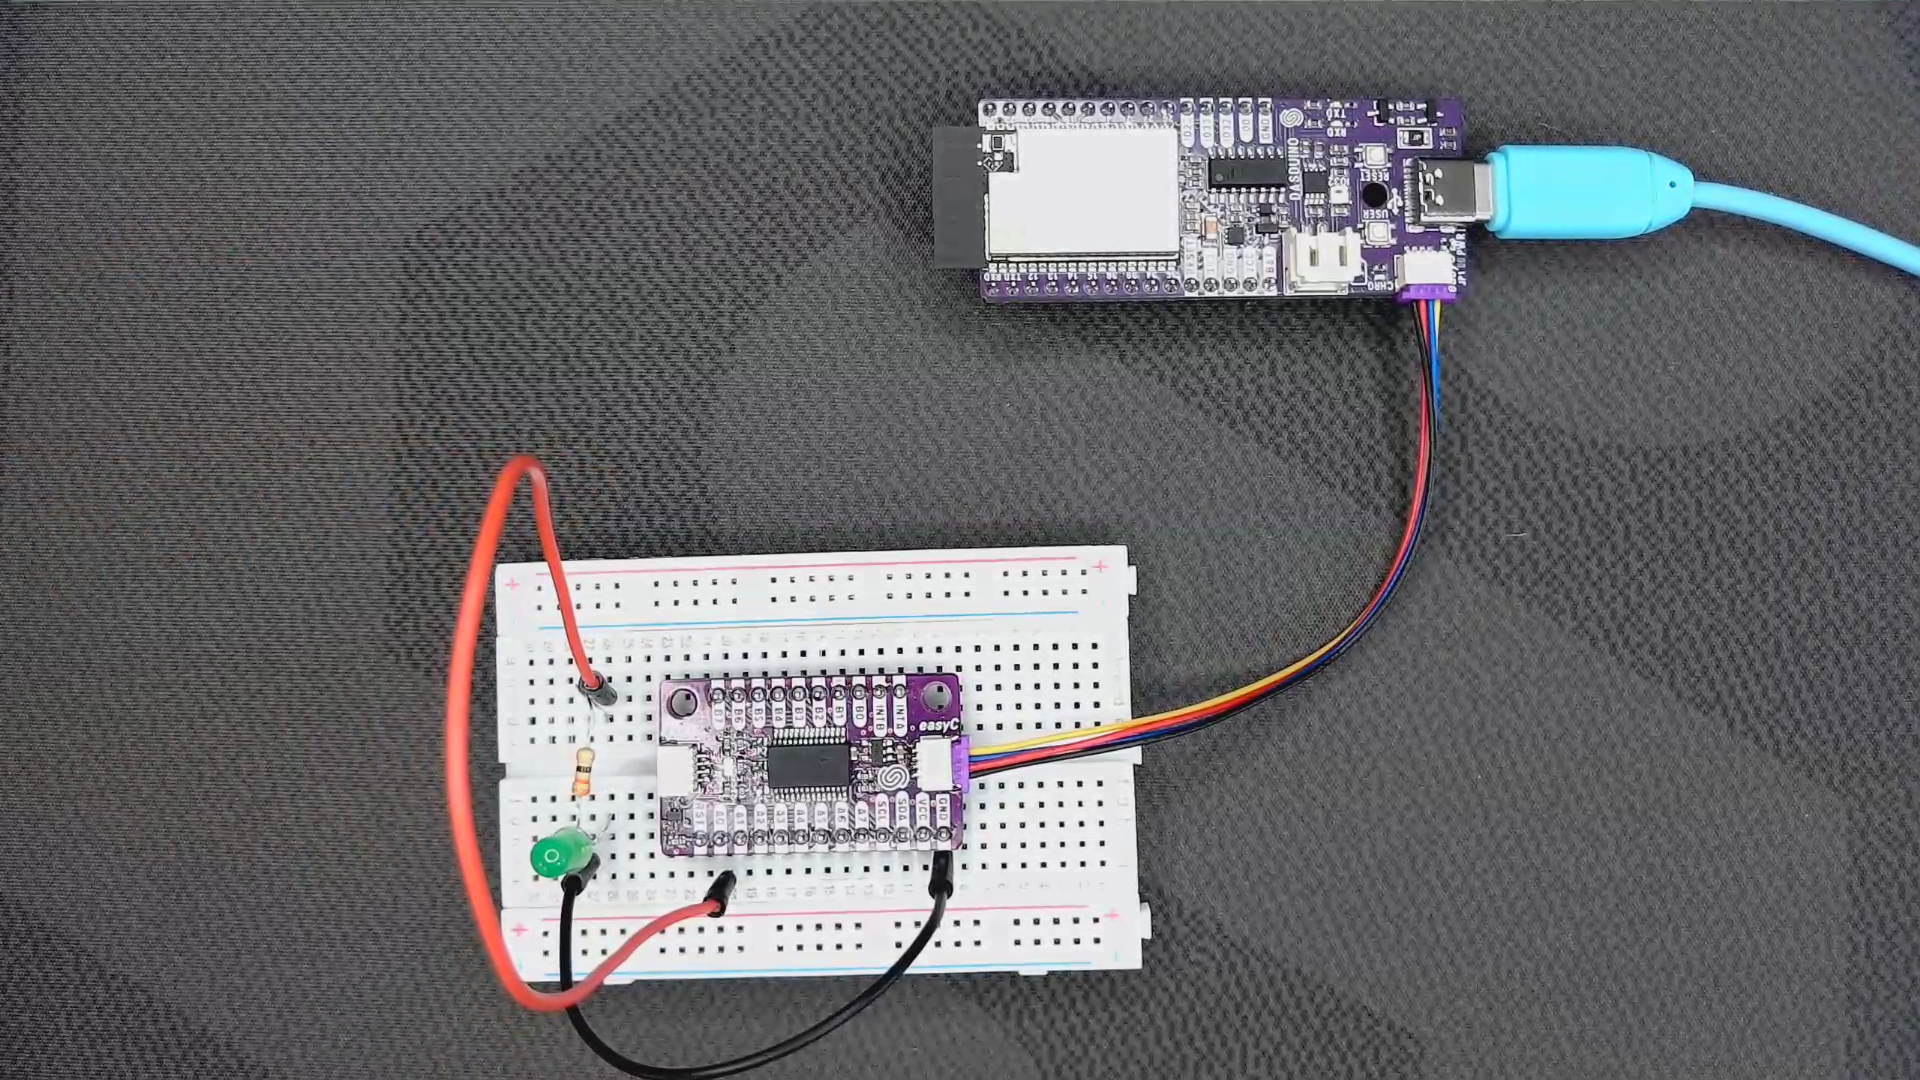
Connections for this example
Full example
In this example, we first include the library and create an instance of the board. Next, in the setup() function, we initialize the I2C communication with the I/O expander and set the pin mode for the GPA0 pin (we are using this pin for the LED). Finally, in the loop() function, we change the pin output every second:
// Include the board file
#include "MCP23017-SOLDERED.h"

// Create an instance of the board object
MCP_23017 mcp;

void setup()
{
    // Initialize the board
    mcp.begin();

    // Set the pin to output
    mcp.pinMode(GPA0, OUTPUT);
}

void loop()
{
    // Blink the pin
    mcp.digitalWrite(GPA0, HIGH);
    delay(1000);

    // Turn off the pin
    mcp.digitalWrite(GPA0, LOW);
    delay(1000);
}
mcp.begin()
Initializes the I/O extender via I2C
Returns value: None
mcp.pinMode(uint8_t pin, uint8_t mode)
Controls a single pin's direction
Returns value: None
Function parameters:
| Type | Name | Description |
|---|---|---|
uint8_t | pin | pin number |
uint8_t | mode | OUTPUT, INPUT or INPUT_PULLUP |
mcp.digitalWrite(uint8_t pin, uint8_t state)
Sets the state for a specific pin
Returns value: None
Function parameters:
| Type | Name | Description |
|---|---|---|
uint8_t | pin | pin number |
uint8_t | state | state in which to put the pin |