WS2812B - Getting started
Arduino library
To install the Arduino library, you can use the Arduino library manager or download it from the GitHub repository:
Smart LEDs Arduino library
Smart Leds Arduino library by Soldered
ℹ️
First time Arduino user? For a detailed tutorial on how to get started with Arduino, see this section of our docs:
Getting started with Arduino
A full, comprehensive tutorial on how to fully set up and upload code for the first time on an Arduino board, from scratch!
Connections
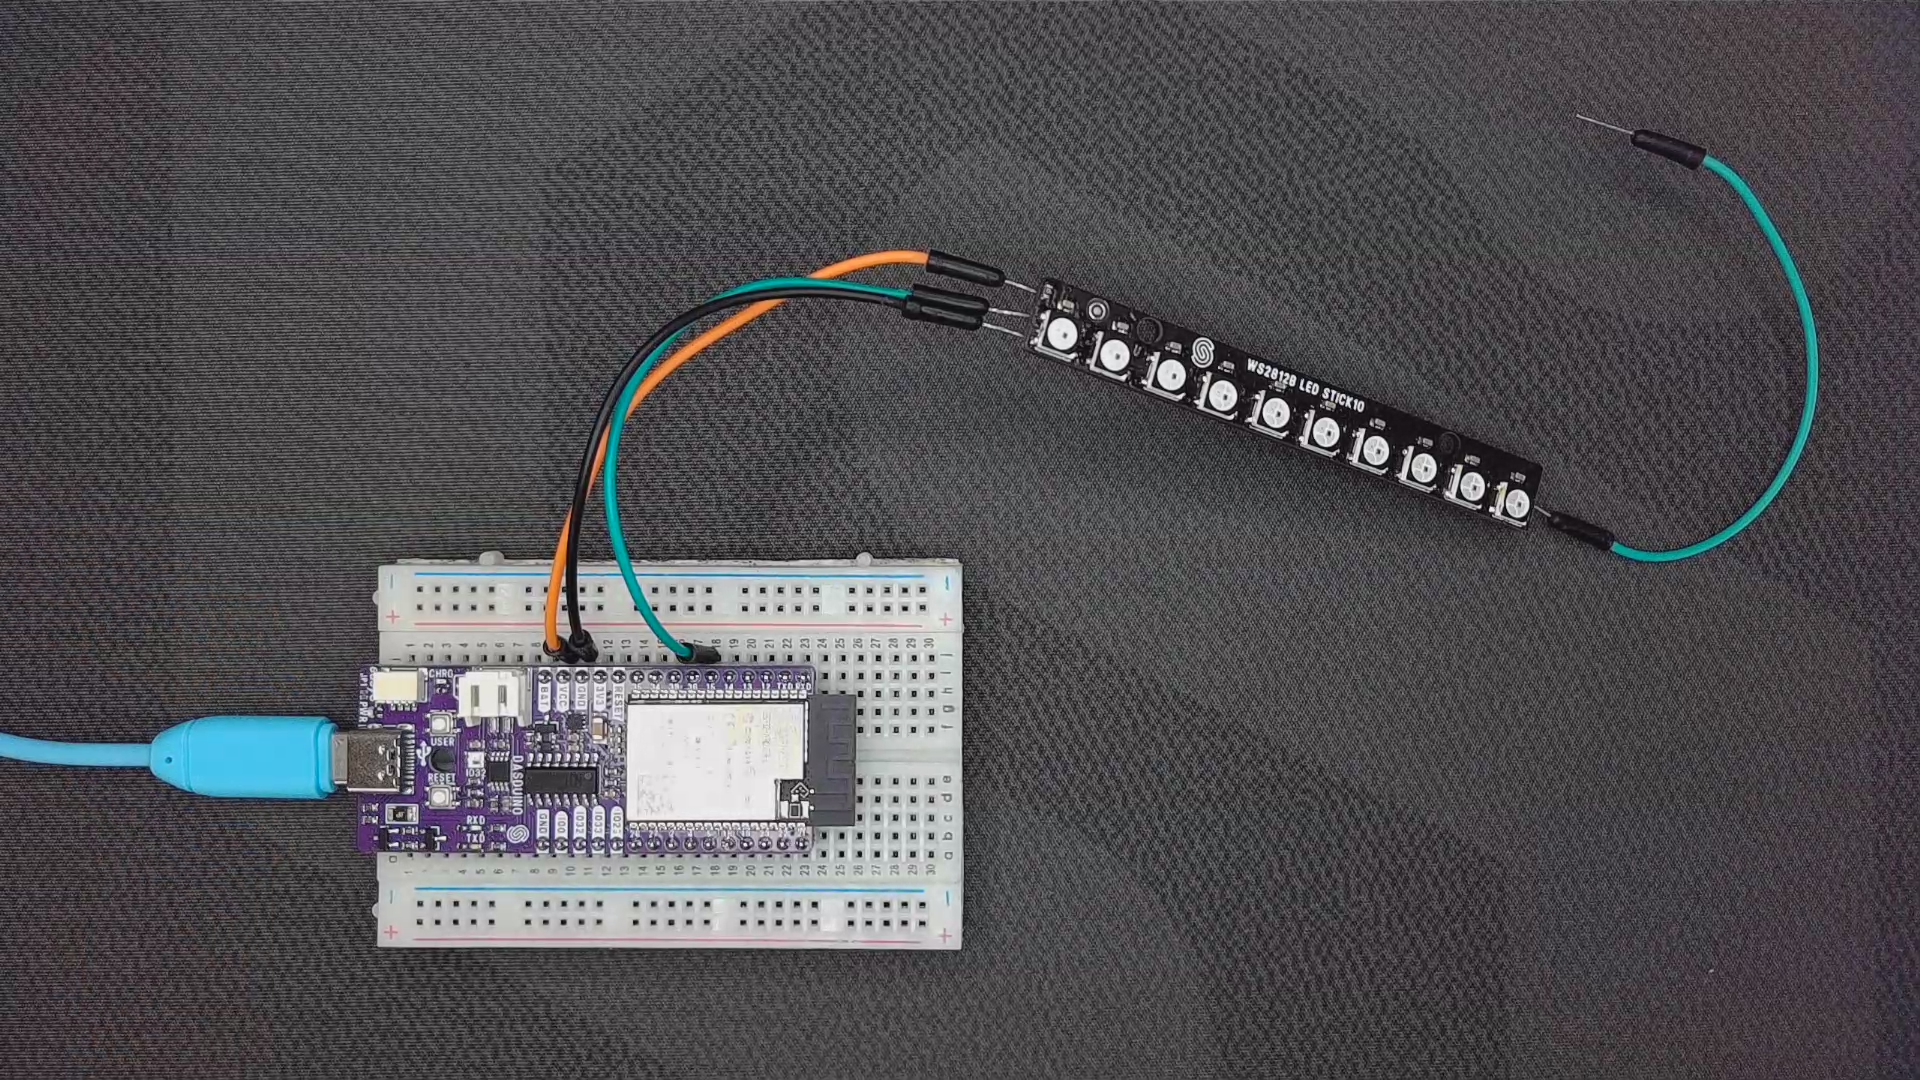
Below is an example connection diagram for Dasduino CONNECTPLUS. These pins will be used in the examples throughout this documentation.
| Dasduino CONNECT | Smart LED WS2812B |
|---|---|
| VCC | VCC |
| GND | GND |
| IO2 (any digital pin) | DIN |
ℹ️
The DOUT pin on a WS2812B LED strip is used to pass the data signal to the next LED or another strip in a daisy-chain configuration.
External Power Supply
Below is the wiring setup for connecting an Arduino with an external 5V power supply to a WS2812B LED strip.
| Component | Connection Point | Notes |
|---|---|---|
| WS2812B VCC | 5V output of external power supply | Ensure the power supply provides sufficient current for the LED strip. |
| WS2812B GND | GND of external power supply | Must be connected to create a common ground. |
| WS2812B DIN | IO2 (or any digital pin) on Arduino | Data signal should be at 5V for proper operation. |
| Arduino 5V | 5V from external power supply | Use 5V if powering directly. |
| Arduino GND | GND of external power supply | Ensures a common reference for signal transmission. |
ℹ️
For stability, use a 1000µF capacitor across the power and ground of the LED strip and a 330Ω resistor in series with the data line.