Quick start guide
To get started with Arduino on Inkplate 10, a few simple steps need to be completed to install the required software.
1. Install Arduino IDE
If you haven’t installed it yet, download and install the Arduino IDE from the official website.
2. Install Inkplate boards definition
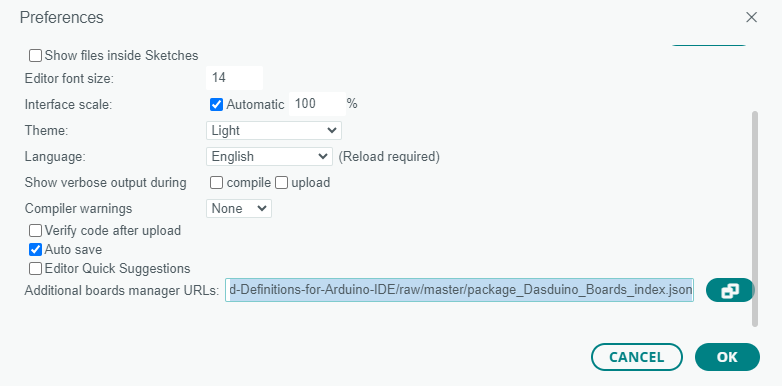
Copy the following URL:
https://github.com/SolderedElectronics/Dasduino-Board-Definitions-for-Arduino-IDE/raw/master/package_Dasduino_Boards_index.json
And add it to the Additional boards manager URLs in Arduino settings:
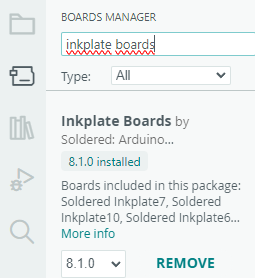
Now, you can open the Boards Manager, search for Inkplate Boards, and install the Inkplate Boards board definitions.
Click Install here:
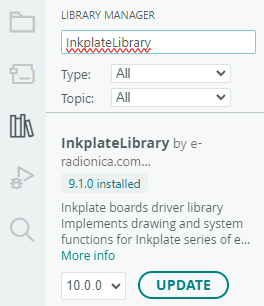
3. Install Inkplate library
In the Arduino Library Manager, search for the Inkplate library and click Install:
4. Install CH340 driver
The CH340 is an onboard chip that enables serial communication over USB. If the driver is not installed, download it from this link. Start the installation and follow the instructions:

Done!
Inkplate 10 setup is complete. Now, try out some examples from the Arduino library—upload them and see the results for yourself! If you need some help with uploading code, check out the section below.
Uploading code
To upload your own sketch or an Arduino example to Inkplate 10, follow this brief guide.
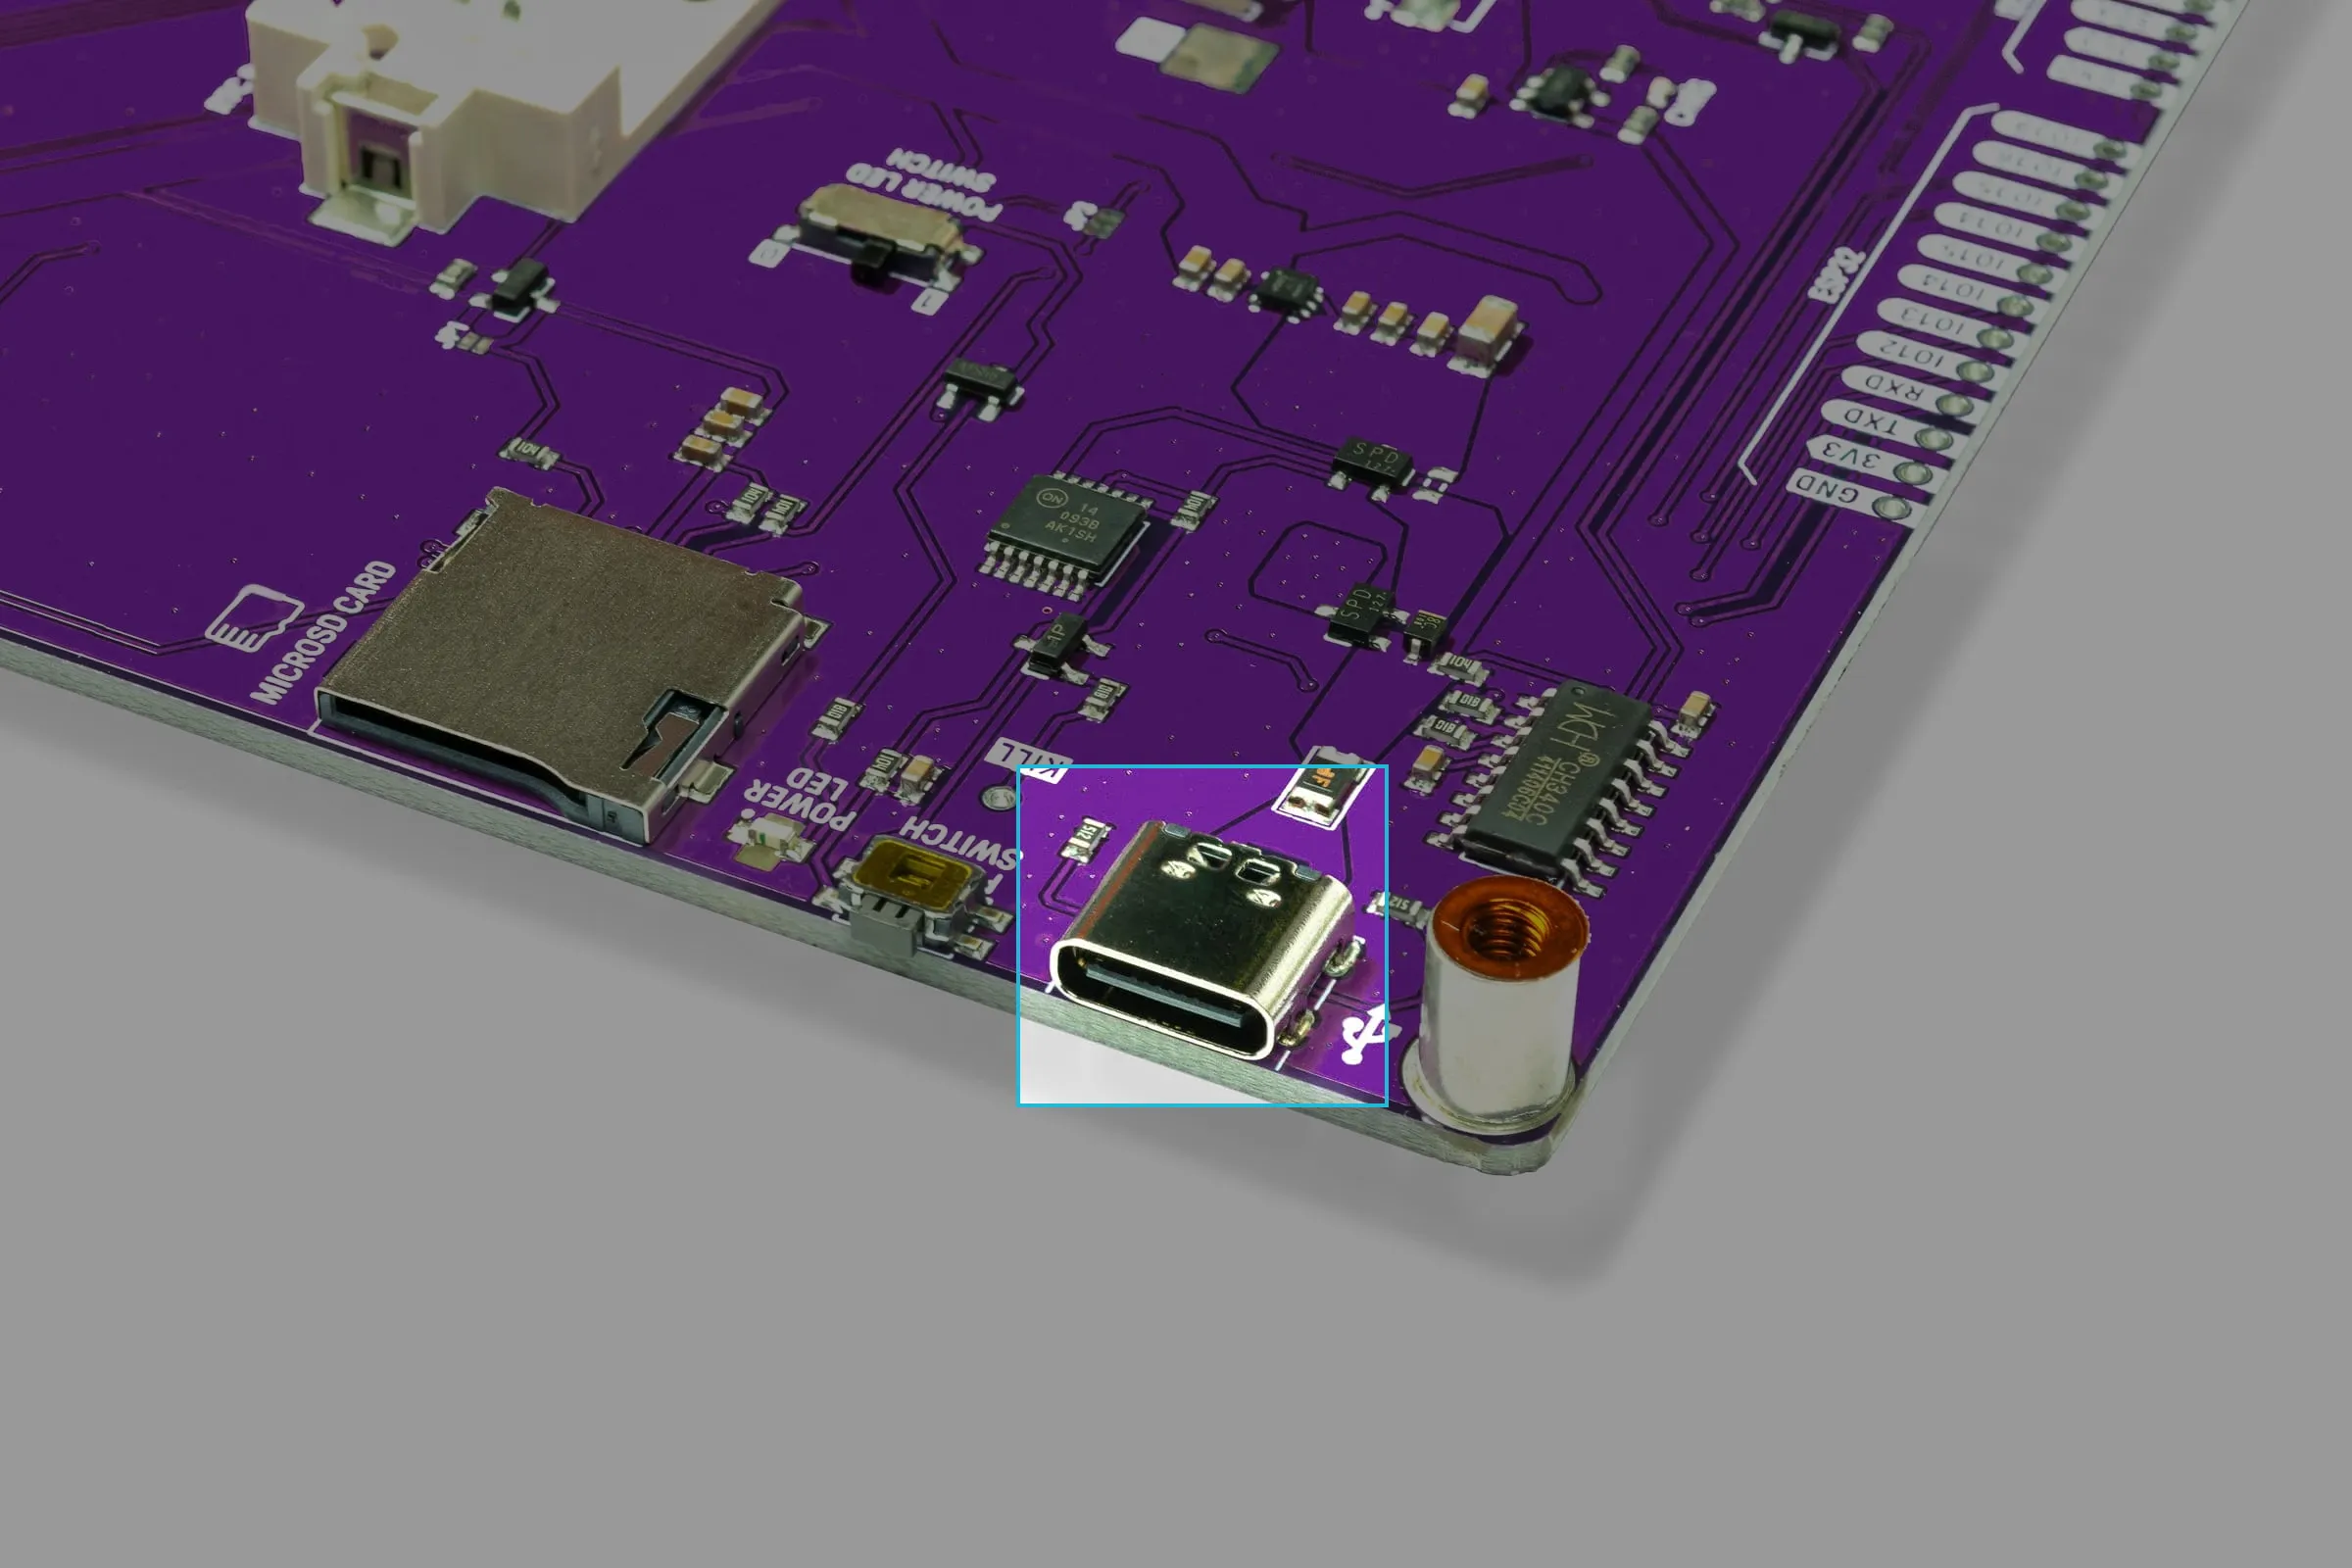
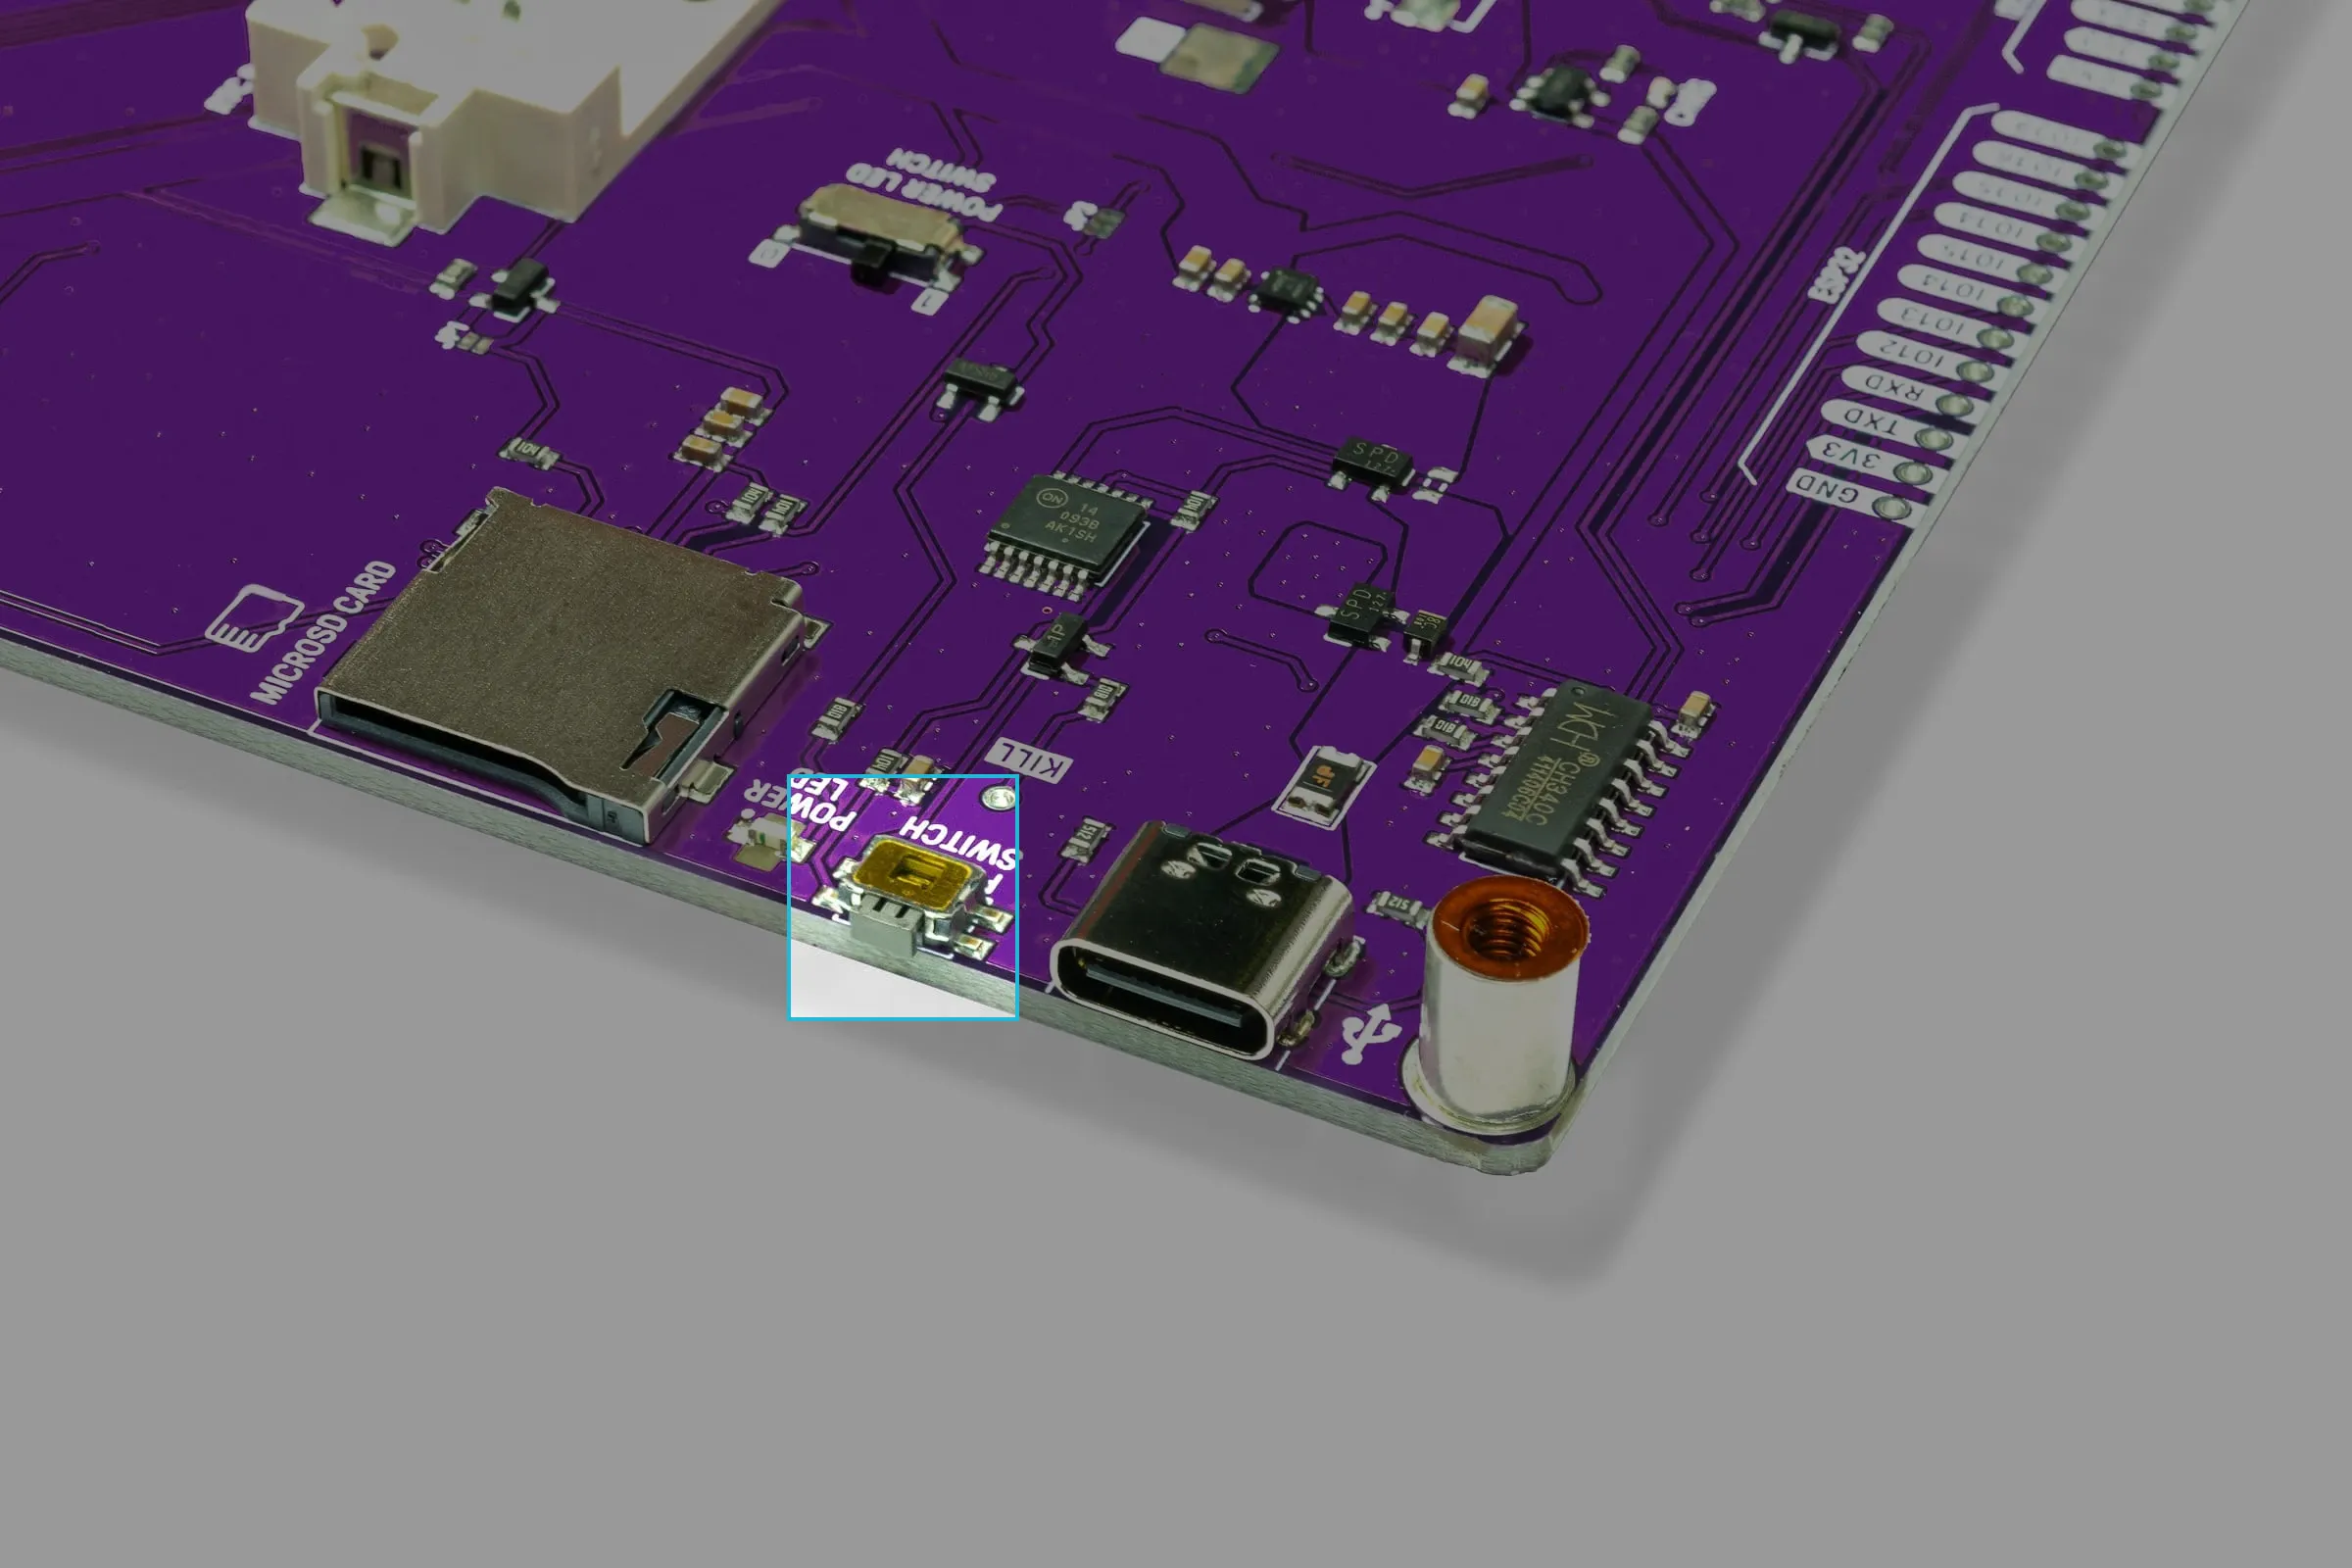
1. Connect Inkplate via USB and power it on
Use the provided USB-C cable to connect Inkplate 10 to your computer. Ensure that the board is powered on by pressing the POWER ON button. The blue power LED will light up when properly connected.
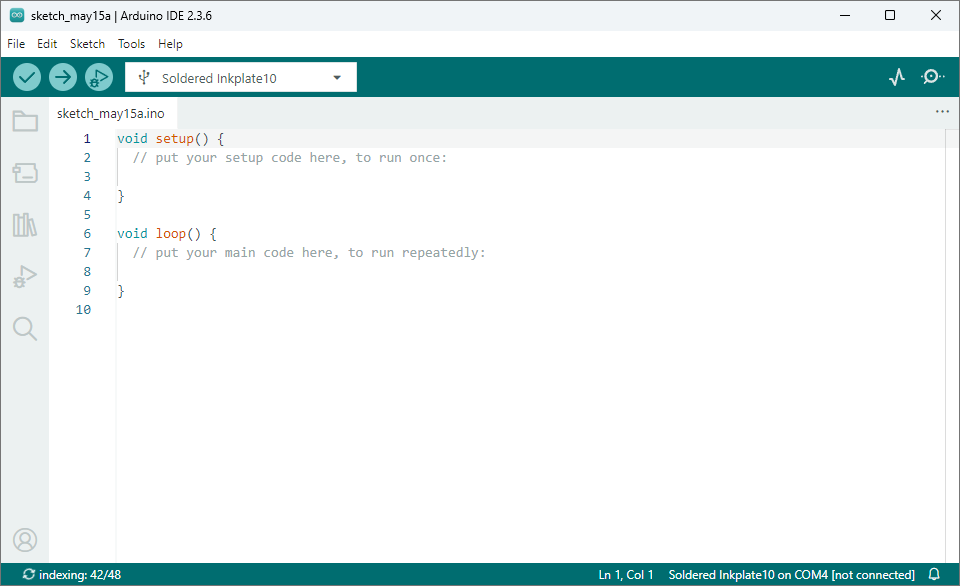
2. Create a sketch
Let's create the most basic Inkplate code which writes Hello World! to the e-Paper display. Go to File->New Sketch and paste this code in:
#include "Inkplate.h" // Include the Inkplate library
Inkplate display(INKPLATE_1BIT); // Create an Inkplate object for Inkplate6 FLICK

void setup() {
    display.begin();             // Initialize the display hardware
    display.clearDisplay();      // Clear the frame buffer (does NOT clear the physical screen)
    display.setCursor(10, 10);   // Set the text position to (10, 10) pixels
    display.setTextSize(6);      // Set text size to 6 (default is 1)
    display.print("Hello World!"); // Print "Hello World!" at the set position
    display.display();           // Refresh the e-paper display to show changes
}

void loop() {
    // No code needed here for this example
}
3. Upload the code
Before uploading the code, select the correct board definition. The table below should help you out:
| Board Definition | Board Description |
|---|---|
| Soldered Inkplate10 | The newer version of the Inkplate 10, the PCB is purple. |
| e-radionica.com Inkplate 10 | The older version; the PCB is blue. |
Click Upload in the Arduino IDE.

Once the process completes, Inkplate will restart automatically and run the newly uploaded code. Arduino's upload log should read:
Leaving...
Hard resetting via RTS pin...
That's how you know you did everything correctly!
Troubleshooting
Having problems with uploading your first code? Check out our troubleshooting page: