Inkplate Projects - Google Calendar
Overview
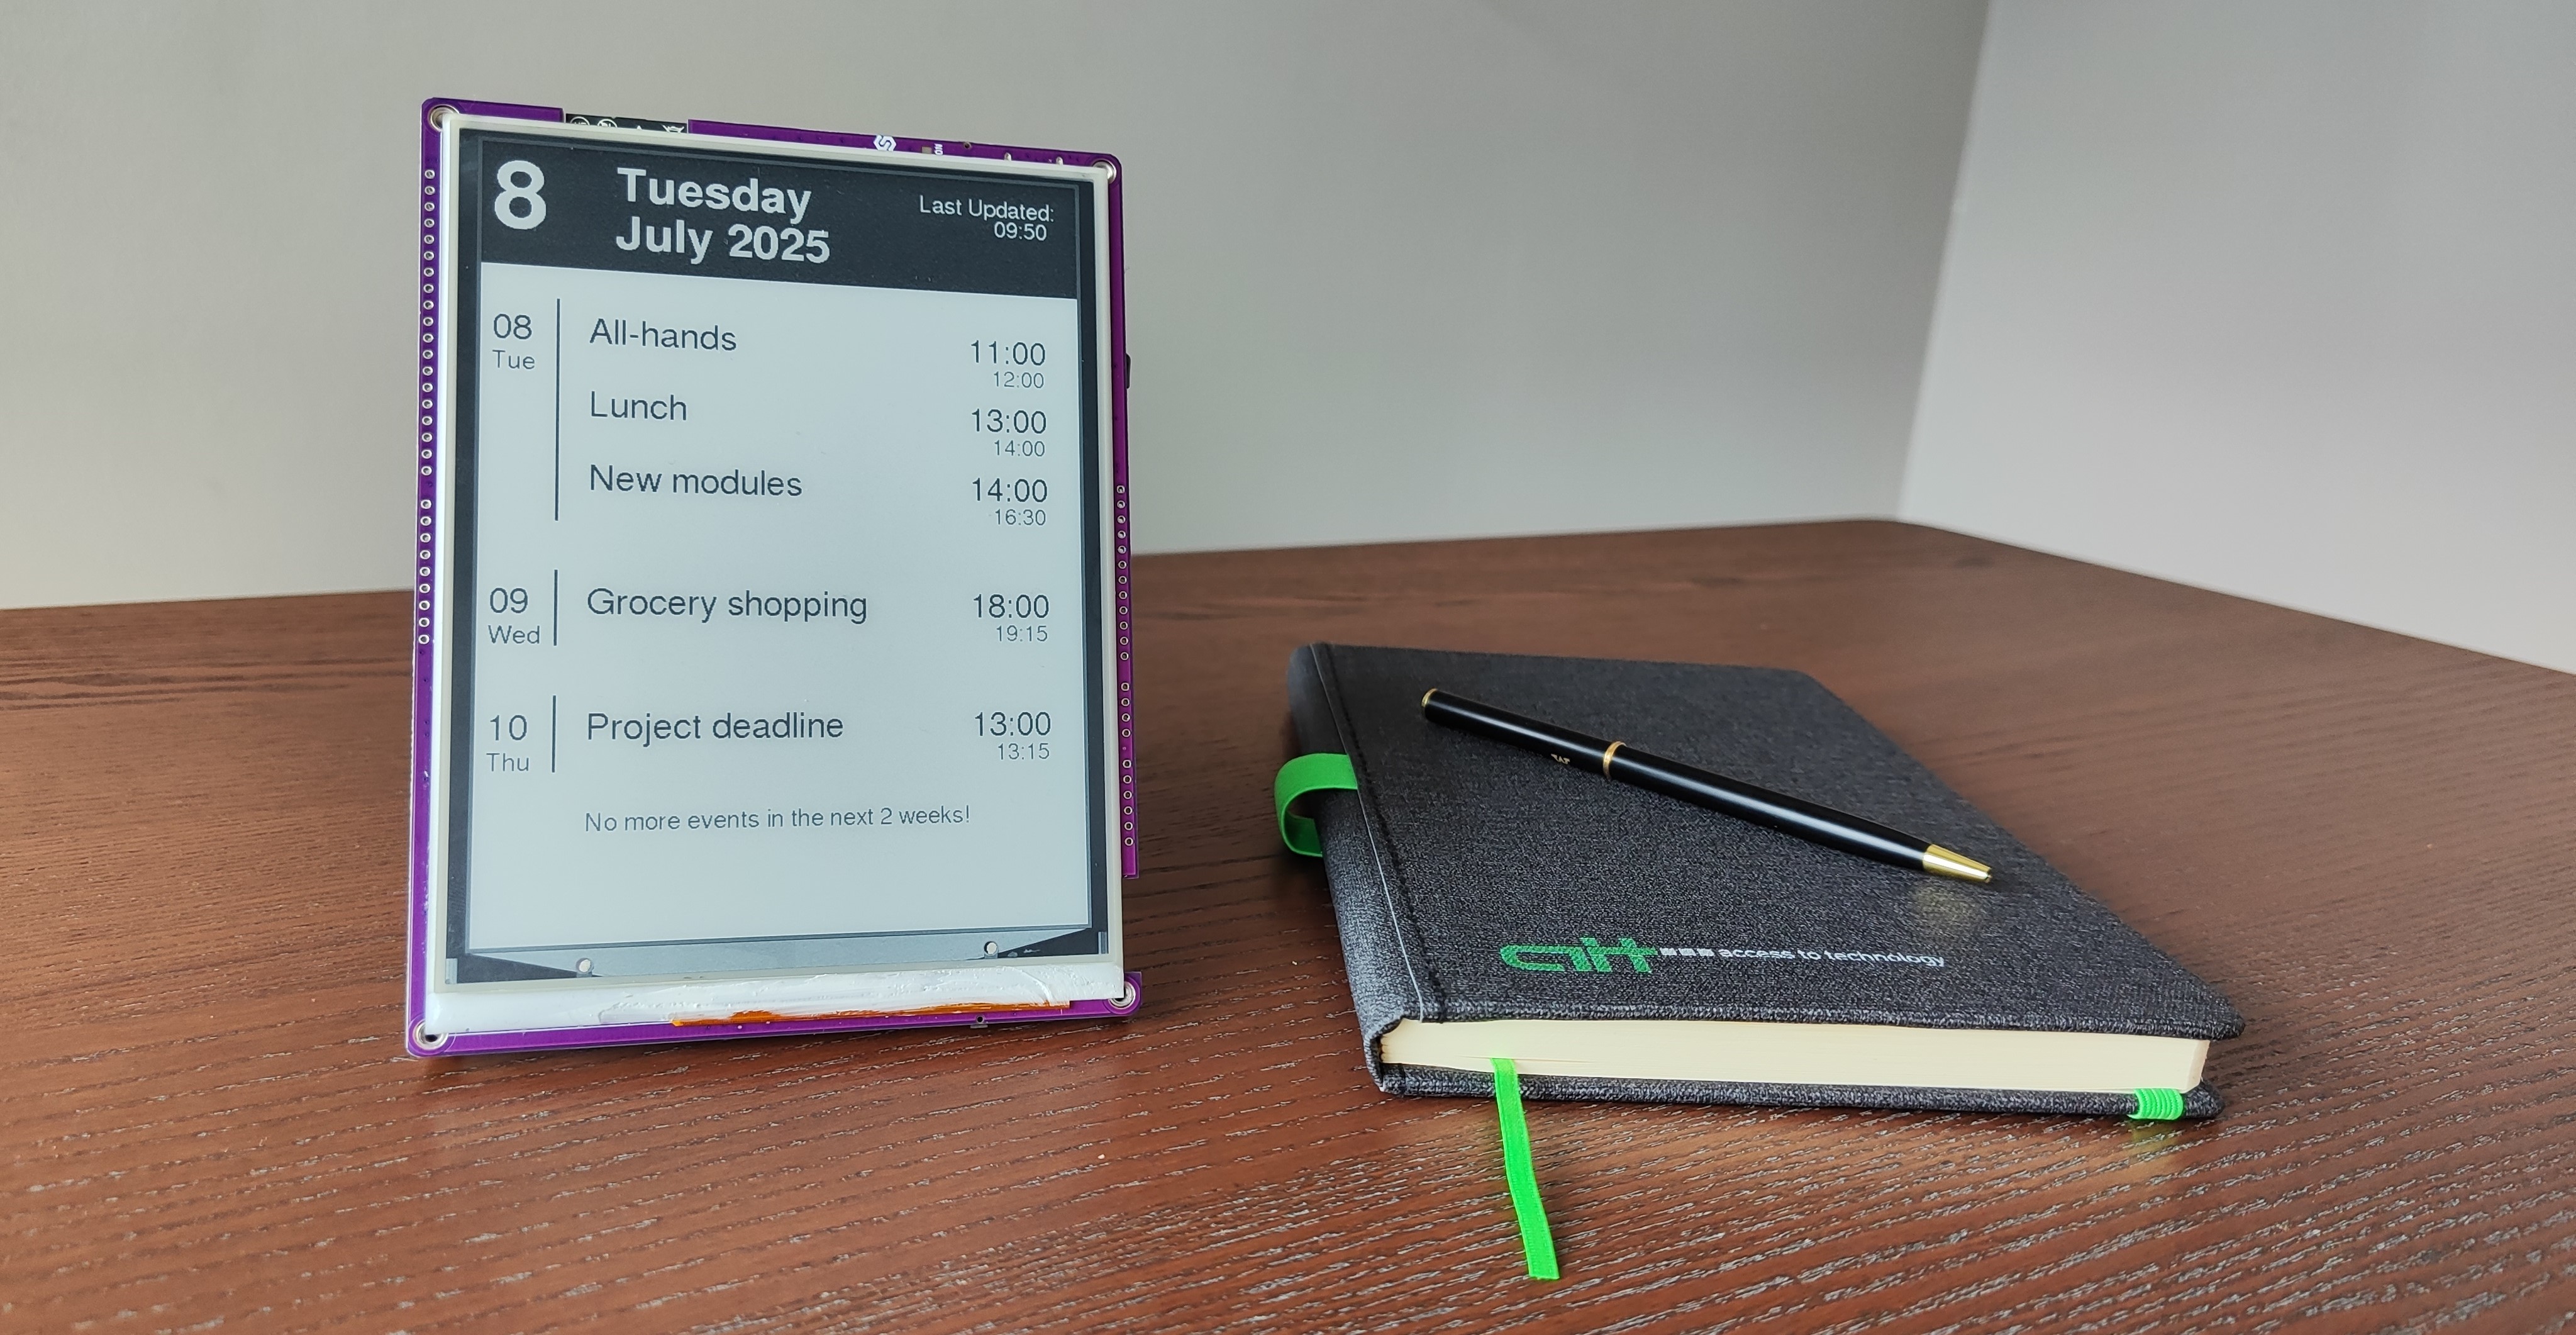
The Google Calendar project is a clean and intuitive user interface that displays your upcoming personal calendar events and national holidays directly on your Inkplate e-paper display. It connects securely to your Google Calendar through the Google Calendar API, fetching and displaying up to two weeks of future events, including event titles, times, and all-day reminders. The interface is designed for at-a-glance time management, making it easy to stay organized without needing to check your phone or computer.
Thanks to the Inkplate's e-paper screen, content remains visible even when the device is not actively refreshing, mimicking the appearance of real paper. Its low-power design allows it to run on a single battery charge for weeks or even months, making it ideal for use as a desk calendar, wall-mounted organizer, or travel companion.
With this project shows the Wi-Fi and UI capabilities of the Inkplate as it becomes a personal assistant that keeps you on schedule with minimal maintenance and elegant visual presentation.
Requirements
For this project, you have to:
- Have a stable Wi-Fi connection
- Have a Google account (used to get the API key as well as calendar data)
Every Inkplate device can run the Google Calendar project. For this example, we will be using the Inkplate 6.
Setting up
The Arduino sketch must be modified for this project to run.
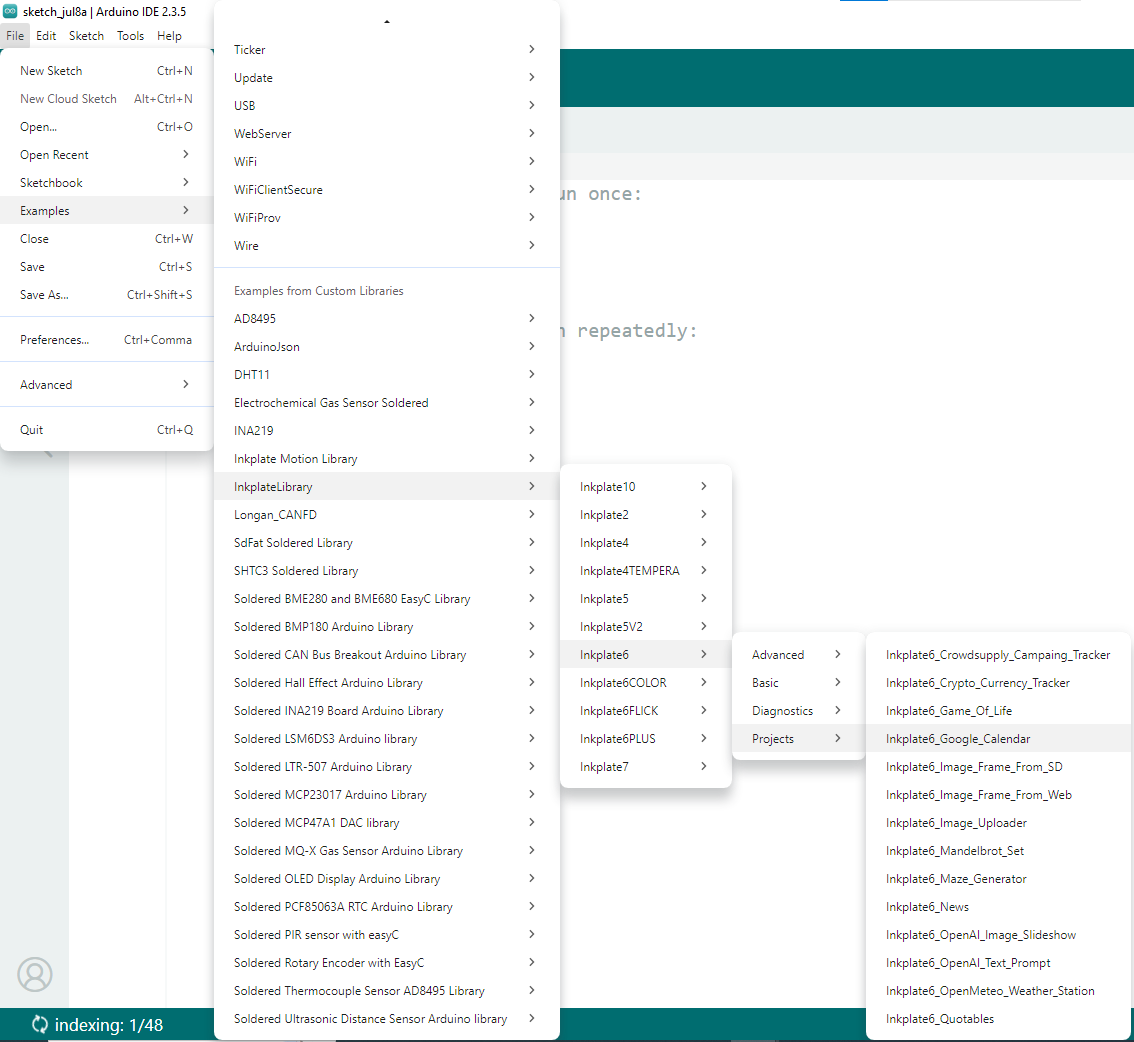
First, open the Arduino IDE and navigate to
File->Examples->InkplateLibrary->Your Inkplate Device->Projects->Inkplate_Google_Calendar:
Wi-Fi
Next, in the main .ino file of the project, you need to input the SSID and password for your Wi-Fi connection. This can be done in the following two lines:
const char *ssid = "YOUR_SSID_HERE";
const char *password = "YOUR_PASSWORD_HERE";
API key
To gain access to the Google Calendar API, you must create an API key.
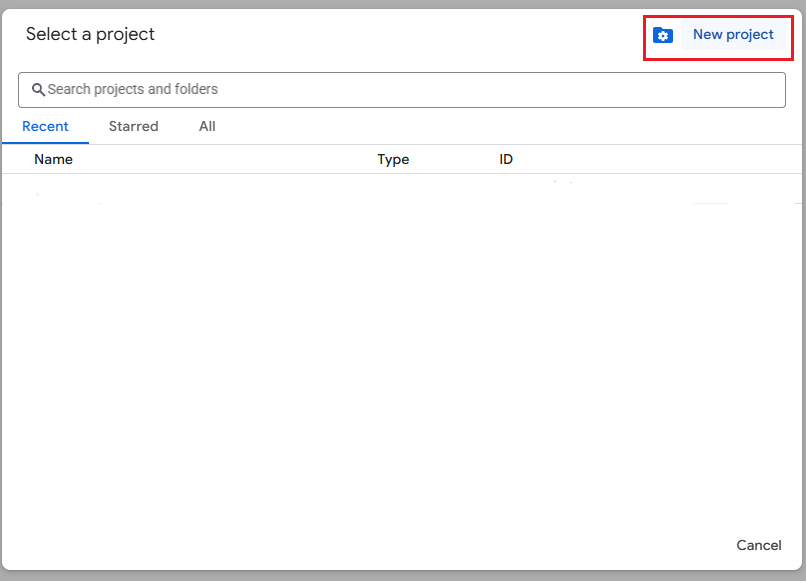
The API key is created via the Google Cloud platform. Go to console.cloud.google.com and create a new project:
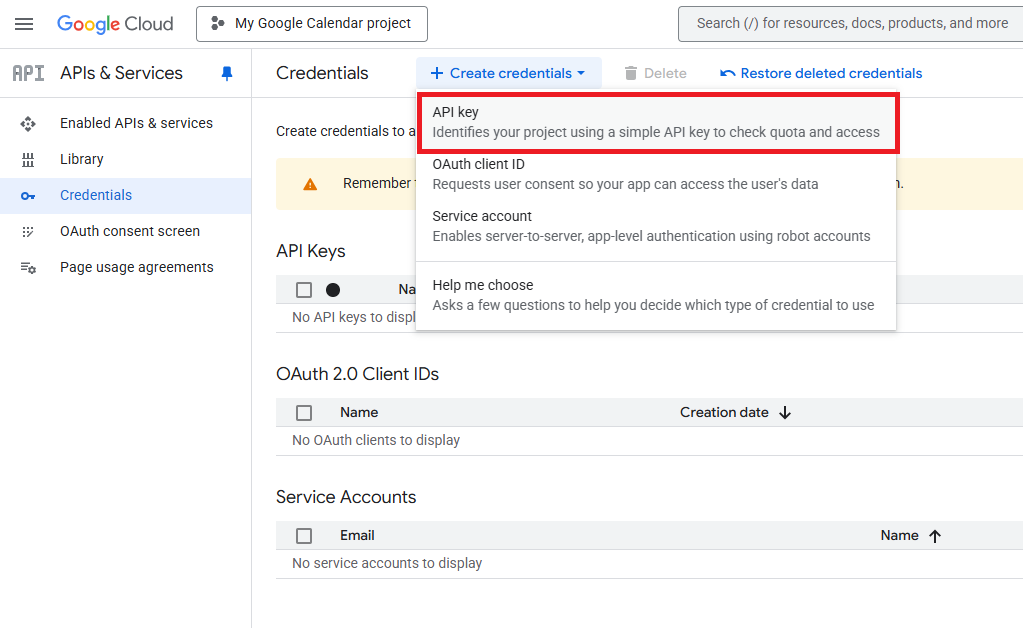
After giving your project a name and creating it, via the Quick Access links, go to APIs & Services->Credentials. Then click on Create credentials->API key:
After clicking on the API key button, the API key will be created and you will be presented with the following screen:
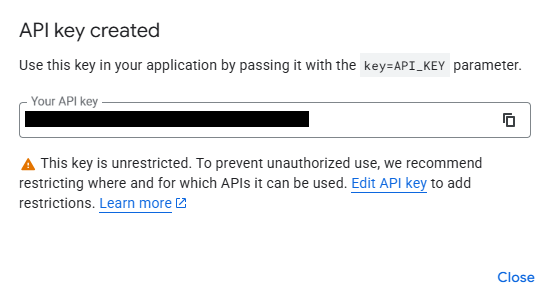
Now you can copy the created API key into the following variable in the main .ino file of the project:
String apiKey = "yourapikeyAizCs4728Wvsj";
It is also required to enable the Google Calendar API within the project. Go to APIs & Services and use the search bar at the top to search for Google Calendar API:
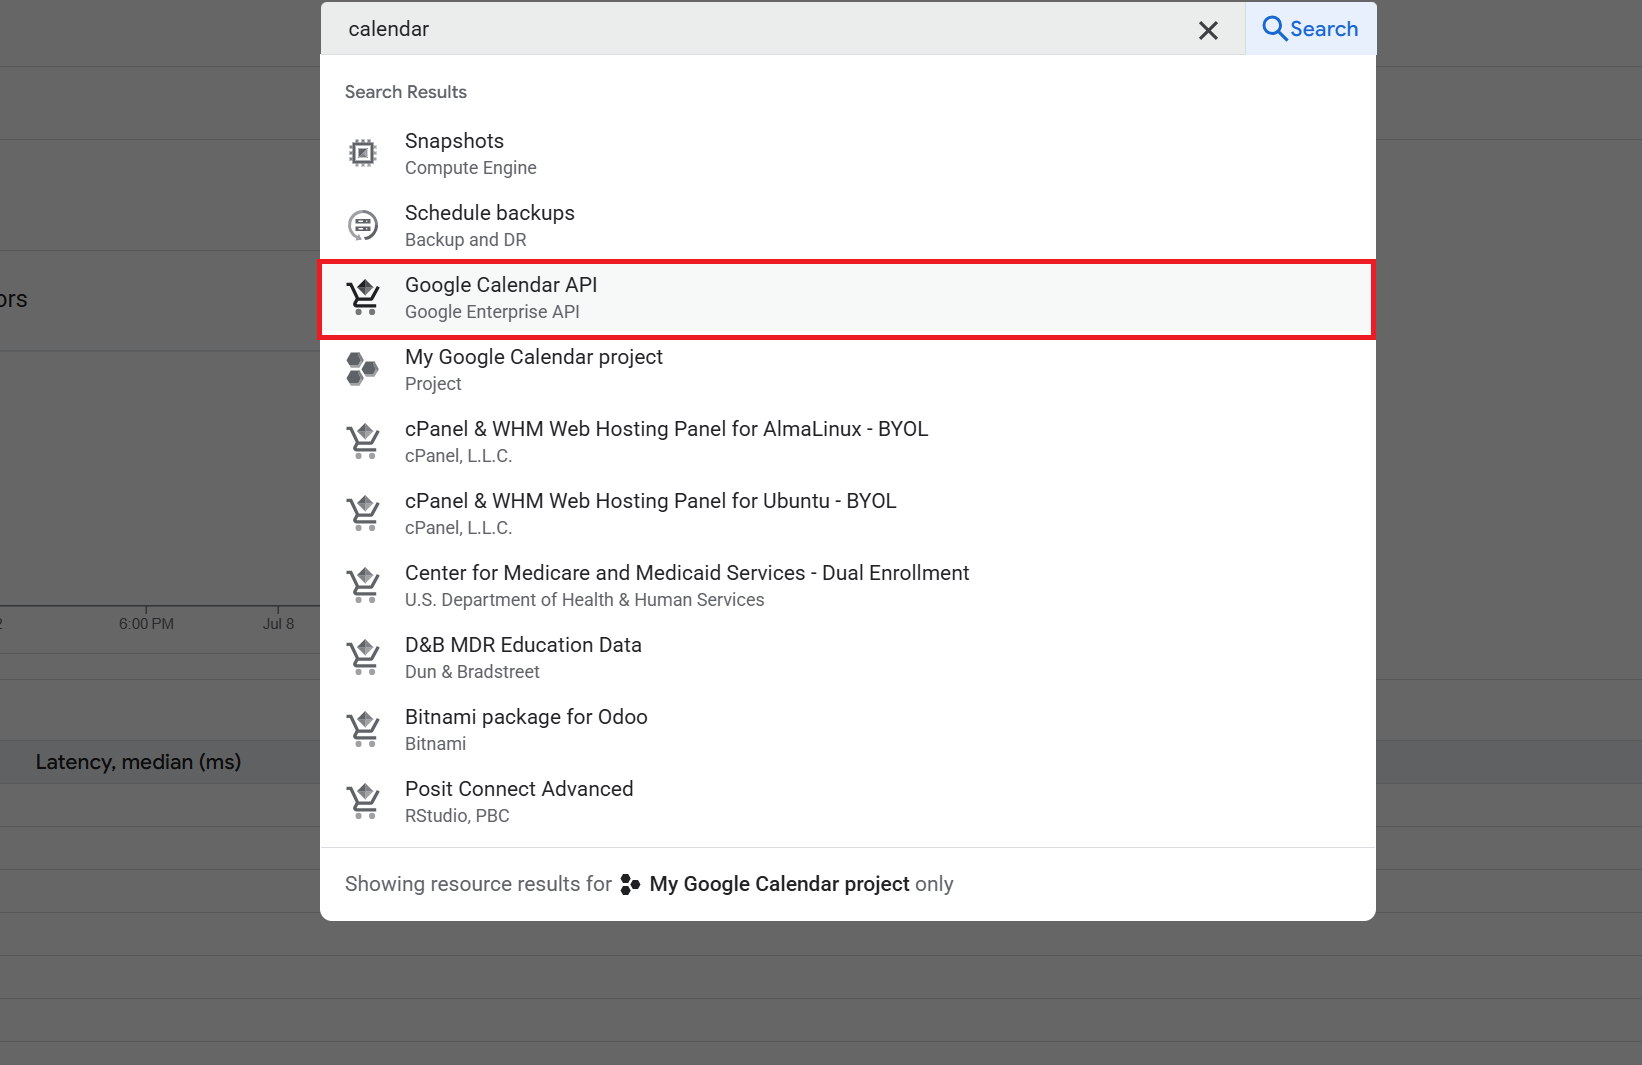
Once on its page, enable it and it is good to go!
Google Calendar
To retrieve your Google Calendar information, go to calendar.google.com and navigate to settings:

Next, go to the specific calendar you want to track and scroll down until you find the CalendarID:
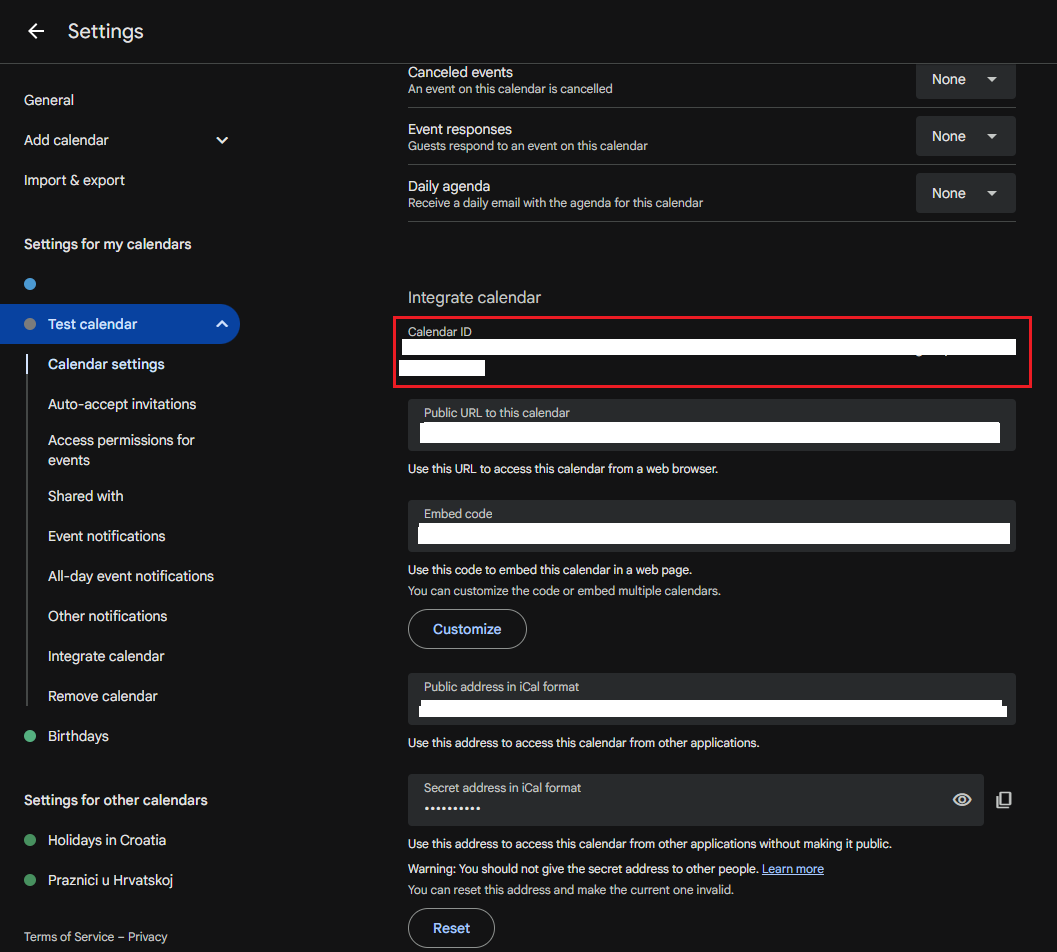
Now, copy the Calendar ID into the main .ino file of the project:
String calendarID = "[email protected]";
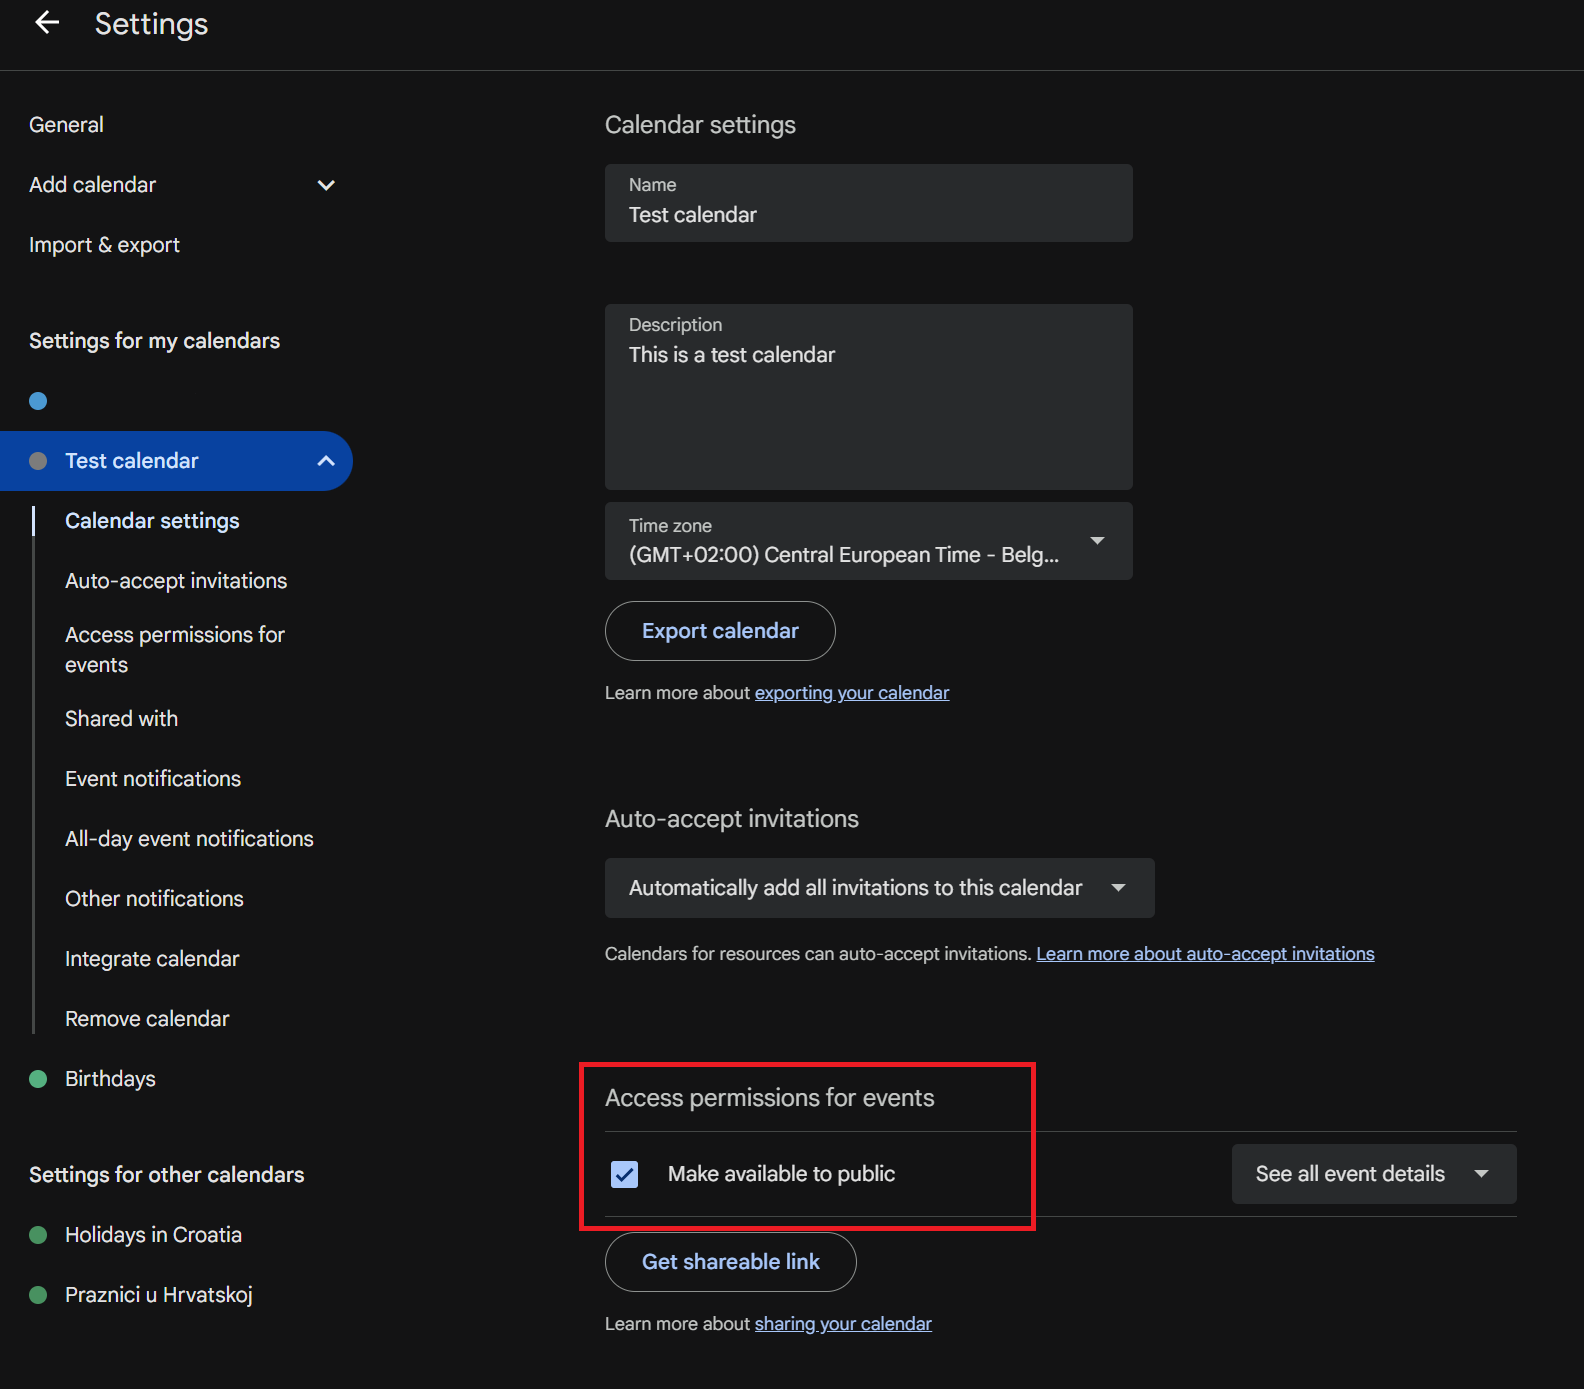
We also have to make the calendar publicly accessible. You can do this on the same page by going to Access permissions for events:
Timezone
The Inkplate displays the last time it was updated. To do this, it needs to keep track of the time via the NTP protocol. We need to specify our time zone in the following variable:
int timeZone = 2; // timeZone is the number in (UTC + number) corresponding to your time zone | UTC + 2 for Osijek, UTC - 4 for New York City
Uploading the code
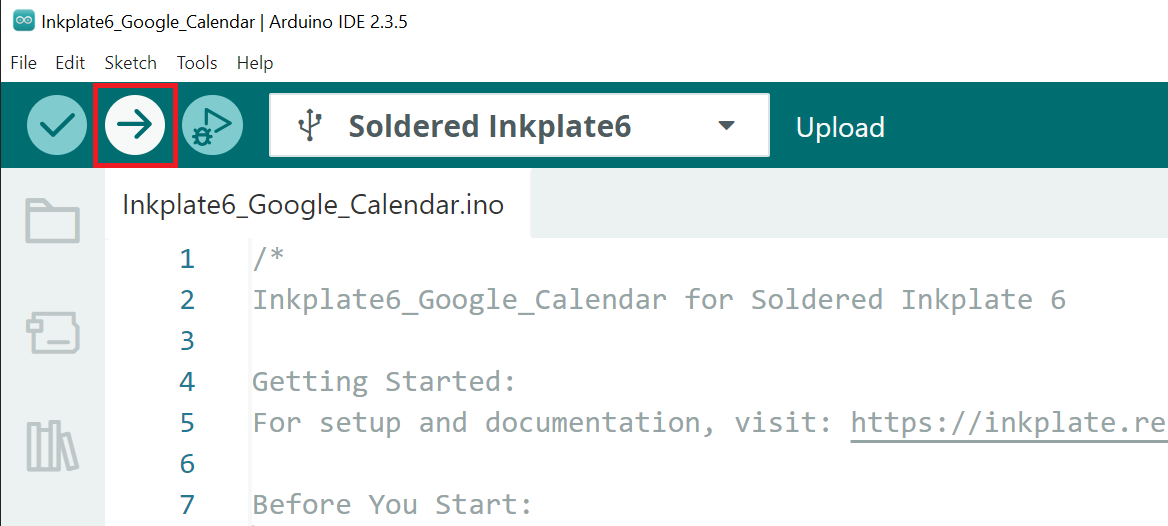
After completing all the previous steps, uploading the project to the Inkplate is as simple as just pressing the upload button in the Arduino IDE:
If you are having trouble uploading the code, check out our in-depth upload tutorial:
Quick start guide
A full, comprehensive tutorial on how to fully set up and upload code to the Inkplate for the first time