Inkplate Projects - OpenAI Image Slideshow
Overview
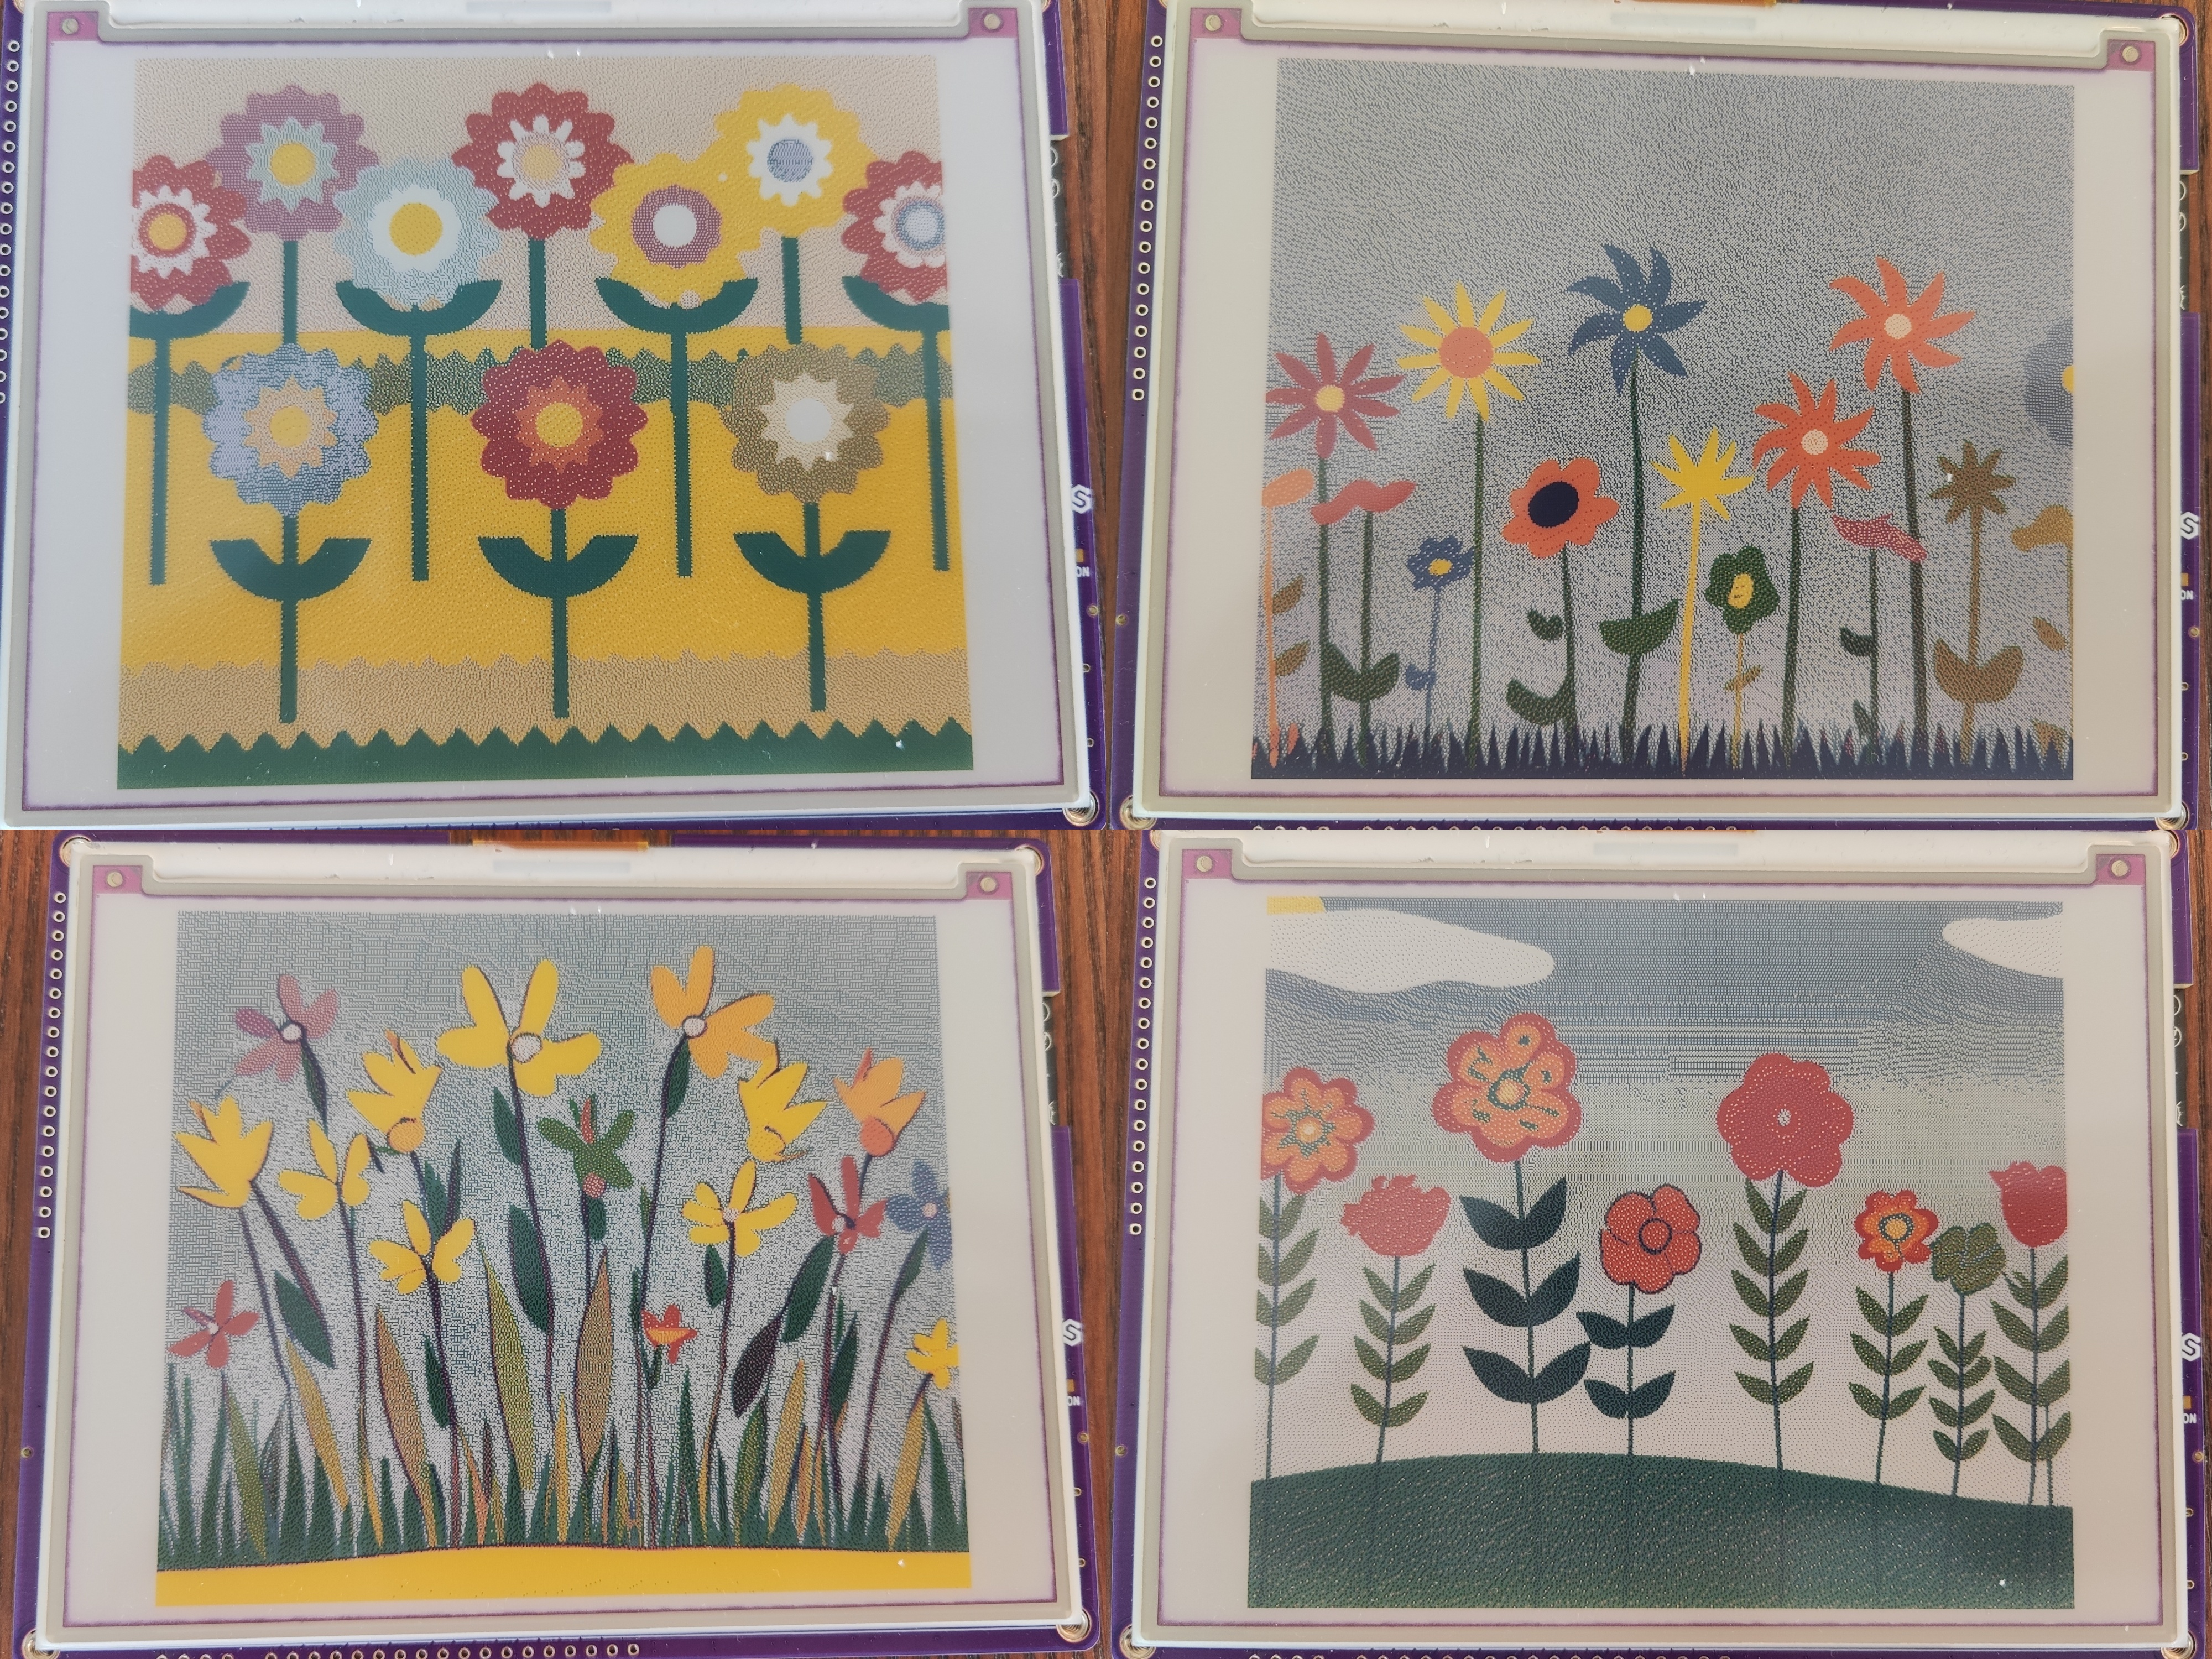
This OpenAI Image Slideshow transforms your Inkplate into a fully autonomous, internet-connected art display that dreams up its own visuals using OpenAI’s DALL·E API. With no interaction required beyond plugging it in and connecting to Wi‑Fi, the device generates a fresh, AI‑created image every 30 minutes, displays it beautifully, and then goes into deep sleep to conserve power.
At the heart of this project is an OpenAI text prompt. The device sends this prompt securely to the DALL·E image generation endpoint, receives a 512×512 PNG image URL in return, and displays it centered on the screen. You can change the prompt to create landscapes, futuristic cities, surreal art, or anything your imagination allows.
By relying on e‑paper’s static image retention and combining it with real‑time AI generation, the project delivers a unique experience—your Inkplate becomes a window into a new AI‑generated world every half hour. It’s perfect as an evolving art frame, creative inspiration board, or ambient conversation starter.
Designed with power efficiency in mind, all logic runs in setup() and concludes with deep sleep. The device only wakes up briefly to fetch, render, and sleep again—making it ideal for long‑term, low‑maintenance installations.
Requirements
For this project, you have to:
- Have a stable Wi‑Fi connection
- Have an OpenAI API key
Every Inkplate device can run the Image Frame From Web project. For this example, we will use the Inkplate 6 COLOR.
Setting up
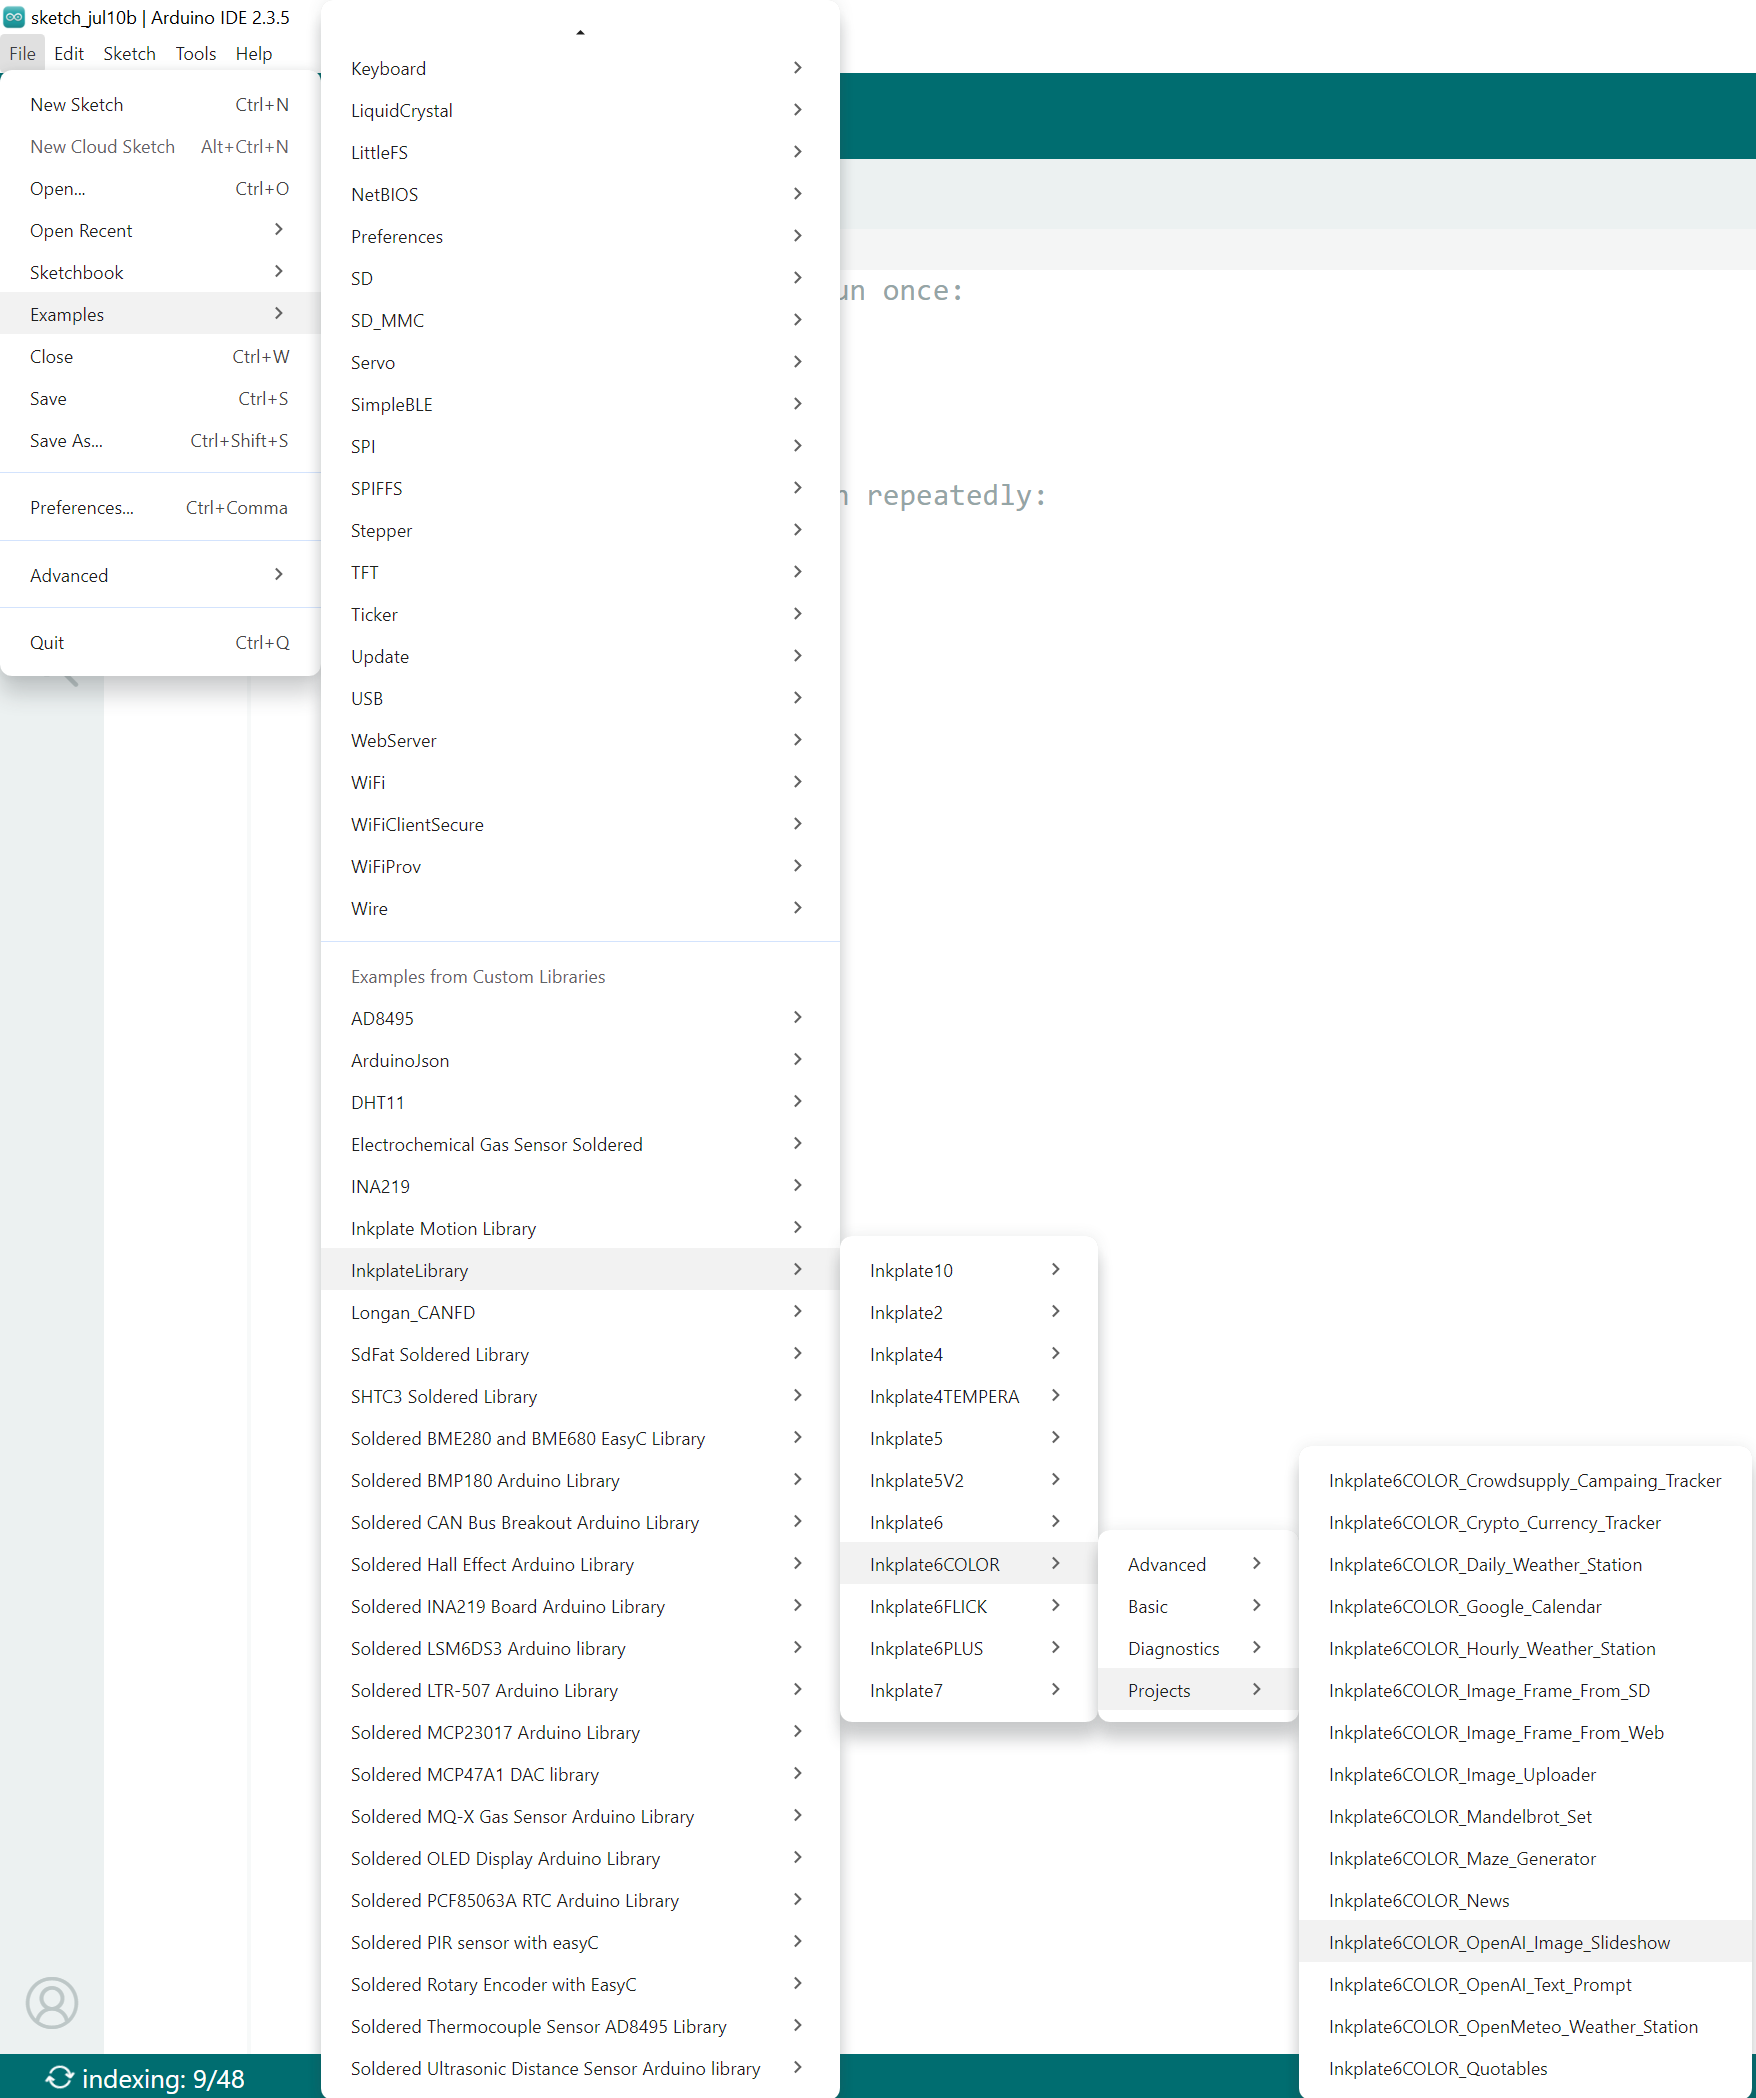
The Arduino sketch must be modified for this project to run. First, open the Arduino IDE and navigate to
File->Examples->InkplateLibrary->Your Inkplate Device->Projects->Inkplate_OpenAI_Image_Slideshow:
Wi‑Fi
Next, in the main .ino file of the project, enter the SSID and password for your Wi‑Fi connection. This can be done using the following two lines:
// WiFi credentials (replace with your own SSID and password)
const char* ssid = "YOUR_SSID_HERE";
const char* password = "YOUR_PASSWORD_HERE";
OpenAI API key
After obtaining an OpenAI API key at platform.openai.com/api-keys, insert it into the main .ino sketch of the project:
// OpenAI API key
const char* openai_key = "sk-proj-YourAPIkey";
Image generation prompt
You can change what kind of image you want to generate by modifying the following variable in the main .ino sketch file:
// Set the image prompt to send to OpenAI
String imagePrompt = "Generate a lot of flowers with blue, red, yellow, orange and green colors.
                      They should be on a green hill with a clear blue sky in the background.";
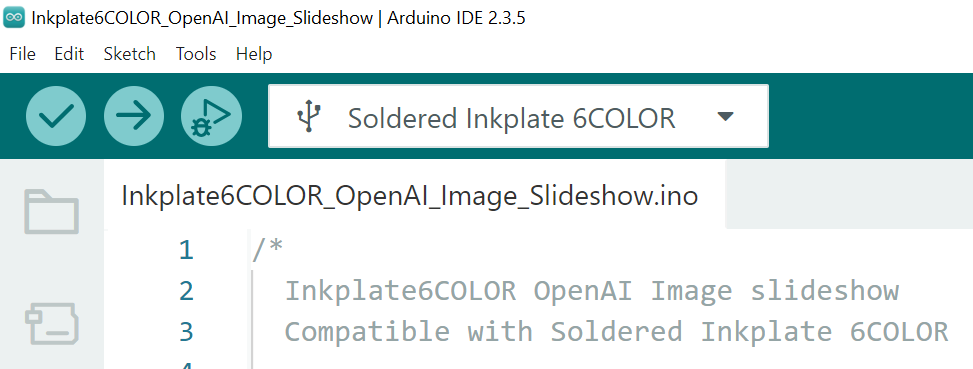
Uploading the code
After completing all the previous steps, uploading the project to the Inkplate is as simple as pressing the upload button in the Arduino IDE:
If you are having trouble uploading the code, check out our in‑depth upload tutorial:
Quick start guide
A full, comprehensive tutorial on how to fully set up and upload code to the Inkplate for the first time
Result
Full example
You can view the full example on the link below:
Inkplate6COLOR_OpenAI_Image_Slideshow.ino
The full example used in this overview