MQ Gas Sensors – Creating a custom configuration
While the library offers preconfigured values for the regression method used to approximate the curve, you may want to measure a different gas than the one provided or use a method with different constants to better suit your needs. This can be done by creating a custom configuration.
For this example, we will create a custom configuration for the MQ138 Qwiic version (the steps are the same for the Native version as well) where we will measure alcohol instead of toluene.
The steps for initializing the sensor are the same. We include the library, create an instance of the sensor, and define the custom configuration structure:
// Include the library
#include <MQ-Sensor-SOLDERED.h>

#define numOfCalibrations 10 // How many readings of R0 we take to get the average measurement

// Create an instance of the sensor object
MQ138 mq138;

// If you want to measure a different gas or use different parameters, you can do that by
// creating a custom config structure with the values. Here we will change the measured gas
// from toluene to alcohol

/*
    Linear regression:
    GAS        | a        | b
    Alcohol    | -0.46099 | 0.0681
    Acetone    | -0.52356 | 0.49225
    Toluene    | -0.4434  | 0.15397
*/
const struct sensorType MQ138CustomConfig = {
    0, // Regression method type

    1, // Rs/R0 in clean air

    // Coefficient values calculated (Alcohol)
    -0.46099, // a

    0.0681, // b
};
In the setup() function, we initialize the serial communication as well as the sensor. However, now we also pass the custom configuration structure to the sensor's begin() function. The calibration process is the same as in the previous examples:
void setup()
{
    // Initialize the serial port communication at 115200 baud. It's used to print out measured data.
    Serial.begin(115200);

    // Initialize I2C connection with sensor with custom config
    if(!mq138.begin(0x30, MQ138CustomConfig))
    {
      Serial.println("Failed to initialize I2C communication, check wiring");
      while(1)
      {}
    }
    /*****************************  MQ Calibration ********************************************/
    // Explanation:
    // In this routine, the sensor measures its resistance after being preheated for 48 hours
    // in a clean air environment, and it sets up the R0 value.
    // This routine does not need to be executed on every restart; you can load your R0 from flash memory and read it on startup.

    Serial.print("Calibrating, please wait.");
    bool calibrationResult = mq138.calibrateSensor(numOfCalibrations);
    if(!calibrationResult) // Check whether the sensor was properly calibrated
    {
      Serial.println("There was an error reading the sensor, check connection and try again");
      while(1)
      {}
    }
    Serial.print("Calibration done!");

    /*****************************  MQ Calibration ********************************************/
}
mq138.begin(int _addr, sensorType configcustom)
Initializes the sensor with a specific I2C address and custom configuration.
Returns value: Boolean value, returns true if the sensor was successfully initialized, false if not
Function parameters:
| Type | Name | Description |
|---|---|---|
int | _addr | Specifies the I2C address of the sensor |
struct sensorType | configcustom | Custom sensor configuration of type sensorType |
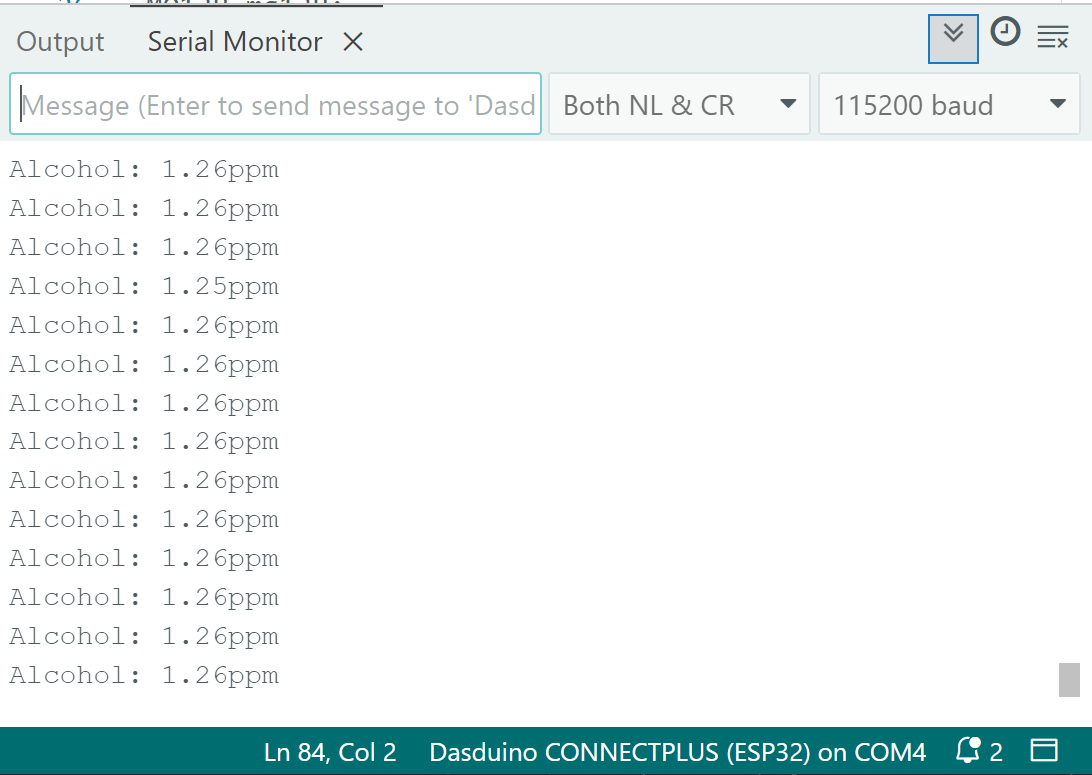
Now in the loop() function, we can read the measurements:
void loop()
{
  mq138.update();      // Update data, read voltage level from sensor
  Serial.println("Alcohol: " + String(mq138.readSensor()) + "ppm"); // Print the readings to the serial monitor
  delay(500);          // Sampling frequency
}
Full example
See the full example below:
Custom-Config-Qwiic.ino
Custom configuration for Qwiic MQ sensors
Also check out the Native version of the example:
Custom-Config.ino
Custom configuration for Native MQ sensors
While this example covers the MQ138, the process is practically identical for every sensor. We encourage you to check out all the examples here