Bmp180 - Initialization
This page contains some simple examples with function documentation on how to take measurements using the BMP180 temperature and pressure sensor.
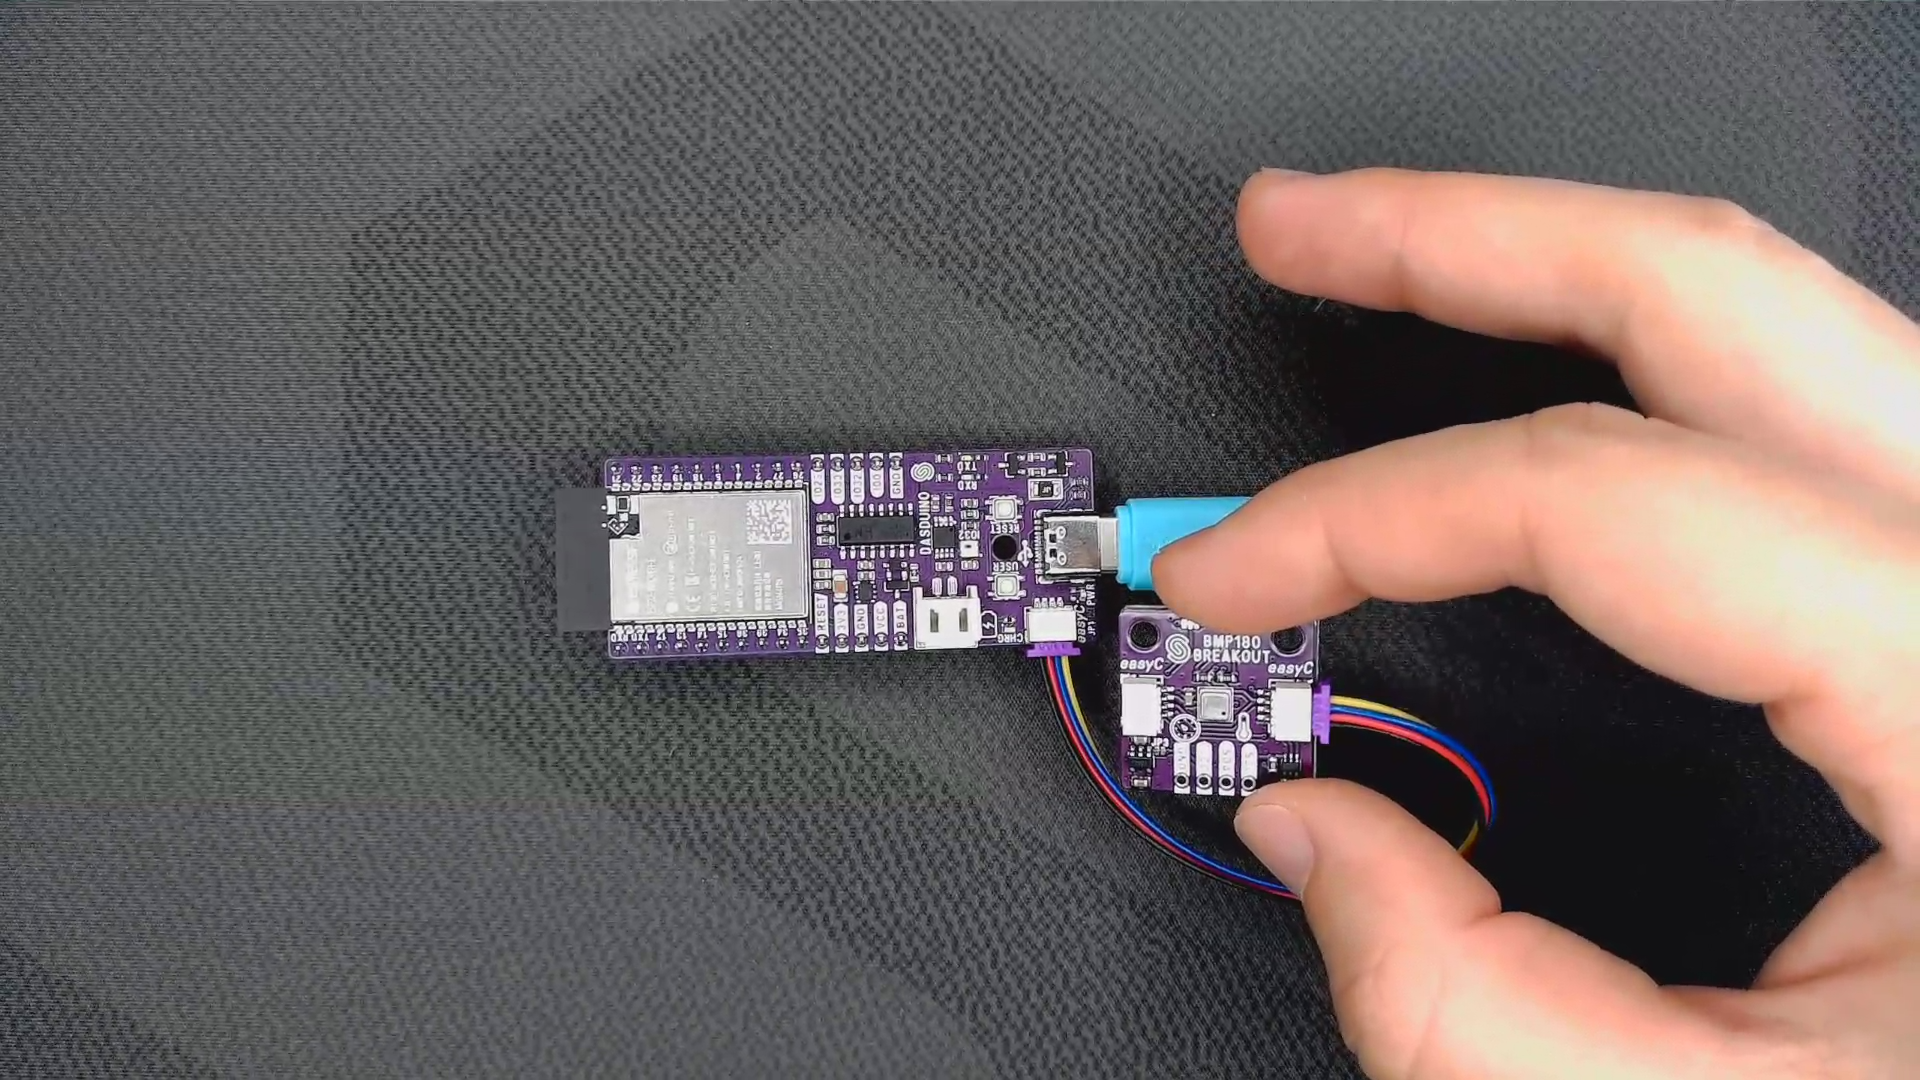
Connections for this example
Initialization
To use the BMP180 sensor, first include the required library, create the sensor object, and initialize the sensor in the setup() function.
⚠️
This library uses the char value to return error codes and delay values in the form of numbers. While the type being char seems unintuitive when it returns numbers, the char data type is basically an 8-bit unsigned integer.
//Include the library
#include <BMP180-SOLDERED.h>

//Create an instance of the sensor
Bmp_180 bmp180;

void setup() {
  //Initialize communication to serial monitor
  Serial.begin(9600);

  //Initialize the sensor
  if(bmp180.begin())
  {
    //If sensor returns 1, then it has successfully initialized
    Serial.println("BMP180 sensor successfully initialized!");
  }
  else
  {
    //If not, inform the user
    Serial.println("BMP180 sensor failed to initialize, check connection.");
  }

}
bmp180.begin()
Initializes the BMP180 sensor, setting up communication over I2C and retrieving calibration data from device
Returns value: Char value, returns 1 if sensor was properly initialized, 0 if not.