Inkplate Projects - Image Uploader
Overview
The Inkplate Image Uploader transforms your e-paper display into a standalone, Wi-Fi-accessible image frame. By creating its own wireless access point and hosting a lightweight web server, the device allows you to upload and view custom JPEG images directly from any browser—no app, no cables, no cloud needed.
Once connected to the "InkplateImage" Wi-Fi network, you’re greeted by a built-in webpage where you can drag and drop an image. The image is uploaded to the Inkplate, stored in memory, and instantly rendered on its e-paper screen in 3-bit grayscale. It automatically scales to fit the screen, making it ideal for slideshows, signage, digital art, or showcasing photography.
The entire experience runs locally:no internet or external storage needed!
The upload happens over HTTP, and the image is served back in real time.
The code smartly buffers the upload in RAM and provides preview, upload, and live display routes using the ESP32’s internal web server. It even handles scaling and memory safety—making it a reliable embedded solution for interactive display use cases.
Requirements
For this project, you have to:
- Have a stable Wi‑Fi connection
Every Inkplate device can run the Image Frame From Web project. For this example, we will use the Inkplate 10.
Setting up
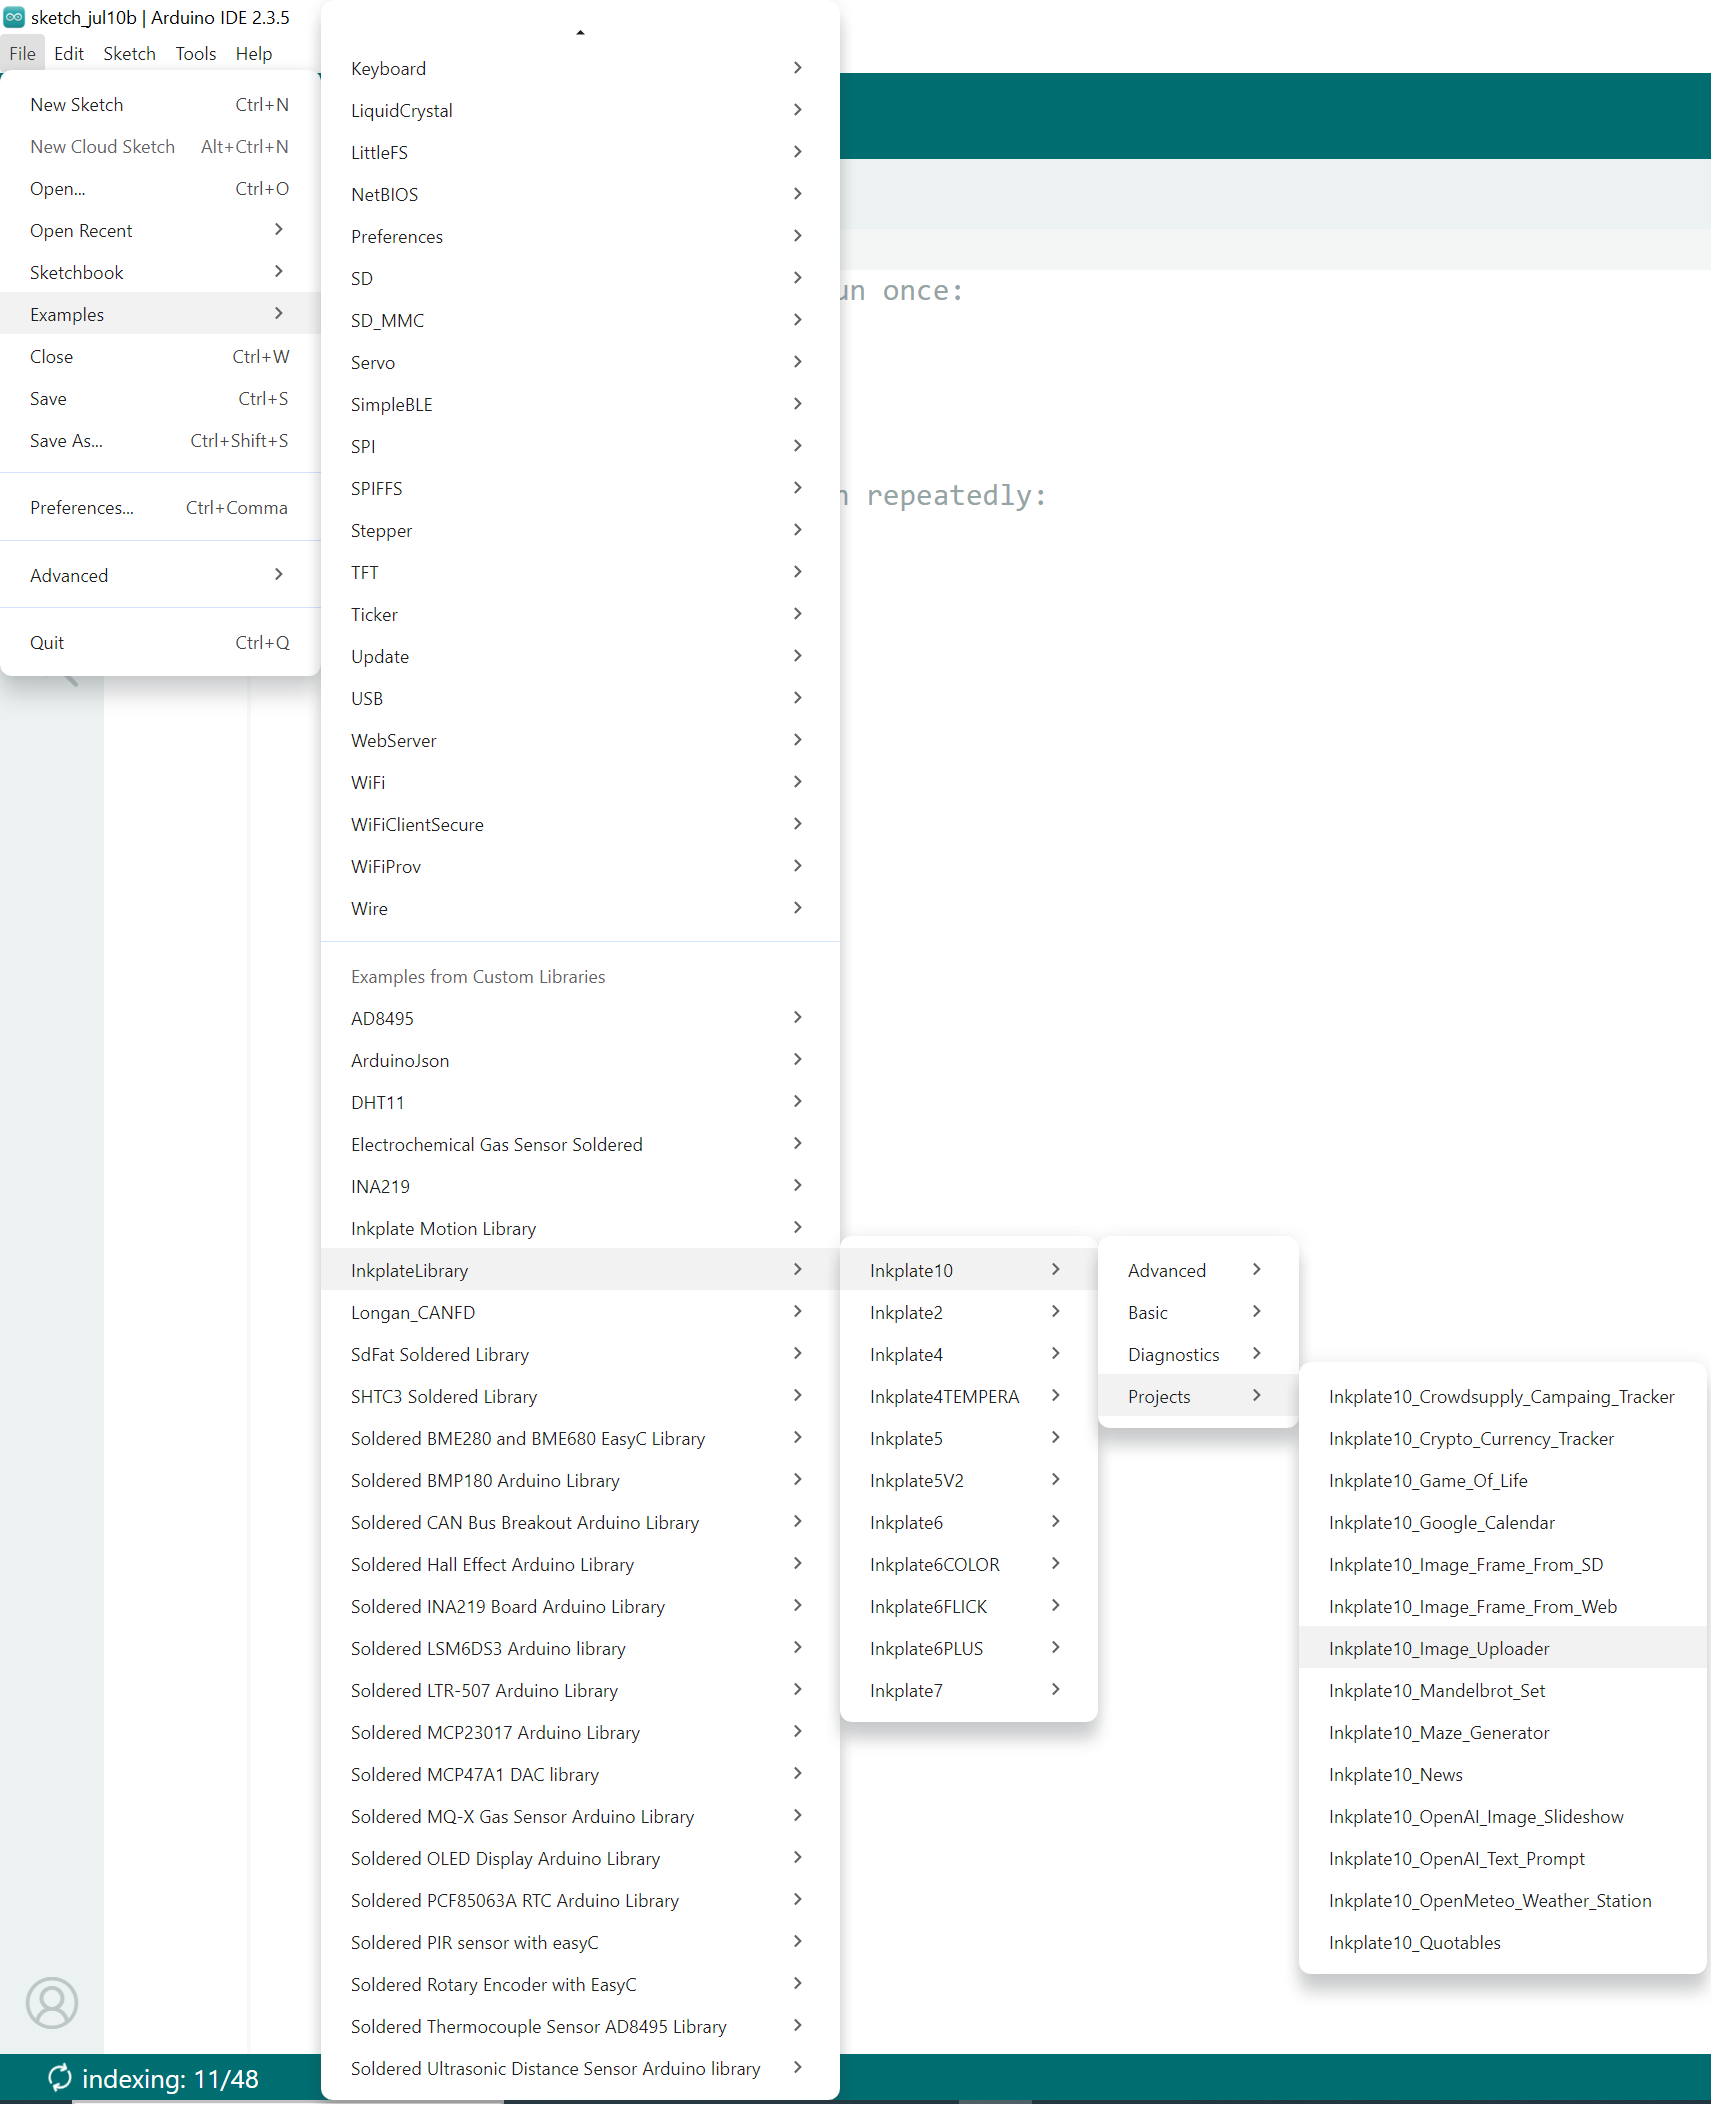
The Arduino sketch doesnt have to be modified in order to work, but you can customize the access point if desired. First, open the Arduino IDE and navigate to
File->Examples->InkplateLibrary->Your Inkplate Device->Projects->Inkplate_Image_Uploader:
Access point customization
You can change the name and the password for the access point you will be using to upload photos by changing the following variables in the main .ino sketch file of the project:
// Wi-Fi Access Point credentials
const char* ap_ssid     = "InkplateImage"; // SSID for AP mode
const char* ap_password = "inkplate";       // Password (min 8 chars)
Uploading the code
After completing all the previous steps, uploading the project to the Inkplate is as simple as pressing the upload button in the Arduino IDE:
If you are having trouble uploading the code, check out our in‑depth upload tutorial:
Quick start guide
A full, comprehensive tutorial on how to fully set up and upload code to the Inkplate for the first time
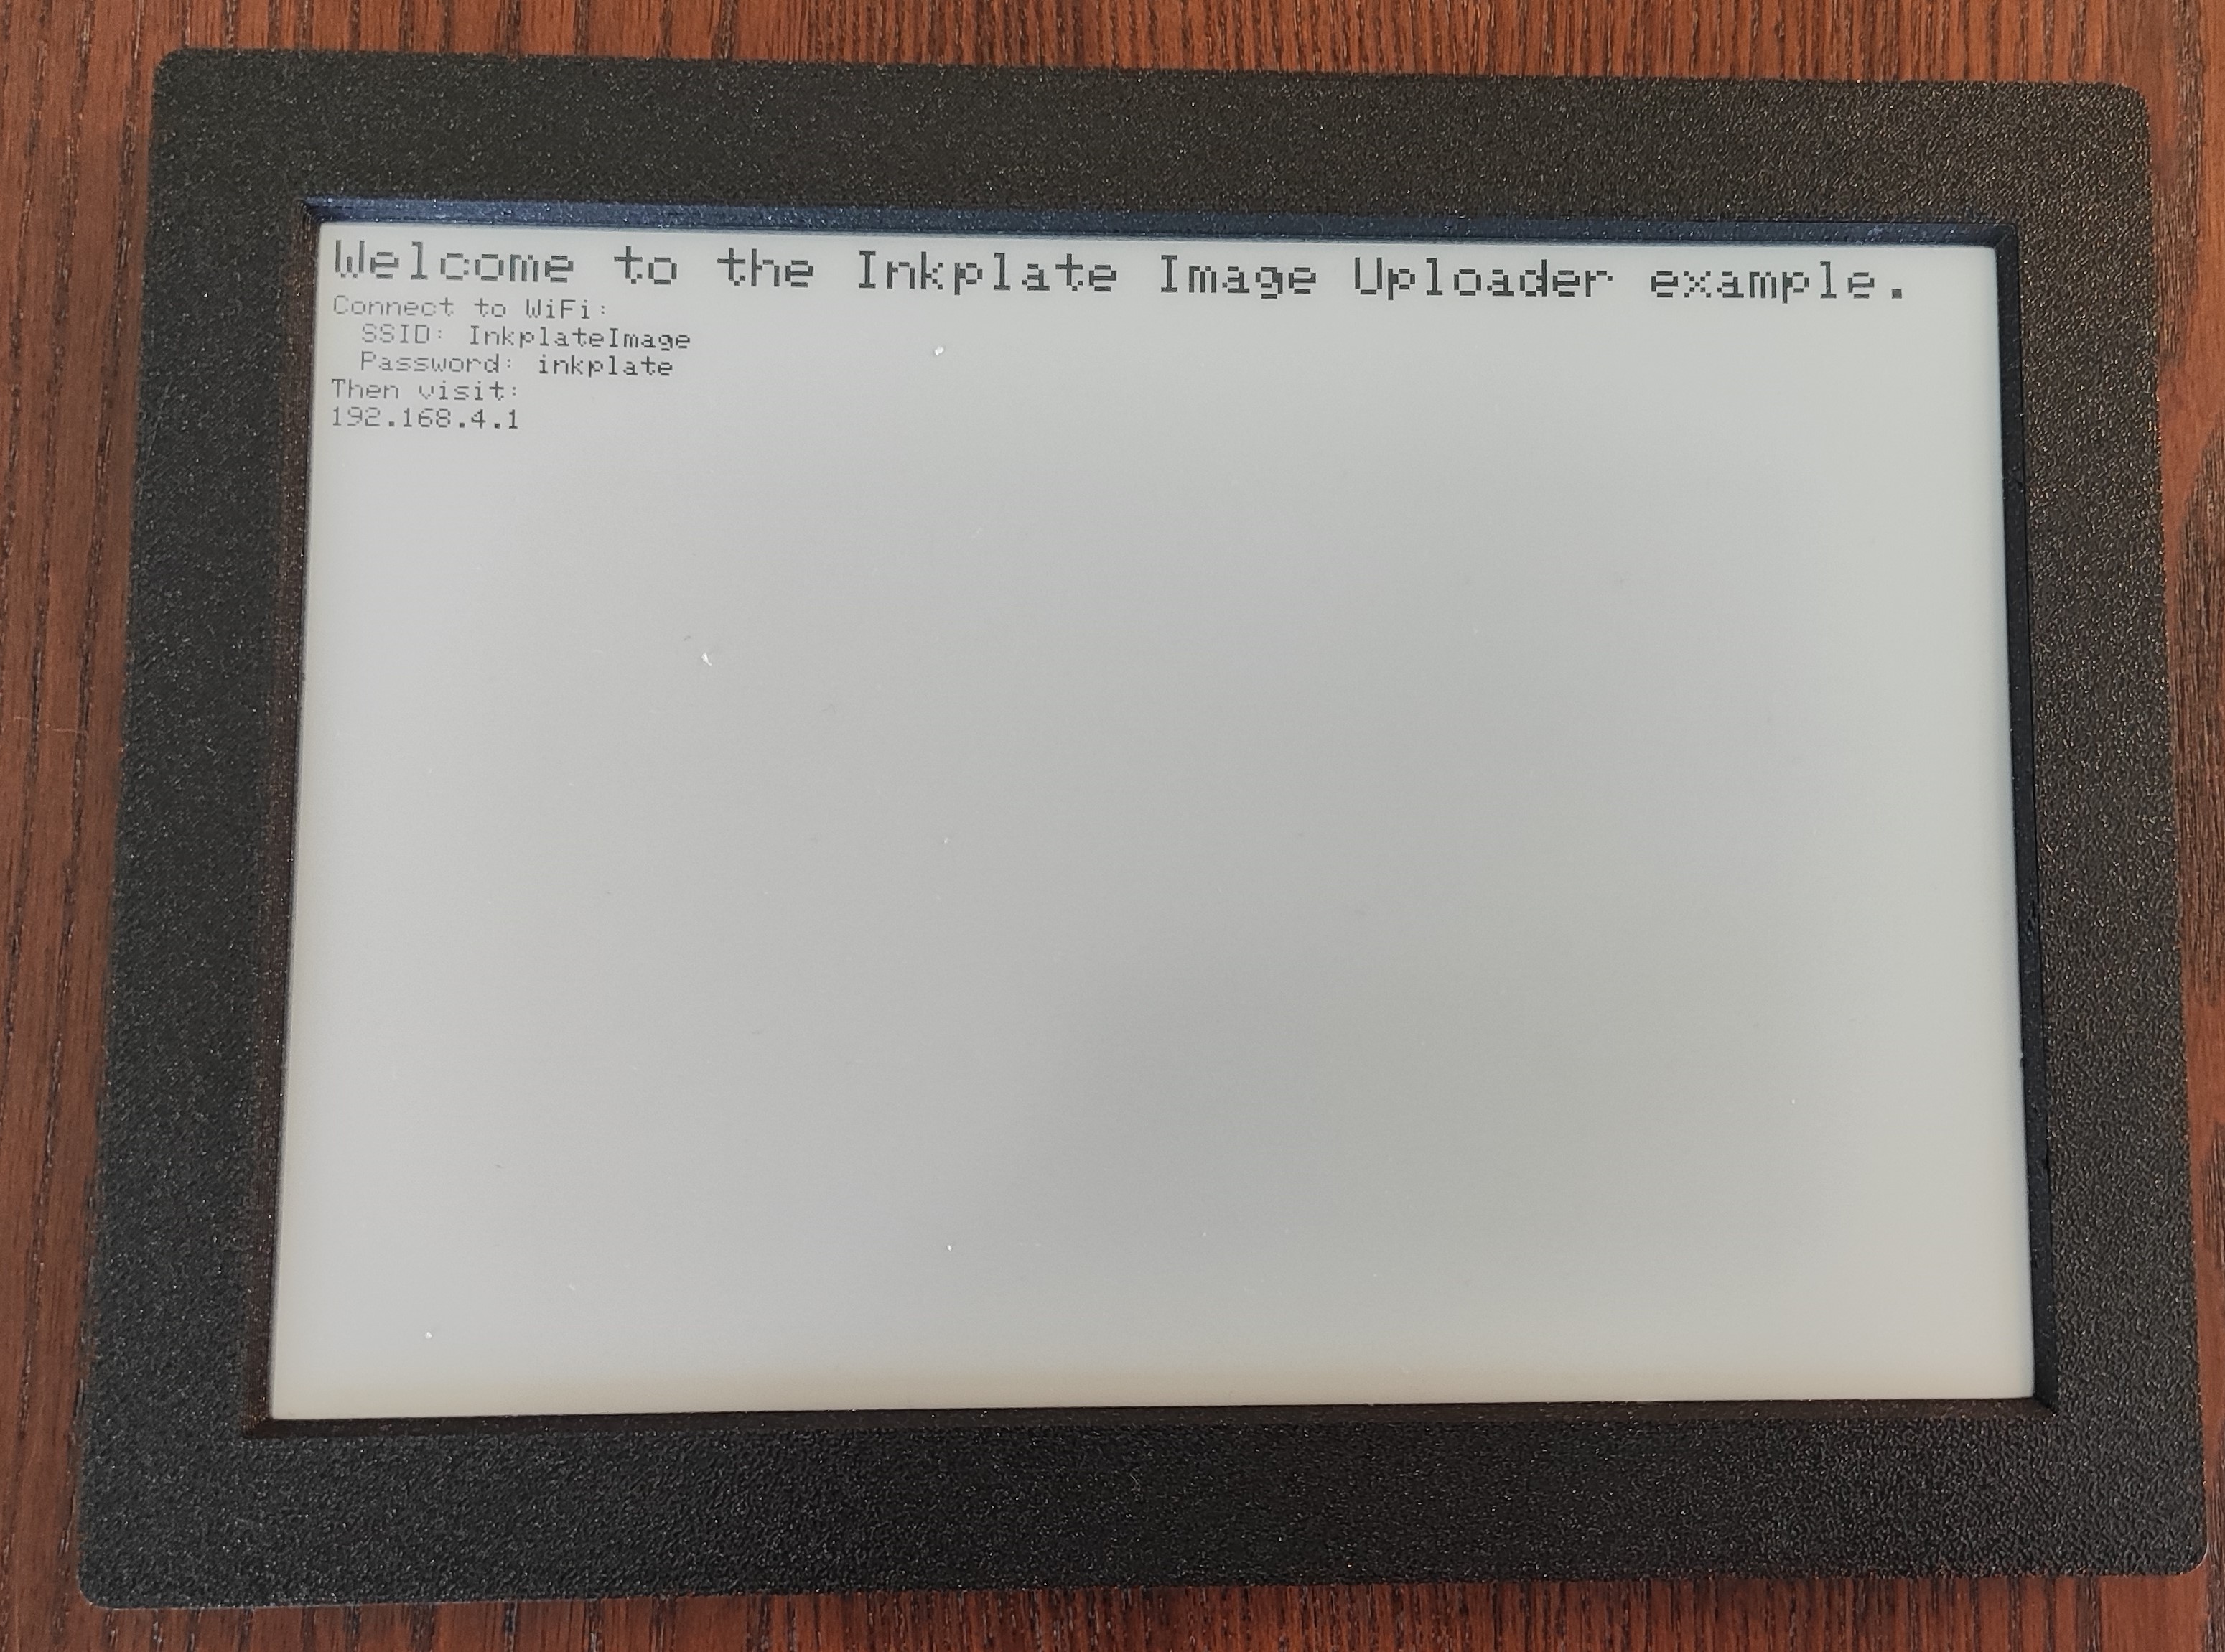
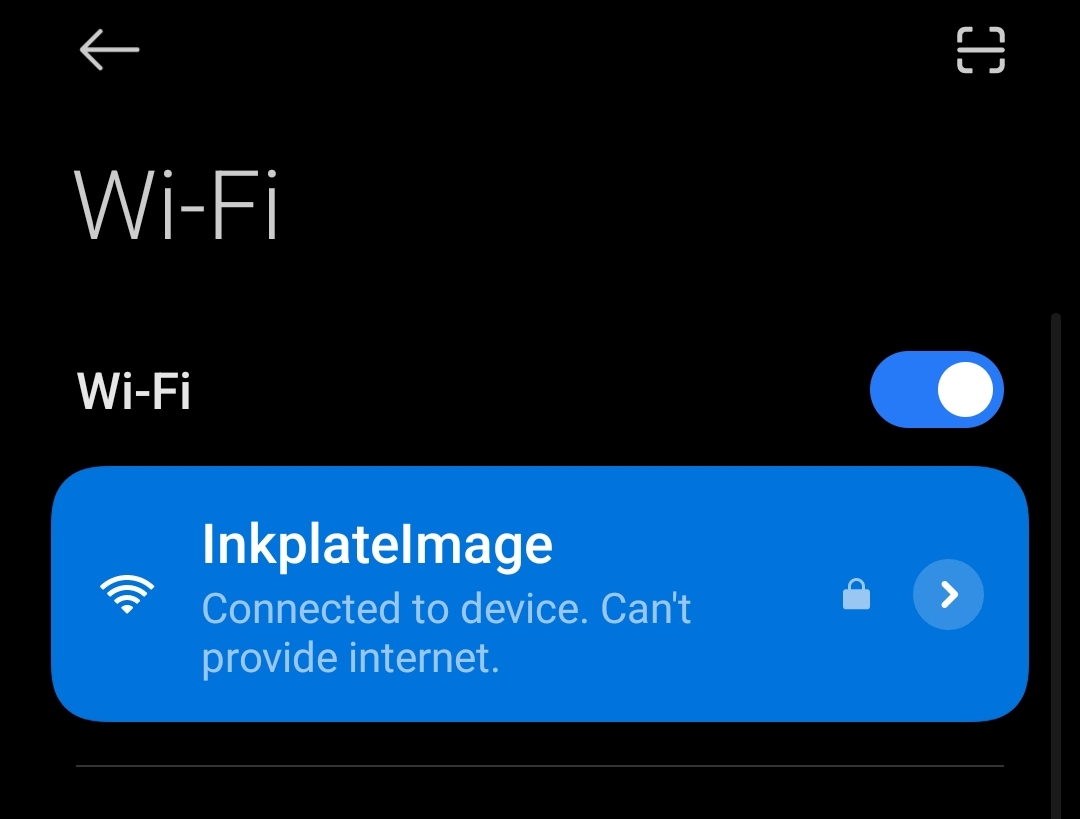
Connecting to the Access point
After uploading the code to your Inkplate device, on the screen you will see instructions on how to connect to the access point. The screen will look like this:
Next, on your mobile device, connect to the Wi-Fi with the credentials provided on the Inkplate display:
Finally, in a browser, visit the ip address 192.168.4.1 and you will be met with a simple and intuitive UI to upload images either from your gallery or by taking a photo:
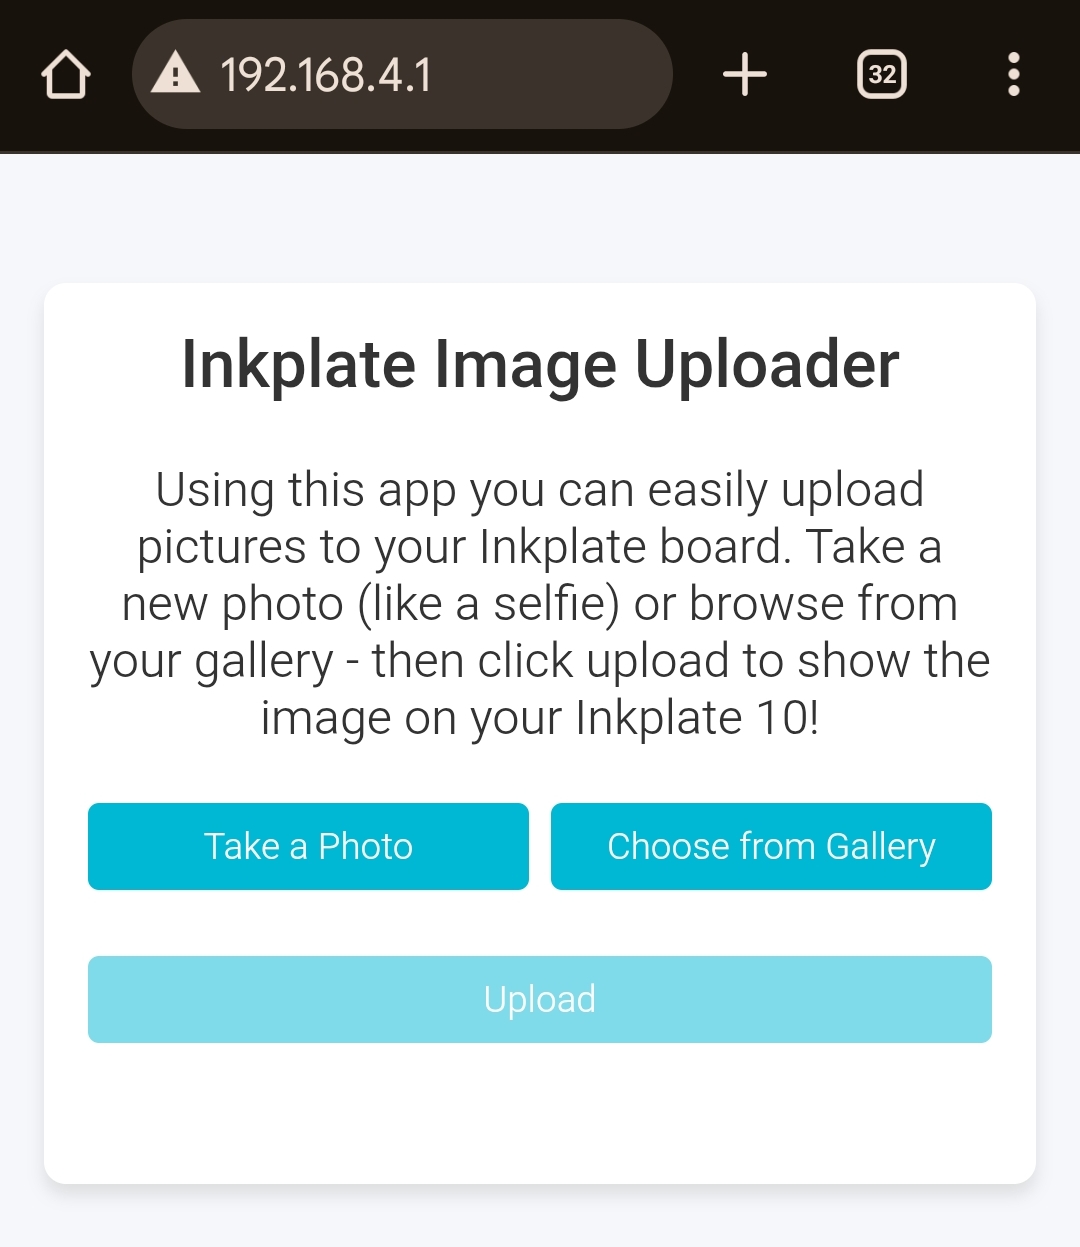
When you press the Upload button, the image will be resized and displayed on your Inkplate device!