Inkplate 5V2 – Image from microSD
To draw images from the microSD card, use the drawImage() function.
ℹ️
Supported formats are: JPG, BMP and PNG.
⚠️
JPG files without progressive encoding are supported.
Drawing PNG, JPG and BMP files from the microSD card
Let's draw example images of different formats on Inkplate. Download them from the Inkplate library and place them in the root folder of the microSD card:
/*
   Inkplate5V2_SD_Pictures example for Soldered Inkplate 5 V2
   For this example you will need a USB-C cable, an Inkplate5, and an SD card
   loaded with images that can be found inside the folder of this example.
   Select "Soldered Inkplate5 V2" from Tools -> Board menu.
   Don't see the "Soldered Inkplate5 V2" option? Follow our tutorial to add it:
   https://soldered.com/learn/add-inkplate-6-board-definition-to-arduino-ide/

   This example shows you how to read .bmp and .jpeg files (pictures) from an SD card and
   display the image on the e-paper display. You can open .bmp, .jpeg, or .png files (but there are
   some limitations in the library) that have a color depth of 1 bit (BW bitmap), 4 bit, 8 bit, or
   24 bit AND have a resolution smaller than 960x540; otherwise, it won't fit on the screen. Format your
   SD card in the standard FAT file format.

   Want to learn more about Inkplate? Visit www.inkplate.io
   Looking to get support? Write on our forums: https://forum.soldered.com/
   15 April 2024 by Soldered
*/

// The next three lines are precautionary; you can ignore them, as the example would also work without them.
#ifndef ARDUINO_INKPLATE5V2
#error "Wrong board selection for this example, please select Soldered Inkplate5 V2 in the boards menu."
#endif

#include "Inkplate.h"            // Include the Inkplate library into the sketch
Inkplate display(INKPLATE_3BIT); // Create an object from the Inkplate library and set the library to 3-bit mode
SdFile file;                     // Create an SdFile object used for accessing files on the SD card

void setup()
{
    display.begin();             // Initialize the Inkplate library (call this function ONLY ONCE)
    display.clearDisplay();      // Clear the display's frame buffer
    display.setTextColor(BLACK); // Set text color to black
    display.setTextSize(3);      // Set the font size to 3

    // Initialize the SD card and display whether it was initialized properly.
    if (display.sdCardInit())
    {
        display.println("SD Card OK! Reading image...");
        display.display();

        // If the card is properly initialized, try to load an image and display it on the e-paper at position X=0, Y=0.
        // NOTE: Both drawImage methods allow for an optional fifth "invert" parameter. Setting this parameter
        // to true will flip all colors in the image, making black white and white black. This may be necessary when
        // exporting bitmaps from certain software.
        if (!display.drawImage("image1.bmp", 0, 0, 1))
        {
            // If something fails (incorrect filename or wrong bitmap format), write an error message on the screen.
            // REMEMBER! You can only use a Windows Bitmap file with a color depth of 1, 4, 8, or 24 bits with no
            // compression! You can turn off dithering for somewhat faster image load by changing the last 1 to 0, or
            // by removing the parameter completely.
            display.println("Image open error");
        }
        display.display();
        delay(5000);

        // Now try to load an image using the SdFat library class (for more advanced users) and display the image on the e-paper.
        display.clearDisplay();
        if (file.open("image2.bmp", O_RDONLY))
        {
            display.drawBitmapFromSd(&file, 0, 0, 1);
        }
        else
        {
            display.println("Image open error");
        }
        display.display();
        delay(5000);

        // Now draw a JPEG.
        display.clearDisplay();
        if (!display.drawImage("pyramid.jpg", 100, 0, true))
        {
            // If something fails (incorrect filename or wrong format), write an error message on the screen.
            // You can turn off dithering for somewhat faster image load by changing the fourth parameter to false, or
            // by removing the parameter completely.
            display.println("Image open error");
        }
        display.display();
    }
    else
    {
        // If the SD card initialization is not successful, display an error on the screen.
        display.println("SD Card error!");
        display.display();
    }

    // Turn off the MOSFET that powers the SD card.
    display.sdCardSleep();
}

void loop()
{
    // Nothing...
}
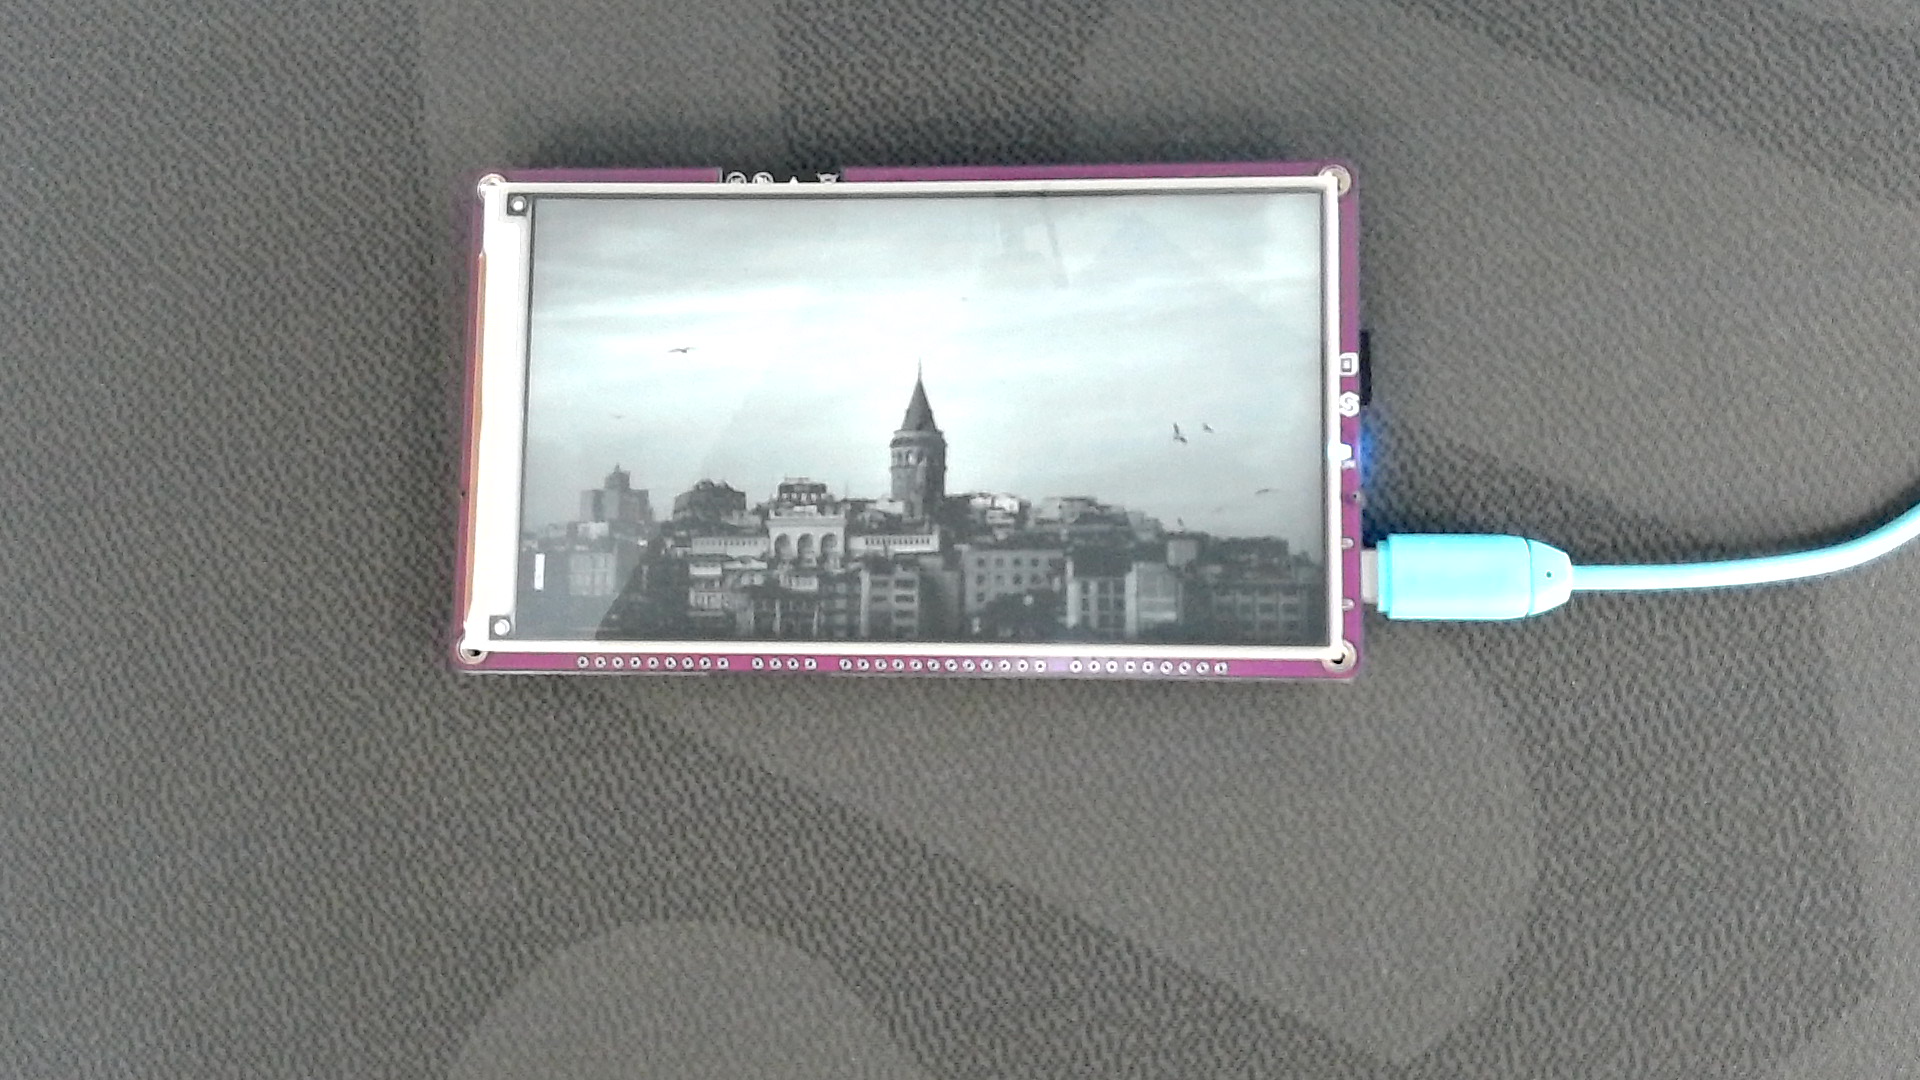
Example image 1
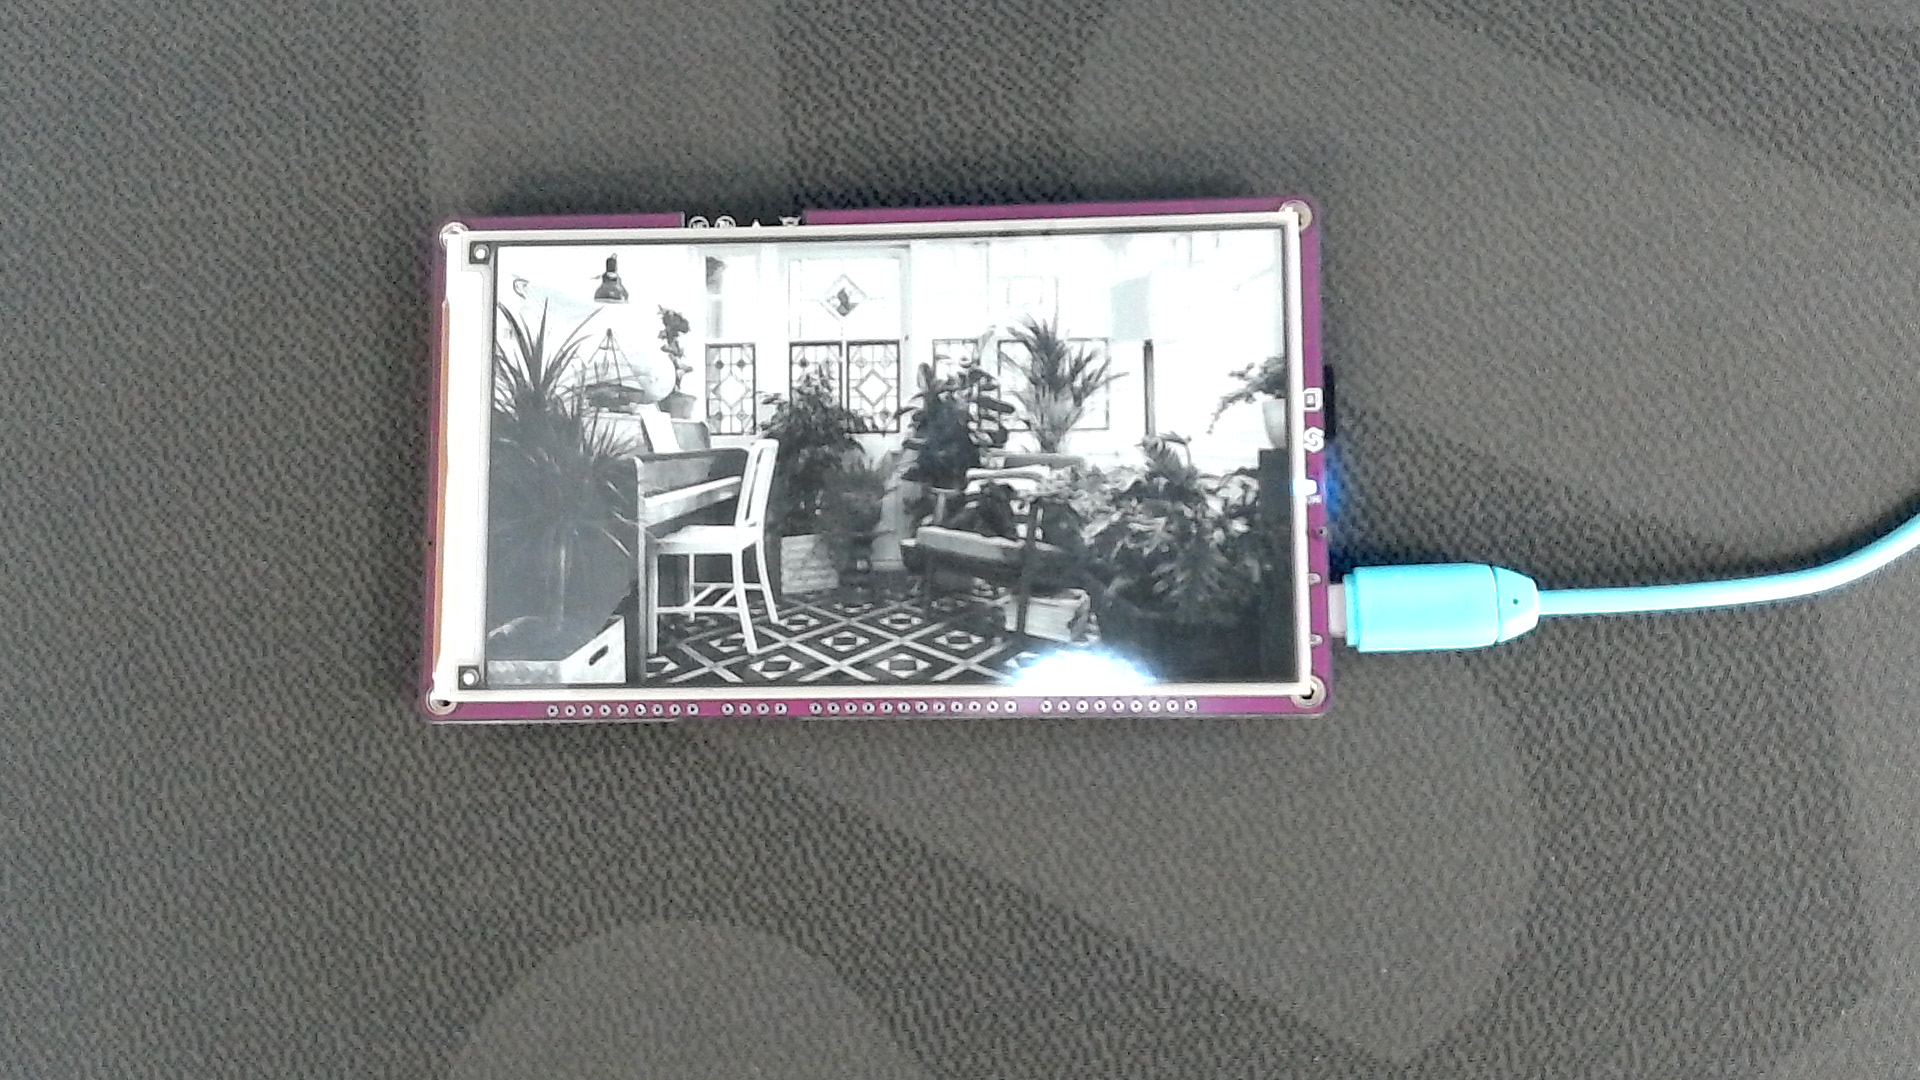
Example image 2

Example image 3
inkplate.drawImage()
The function draws an image from the given path.
Returns value: Returns true if the image was successfully drawn, otherwise false.
Function parameters:
| Type | Name | Description |
|---|---|---|
const char* | path | The path and filename of the image. Can be a URL (for web images) or a file path (on the microSD card). |
int | x | The X-coordinate of the image's upper-left corner in the framebuffer. |
int | y | The Y-coordinate of the image's upper-left corner in the framebuffer. |
uint8_t | dither | Dithering mode: 0 (disabled), 1 (enabled). |
bool | invert | If true, inverts colors. |
Full example
Inkplate5V2_SD_Pictures.ino
This example shows you how to read .bmp and .jpeg files (pictures) from the SD card and display them on the e-paper display.