Quick start guide
To use Arduino with Inkplate 5V2, you first need to install the required software. Here's how.
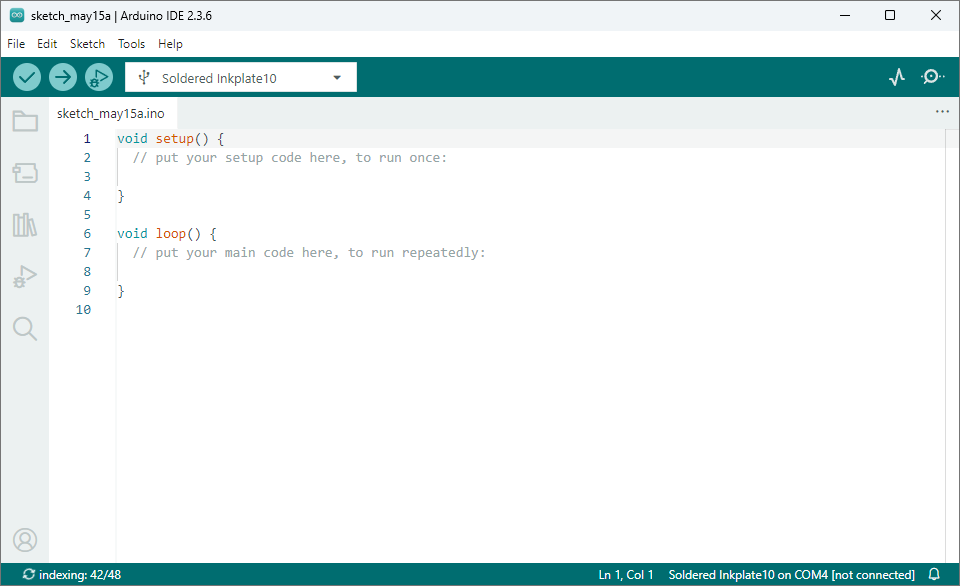
1. Install Arduino IDE
If you haven't installed it yet, download and install the Arduino IDE from the official website.
2. Install Inkplate boards definition
Copy the following URL:
https://github.com/SolderedElectronics/Inkplate-Board-Definitions-for-Arduino-IDE/raw/refs/heads/main/package_Inkplate_Boards_index.json
And add it to the Additional boards manager URLs in the Arduino settings:
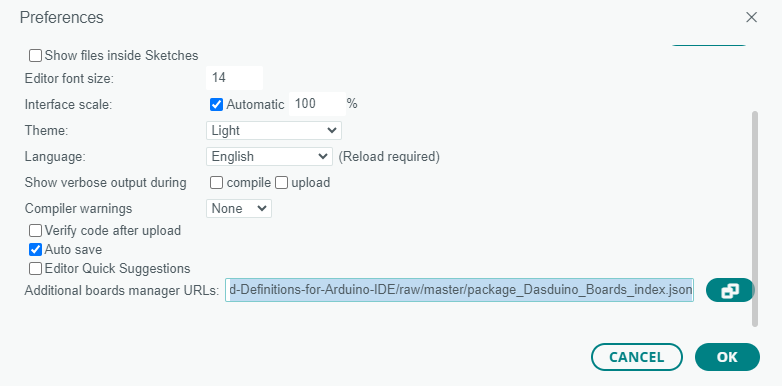
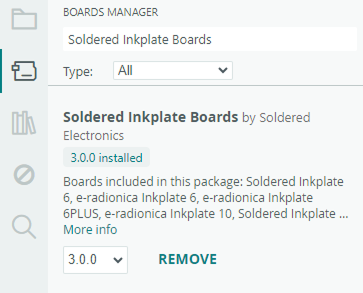
Now open the Boards Manager, search for Inkplate Boards, and install the Inkplate Boards board definitions.
Click Install here:
3. Install Inkplate library
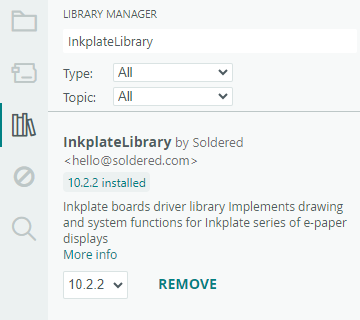
In the Arduino Library Manager, search for the Inkplate library and click Install:
4. Install CH340 driver
The CH340 is an onboard chip that handles serial communication over USB. If you don't have the driver yet, download it from this link, then start the installation and follow the instructions:

Done!
Inkplate 5V2 setup is complete. Try out some examples from the Arduino library, upload them and see the results for yourself.
Light and Versatile Graphics Library (LVGL)
Uploading code
Here's how to upload your own sketch, or one of the Arduino examples, to Inkplate 5V2.
1. Connect Inkplate via USB and power it on
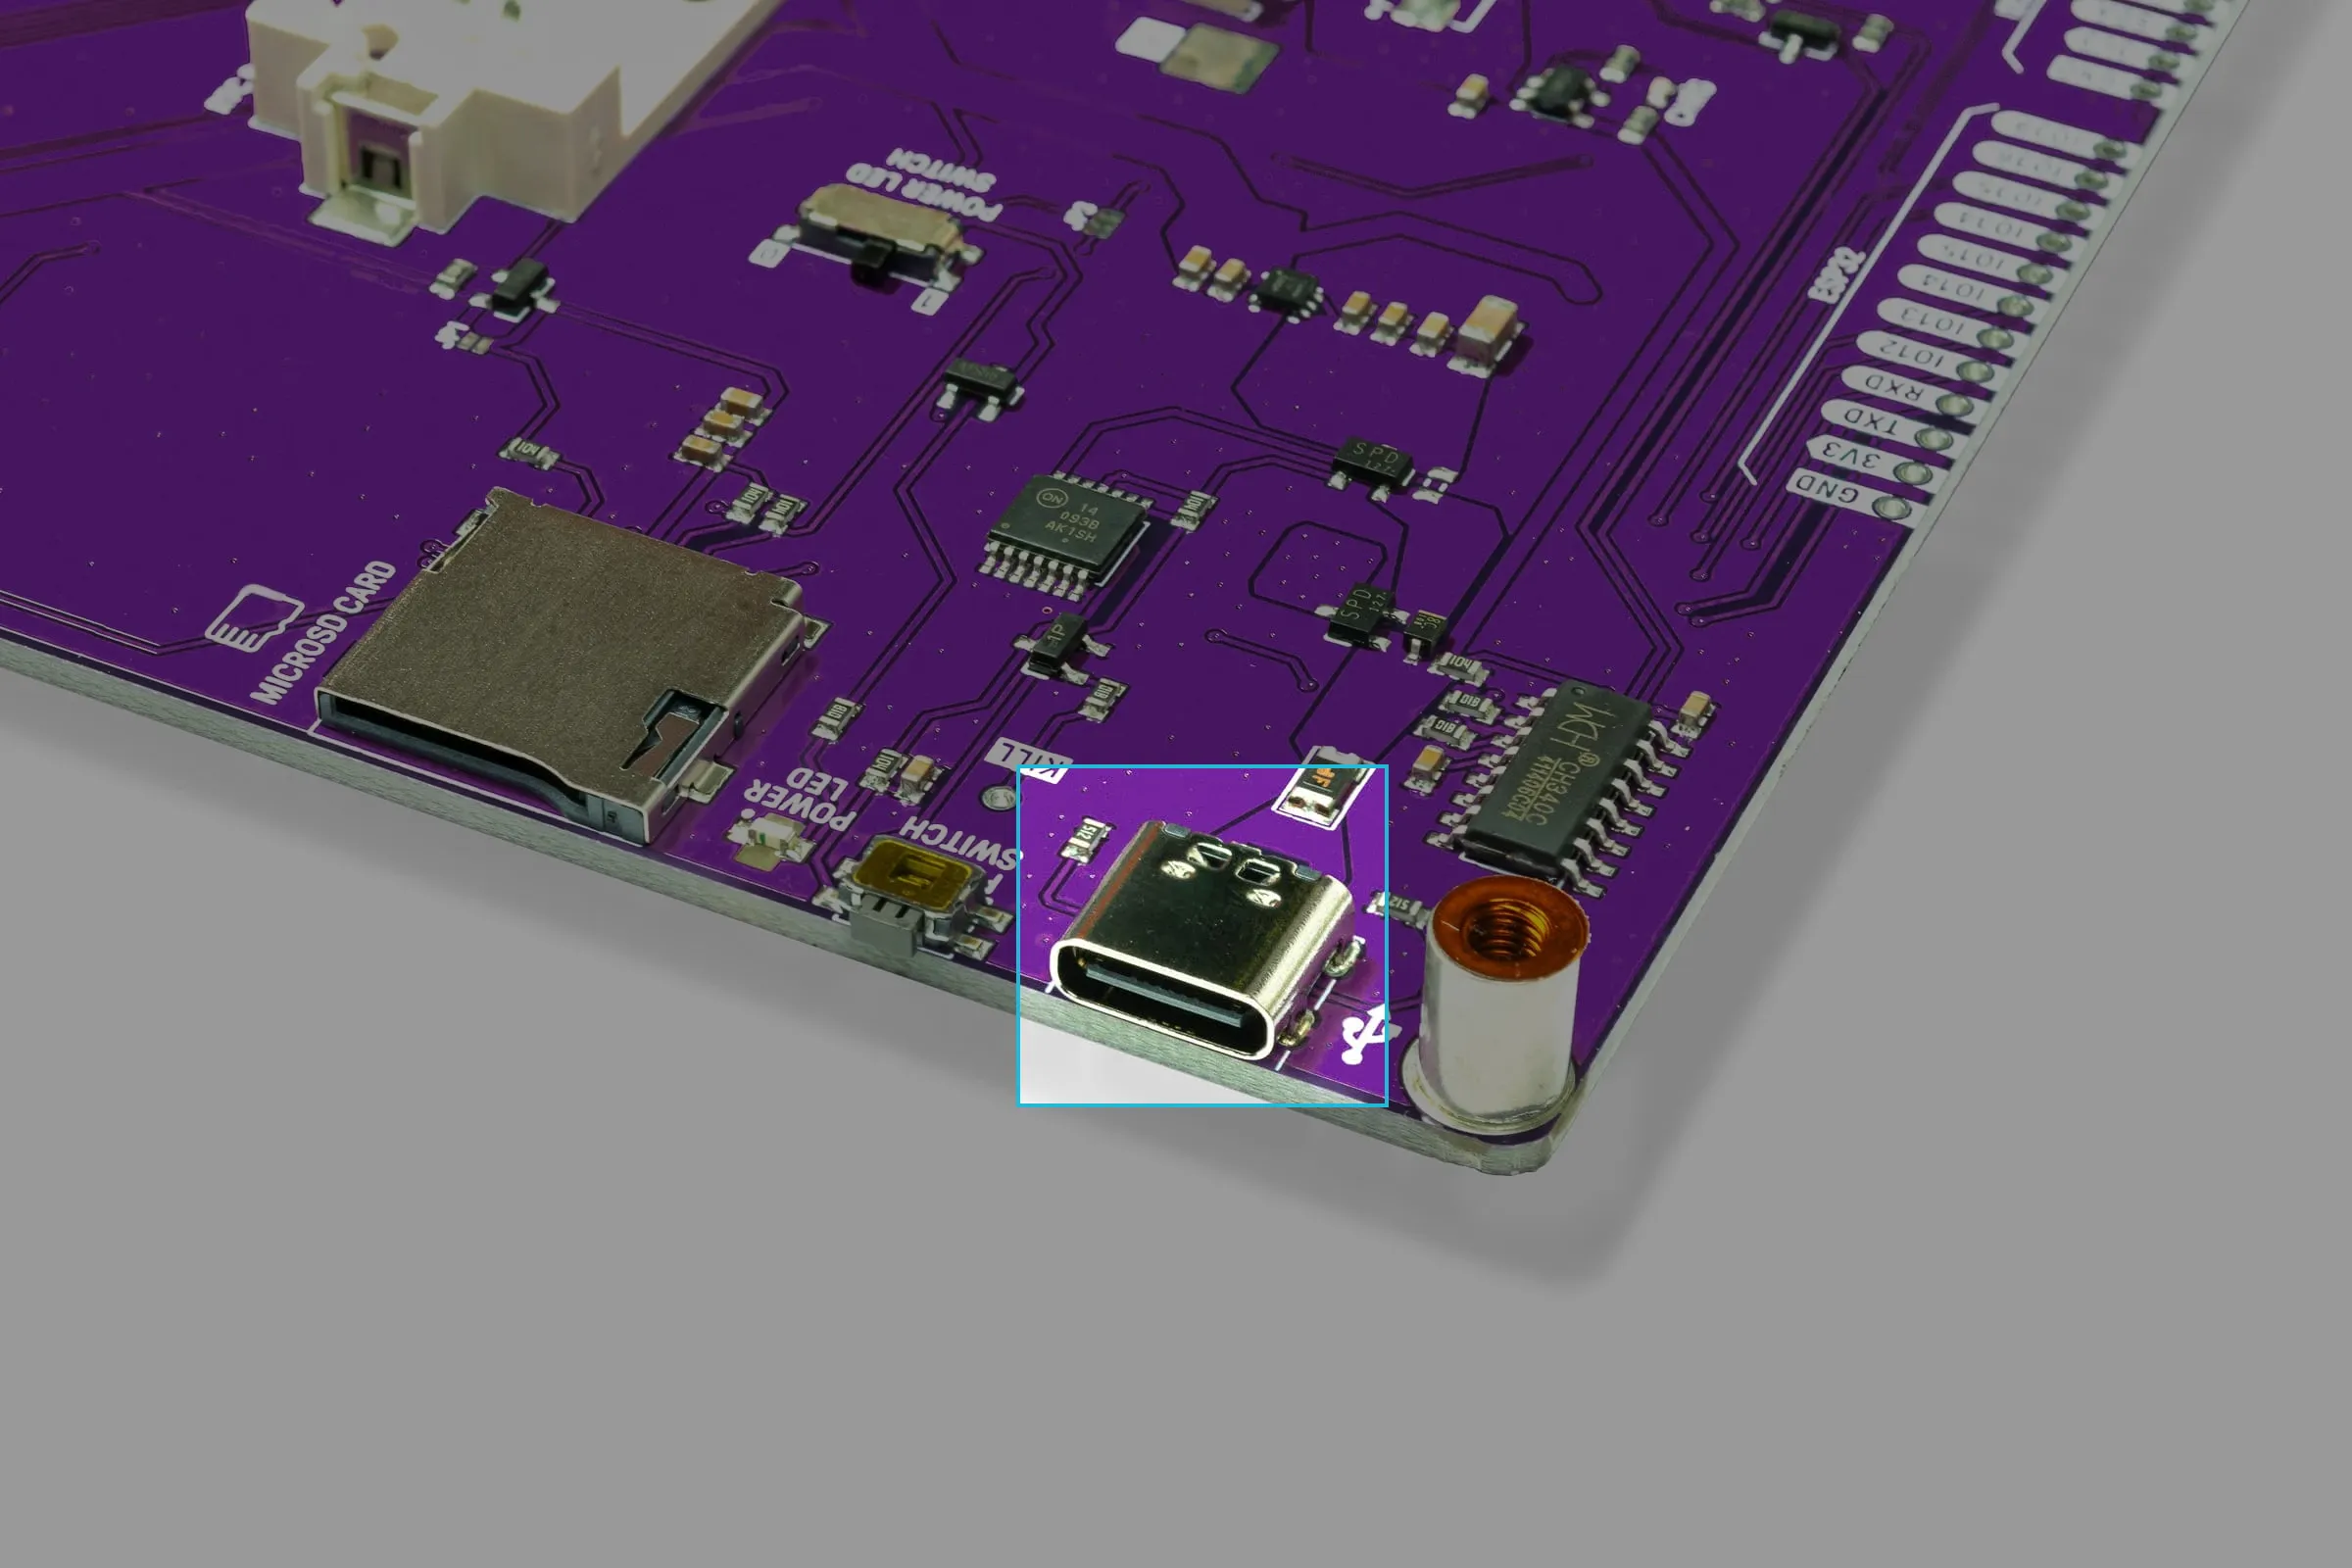
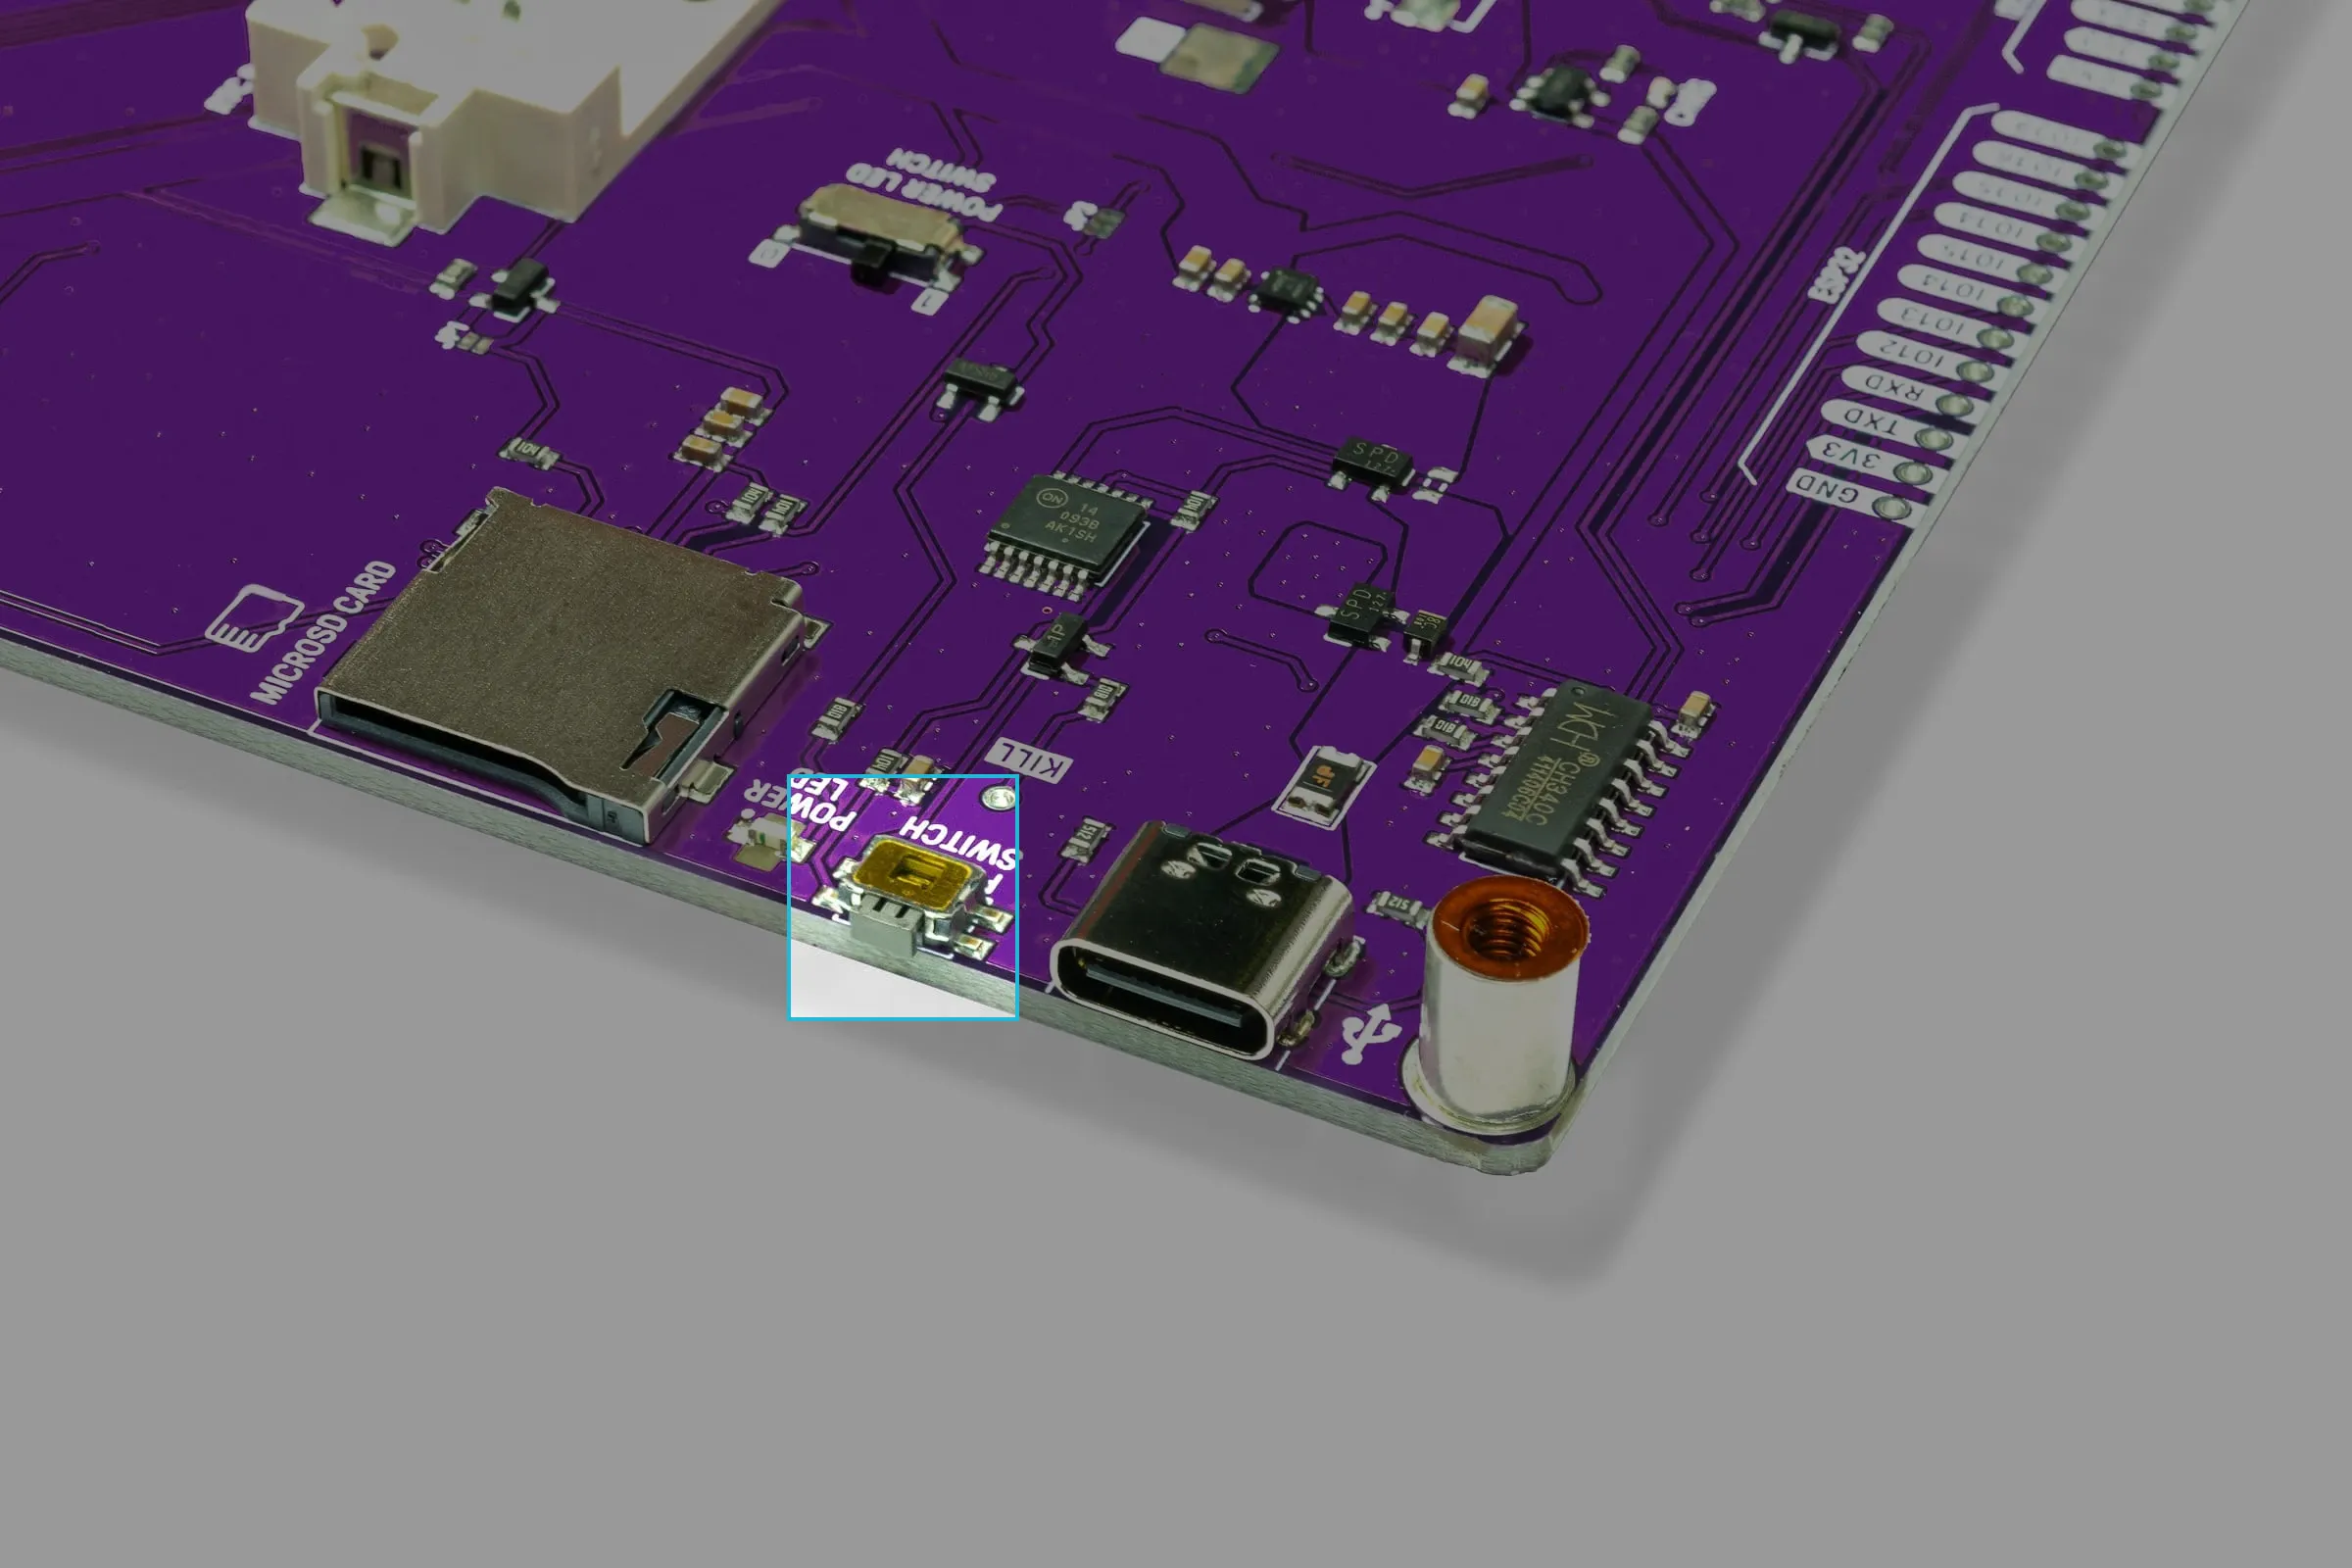
Use the provided USB-C cable to connect Inkplate 5V2 to your computer, then press the POWER ON button. The blue power LED lights up when the board is connected properly.
2. Create a sketch
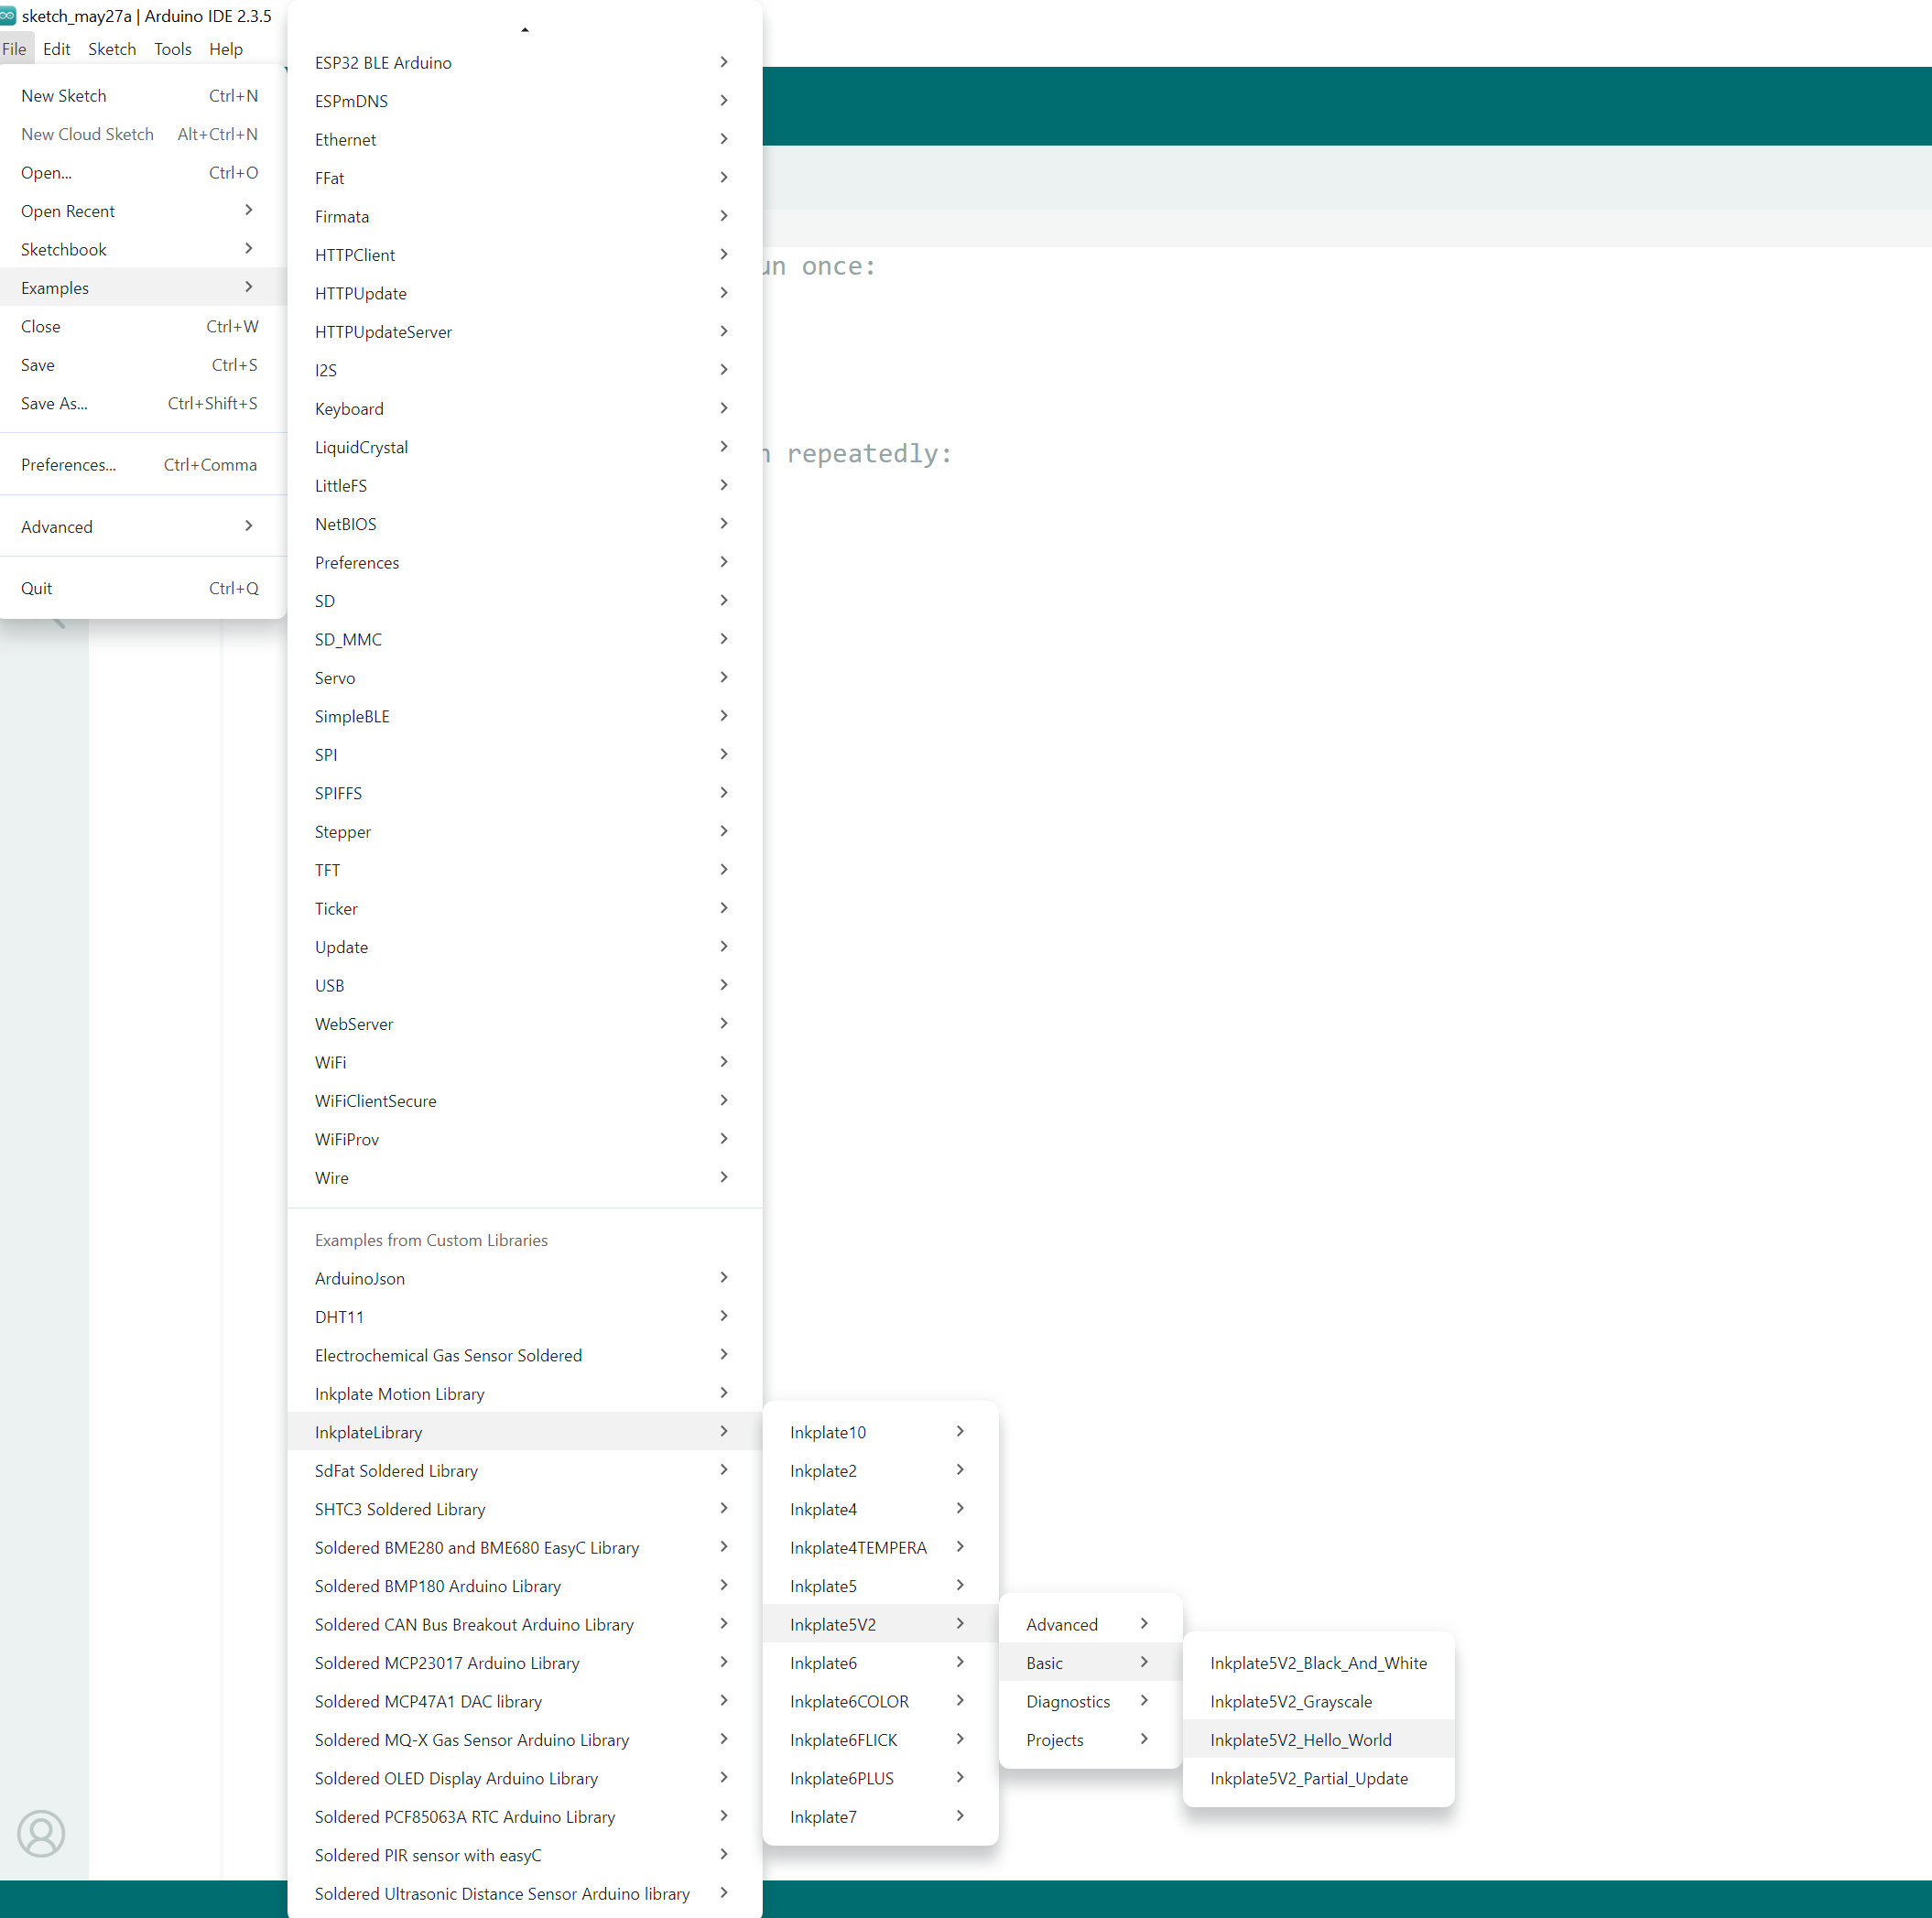
We'll use a pre-made example here. Go to File->Examples->InkplateLibrary->Inkplate5V2->Basic->Inkplate5V2_Hello_World.
3. Upload the code
Click Upload in the Arduino IDE.
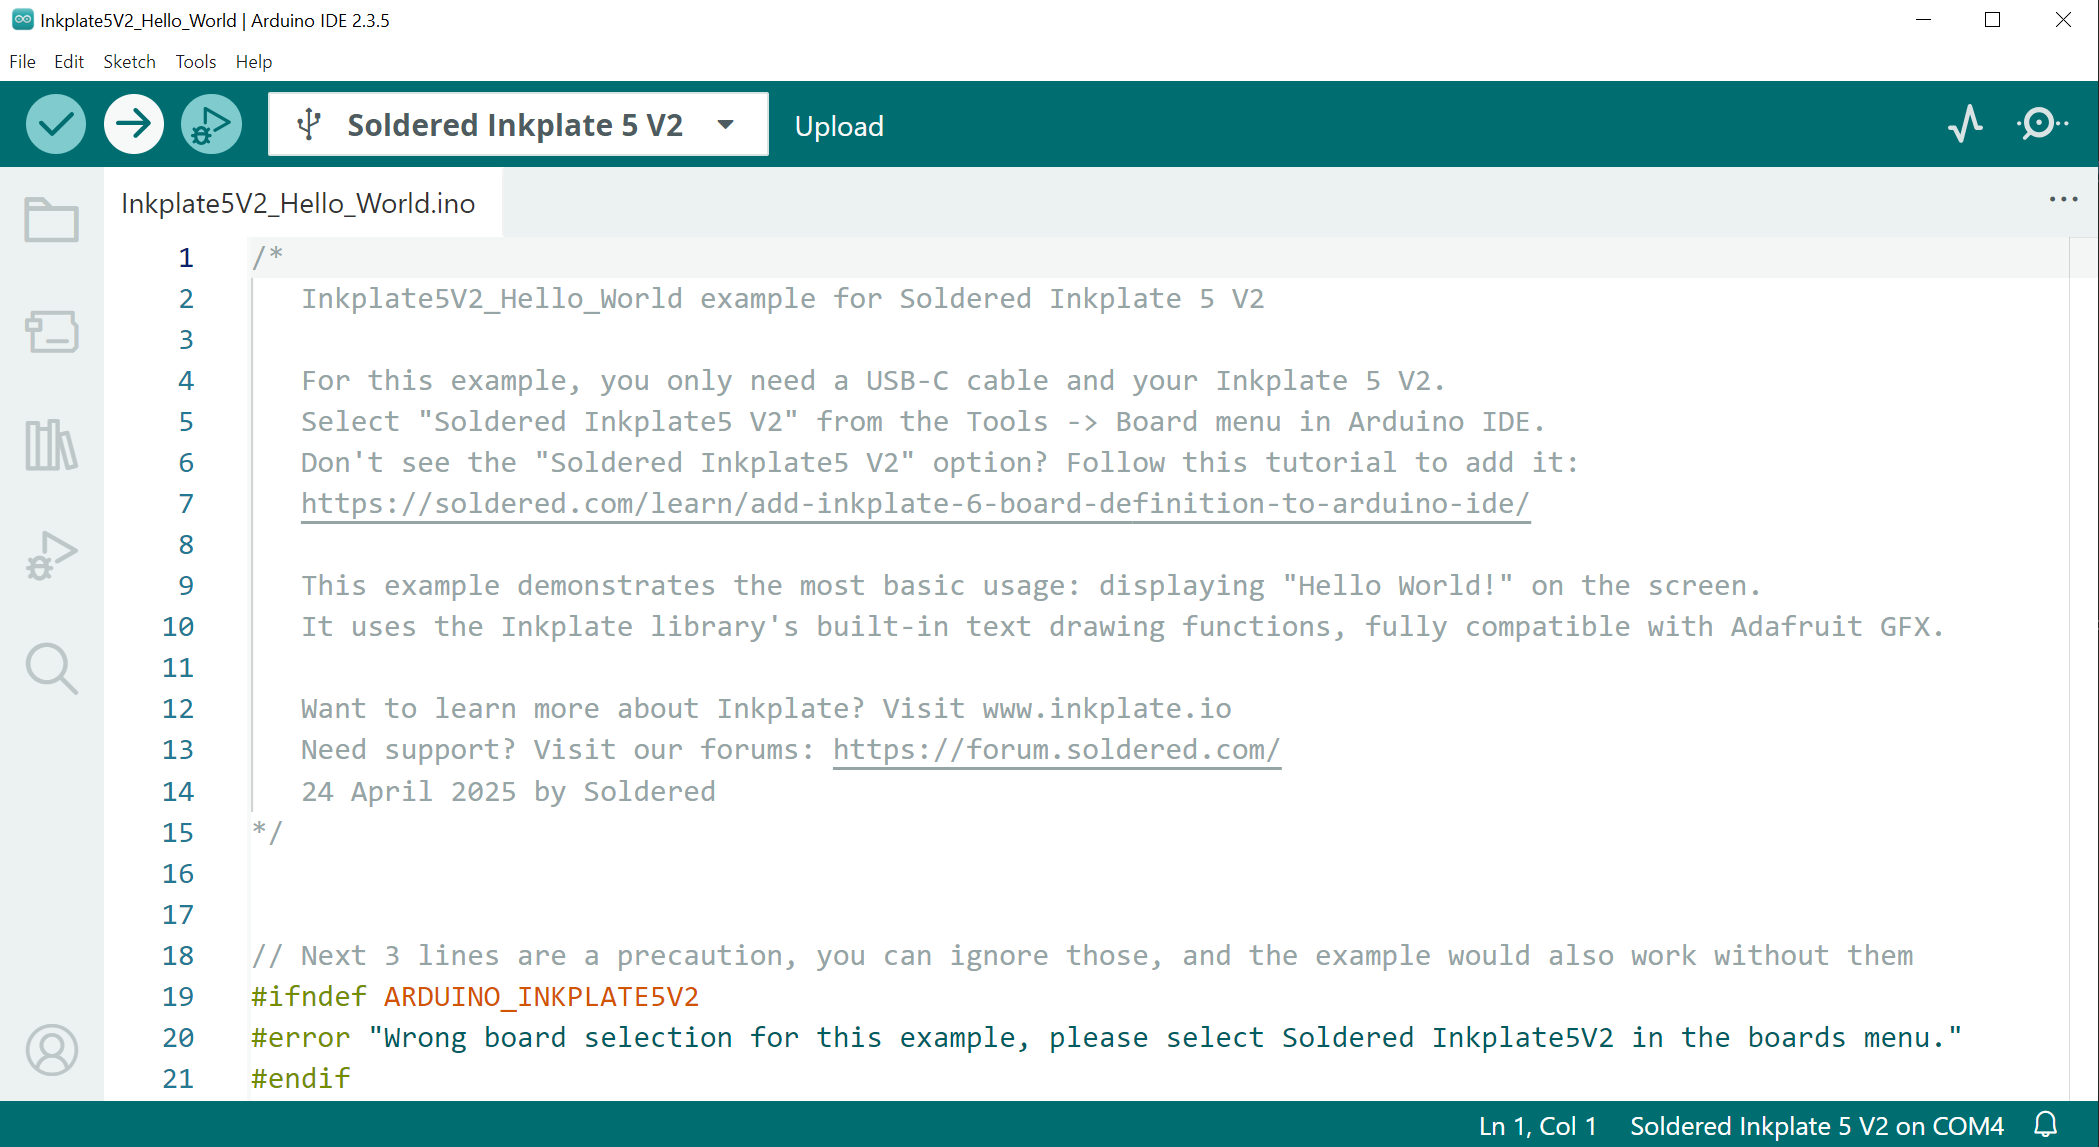
Once the upload finishes, Inkplate restarts on its own and runs the new code. Arduino's upload log should read:
Leaving...
Hard resetting via RTS pin...
Troubleshooting
Having problems uploading your first code? Check out our troubleshooting page