FAQ and Troubleshooting
This page collects the most frequently asked questions and common issues encountered when using the Inkplate 4 TEMPERA. Whether you're troubleshooting your first project or just getting familiar with the hardware, you'll find helpful guidance below.
If you're having trouble uploading code, try the following steps:
Restart the device
- Unplug the USB cable and power off the board (if using a battery).
- Plug it back in and try uploading again.
Check power status
Ensure the power switch is turned ON and that the power LED is lit.
Verify Arduino IDE version
Inkplate 4 TEMPERA requires Arduino IDE 2.0 or newer. Make sure you're using the latest version for the best compatibility.
Still having issues?
Reach out to our support team here with details about your setup and what you've already tried.
If the e-paper screen doesn’t update after uploading:
1. Confirm upload was successful
Enable verbose output in Arduino (File → Preferences) and watch for:
Leaving...
Hard resetting via RTS pin...
2. Use a known-good example
Start with an unmodified example sketch from the official Inkplate 4 TEMPERA examples:
Inkplate4TEMPERA_Black_And_White.ino
Basic black-and-white display example for Inkplate 4 TEMPERA.
3. Inspect the power source
- Some USB ports may not provide sufficient current, especially on laptops.
- Try a different USB port or use a powered USB hub.
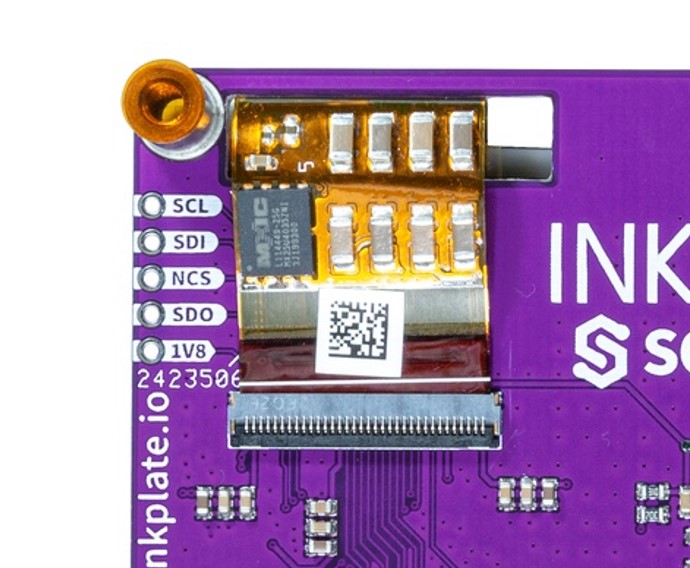
4. Check the flat cable connection
- Gently re-seat the e-paper panel’s flat-flex cable if the screen appears unresponsive.
- Make sure it's inserted fully and evenly.
Still having trouble?
Send us a message here, and we’ll help you troubleshoot.
If your display shows leftover pixels or streaks:
1. Run multiple full refreshes
Ghosting is common on e-paper. Try calling clearDisplay() and display() several times in a row to fully clean the panel.
2. Check cable connection
Display artifacts may be caused by a loose or damaged e-paper cable. Gently re-seat it to ensure a proper signal connection.
3. Consider environment
Cold temperatures can slow refresh times and worsen image retention. Try operating the device at room temperature.
If the issue persists, contact support.
Inkplate 4 TEMPERA includes a capacitive touchscreen. If it’s not working:
1. Use your fingertip
The screen uses capacitive technology — it won’t respond to fingernails, gloves, or pressure-based input.
2. Wait for the refresh to finish
Touch input is disabled while the display is refreshing. Avoid polling for touches during updates.
3. Test with the official example
Use this sketch to verify the touchscreen is functional:
Inkplate4TEMPERA_Touch_In_Area.ino
Test touch input in defined screen regions.
4. Check the panel surface
Touch performance may be affected by dirt or scratches. Clean the surface with a microfiber cloth and check for damage.
Still having issues? Reach out to support.
Inkplate 4 TEMPERA features a frontlight for improved visibility in dark environments.
1. Set the brightness
Make sure your sketch sets a brightness above 0. Brightness is controlled via software.
2. Power supply matters
The frontlight draws more current than the display itself. Ensure your USB port or battery can handle it.
3. Try the brightness example
This sketch demonstrates software control of the frontlight:
Inkplate4TEMPERA_Simple_Frontlight.ino
Basic frontlight control example for TEMPERA.
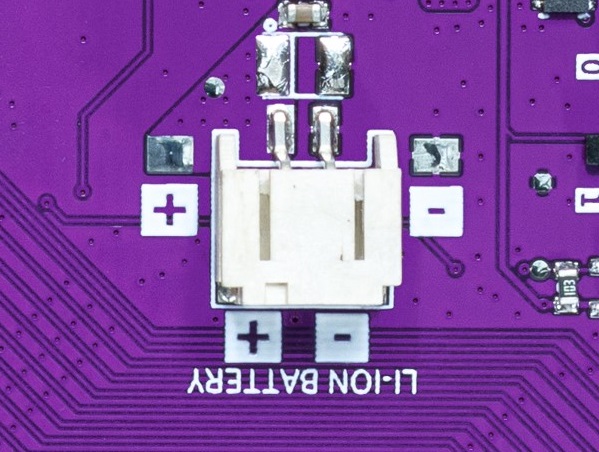
Inkplate 4 TEMPERA supports 3.7V Li-ion batteries via its 2-pin 2.0mm JST connector. It includes onboard charging (MCP73831) and will seamlessly switch to battery when USB is disconnected.
All hardware files — schematics, KiCad project files, gerbers, and more — are available in the Inkplate 4 TEMPERA hardware GitHub repo.
You can also visit the hardware design overview in this documentation.
3D printable enclosures and mounting models will be published soon in the Inkplate 4 TEMPERA GitHub repository. Stay tuned for updates.
Not directly.
Inkplate is designed to run standalone Arduino sketches. It doesn’t function as a plug-and-play monitor. However, you can write a sketch that accepts and displays data over USB, Wi-Fi, or Bluetooth.
For now, it’s best used as a self-contained display platform.
Currently, there is no official ESPHome support for Inkplate 4 TEMPERA.
The team is working toward expanding support across all Inkplate models. ESPHome support may come in the future — keep an eye on project updates.