Inkplate 6MOTION - Uploading code
To upload your own sketch or an Arduino example to Inkplate 6MOTION, follow this brief guide.
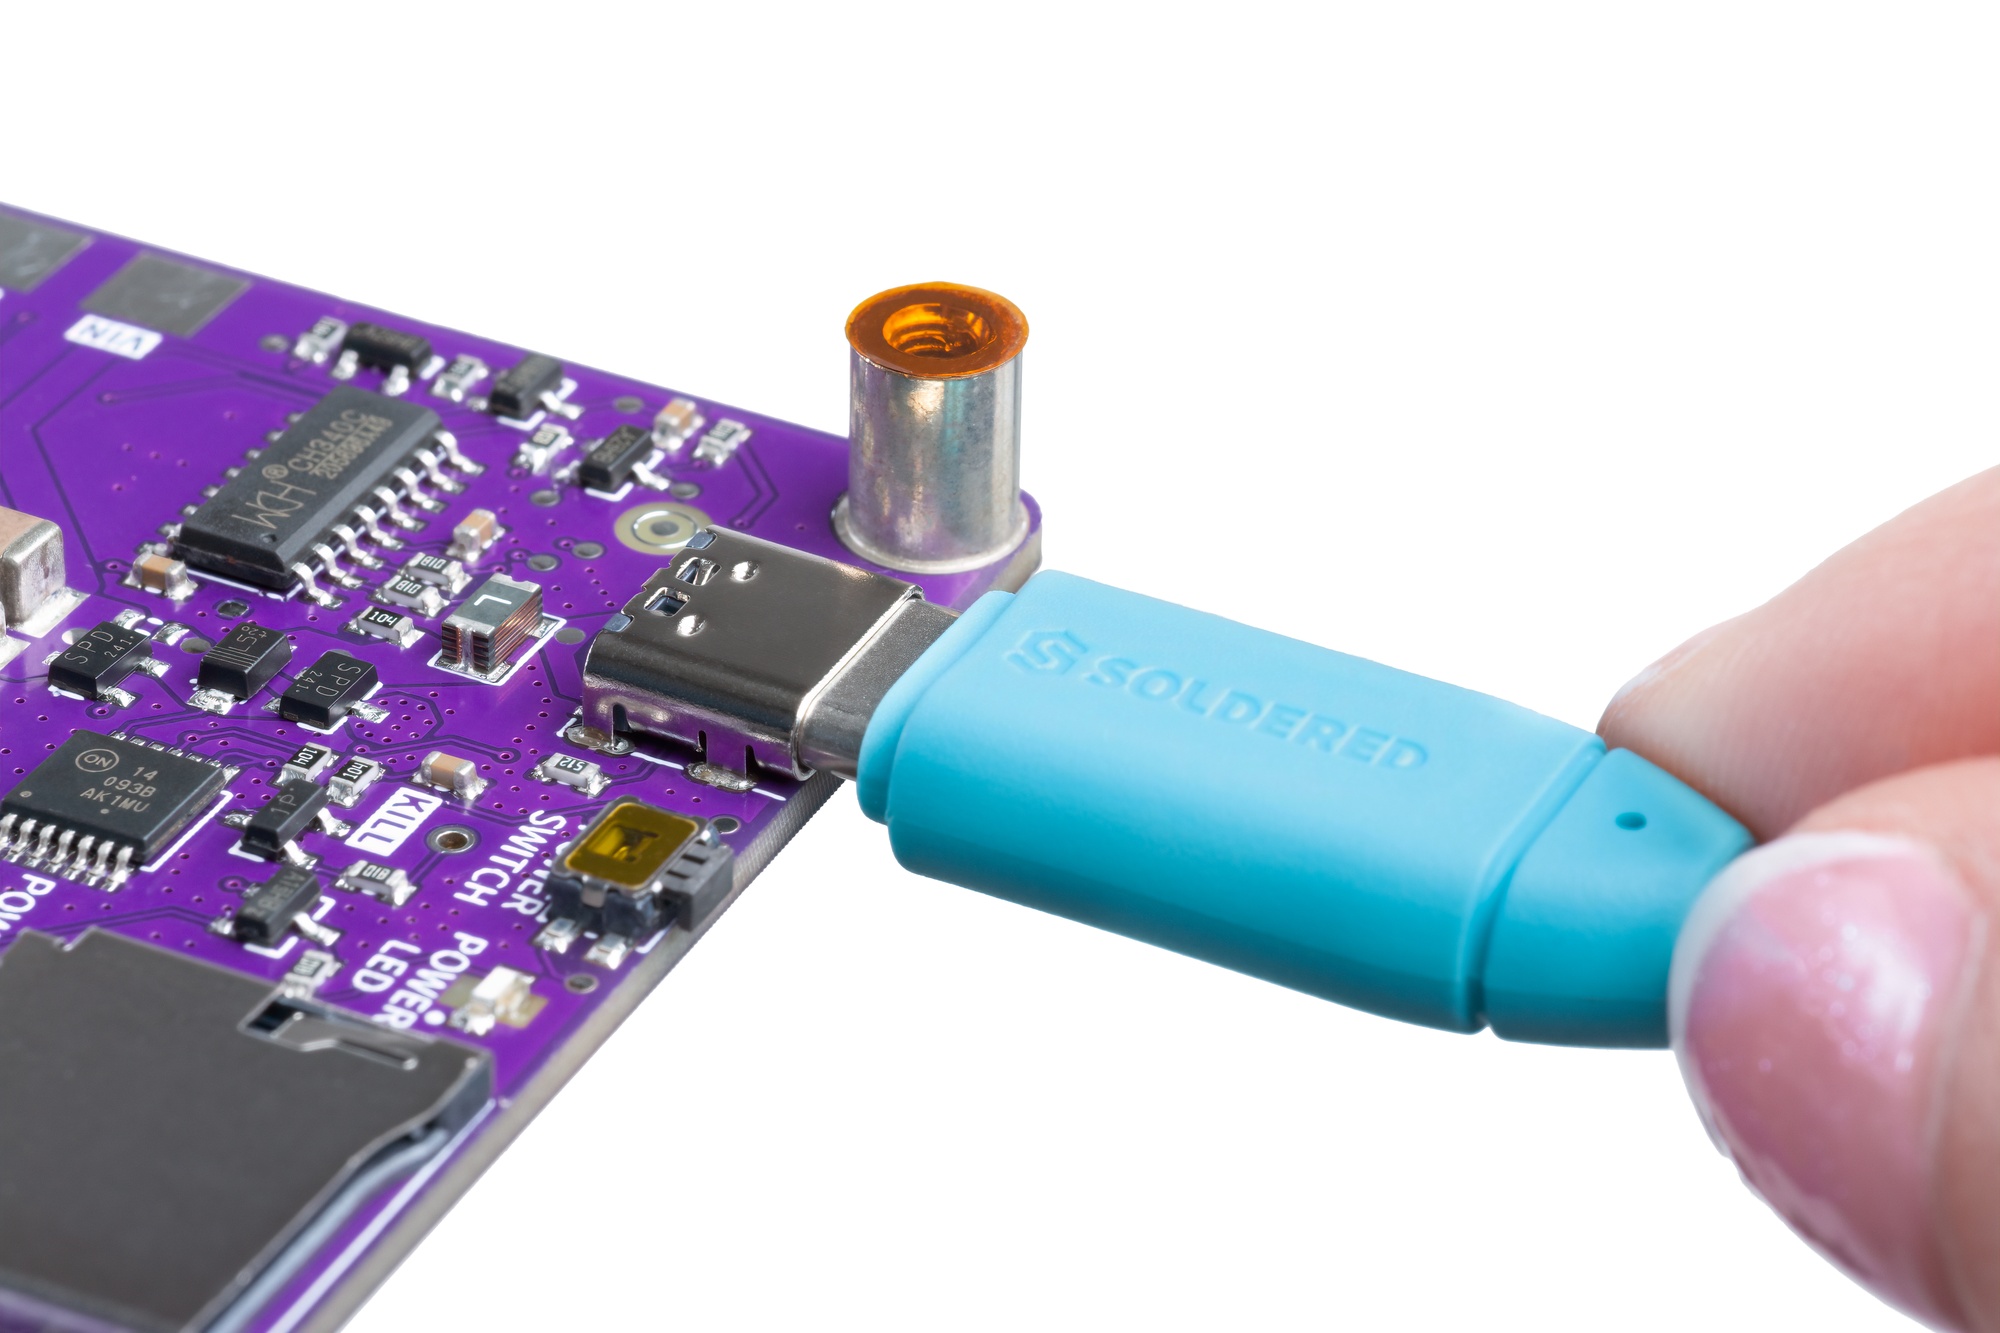
1. Connect Inkplate via USB and power it on
Use the provided USB-C cable to connect Inkplate 6MOTION to your computer. Ensure that the board is powered on by pressing the POWER ON button. The blue power LED will light up when properly connected.
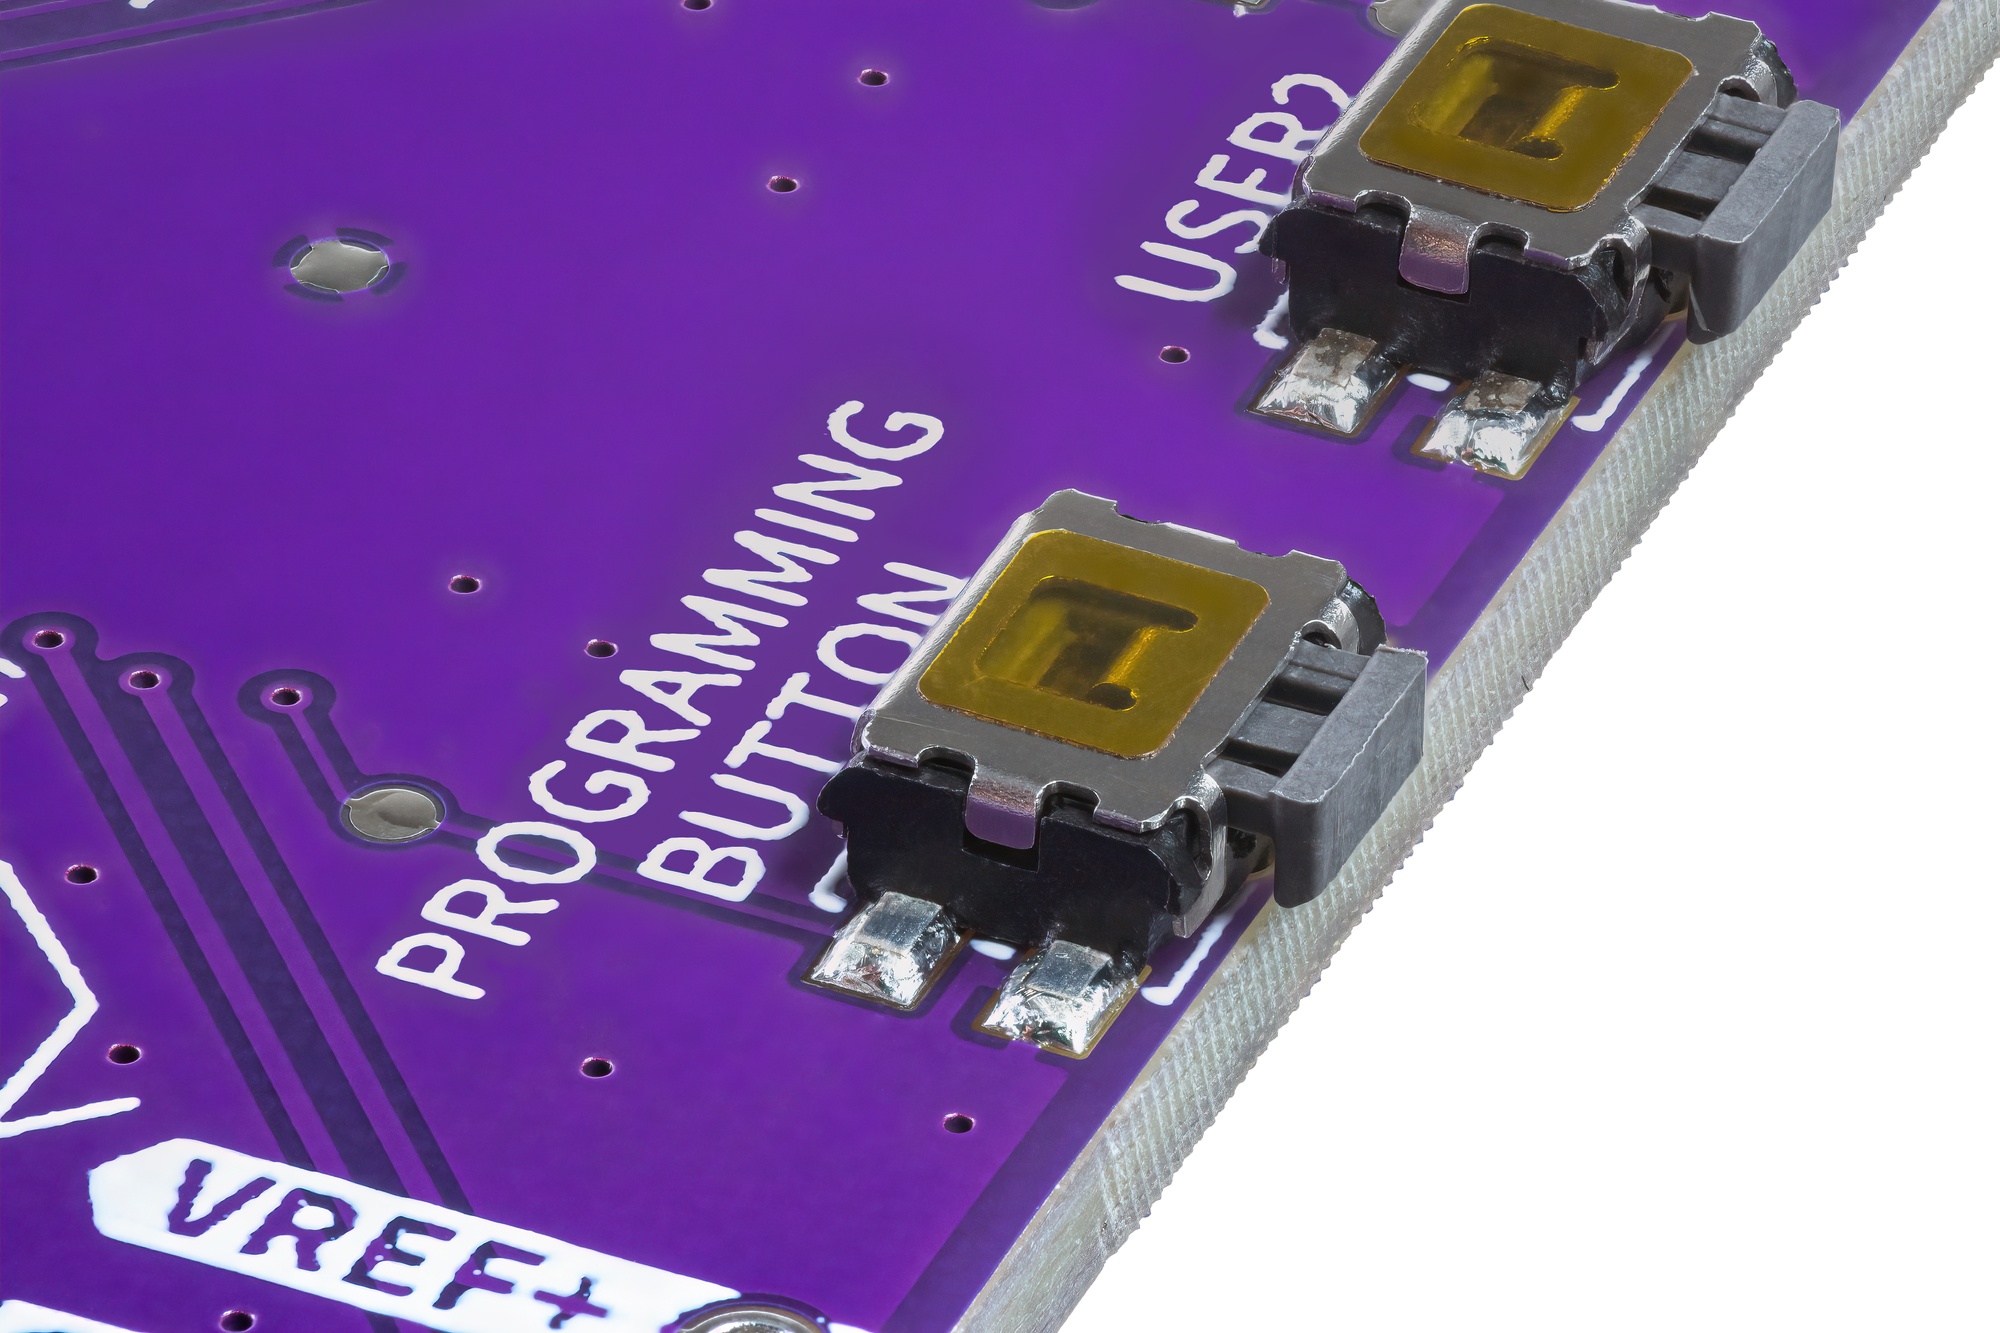
2. Press the PROGRAMMING button
To enter programming mode, press the PROGRAMMING button located next to USER2.
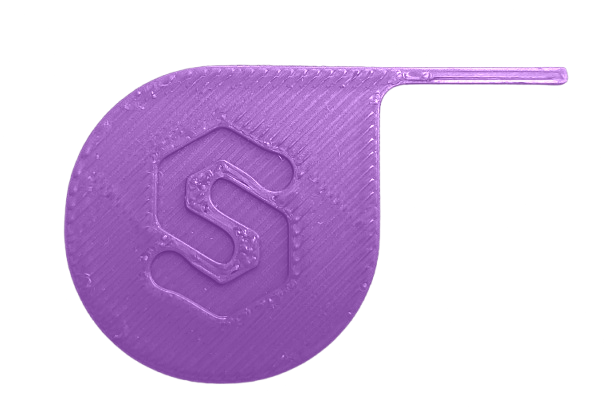
If your Inkplate 6MOTION is inside an enclosure, use the provided programming tool to press the button.
Programming mode active.3. Upload the code
Click Upload in the Arduino IDE. Once the process completes, Inkplate will restart automatically and run the newly uploaded code. Arduino's upload log should read:
RUNNING Program ...
Address:      : 0x8000000
Start operation achieved successfully
Troubleshooting
If uploading fails, try using the BOOT switch. This is a switch on the back of the PCB that can be used to force programming mode manually:
- Set the BOOT switch to position
1(this puts the STM32 in bootloader mode). - Press the RESET button to restart the board.
- Upload your code via Arduino.
- Once done, switch BOOT back to
0to return to normal operation.
Also, verify you are using Arduino IDE 2.0. Inkplate 6MOTION requires Arduino IDE 2.0 or later for proper board and library support. If you are using an older version, update to Arduino 2.0+ for the best compatibility.
If you are having problems with uploading a sketch where it uploads to a certain percentage, please contact us via support.
From here, you may continue browsing the hardware documentation or start exploring the Arduino library:
Arduino library basics
See how to initialize and update Inkplate 6MOTION's e-Paper display.