Getting started
Arduino library
To install the Arduino library for the Inputronic BRIDGE, you can use the Arduino Library Manager or download it from the GitHub repository:
Soldered Inputronic BRIDGE Arduino library
Inputronic BRIDGE parser and communication helper for UART, I2C, and SPI.
First time Arduino user? For a detailed tutorial on how to get started with Arduino, see this section of our docs:
Getting started with Arduino
A full, comprehensive tutorial on how to fully set up and upload code for the first time on an Arduino board, from scratch!
Connections
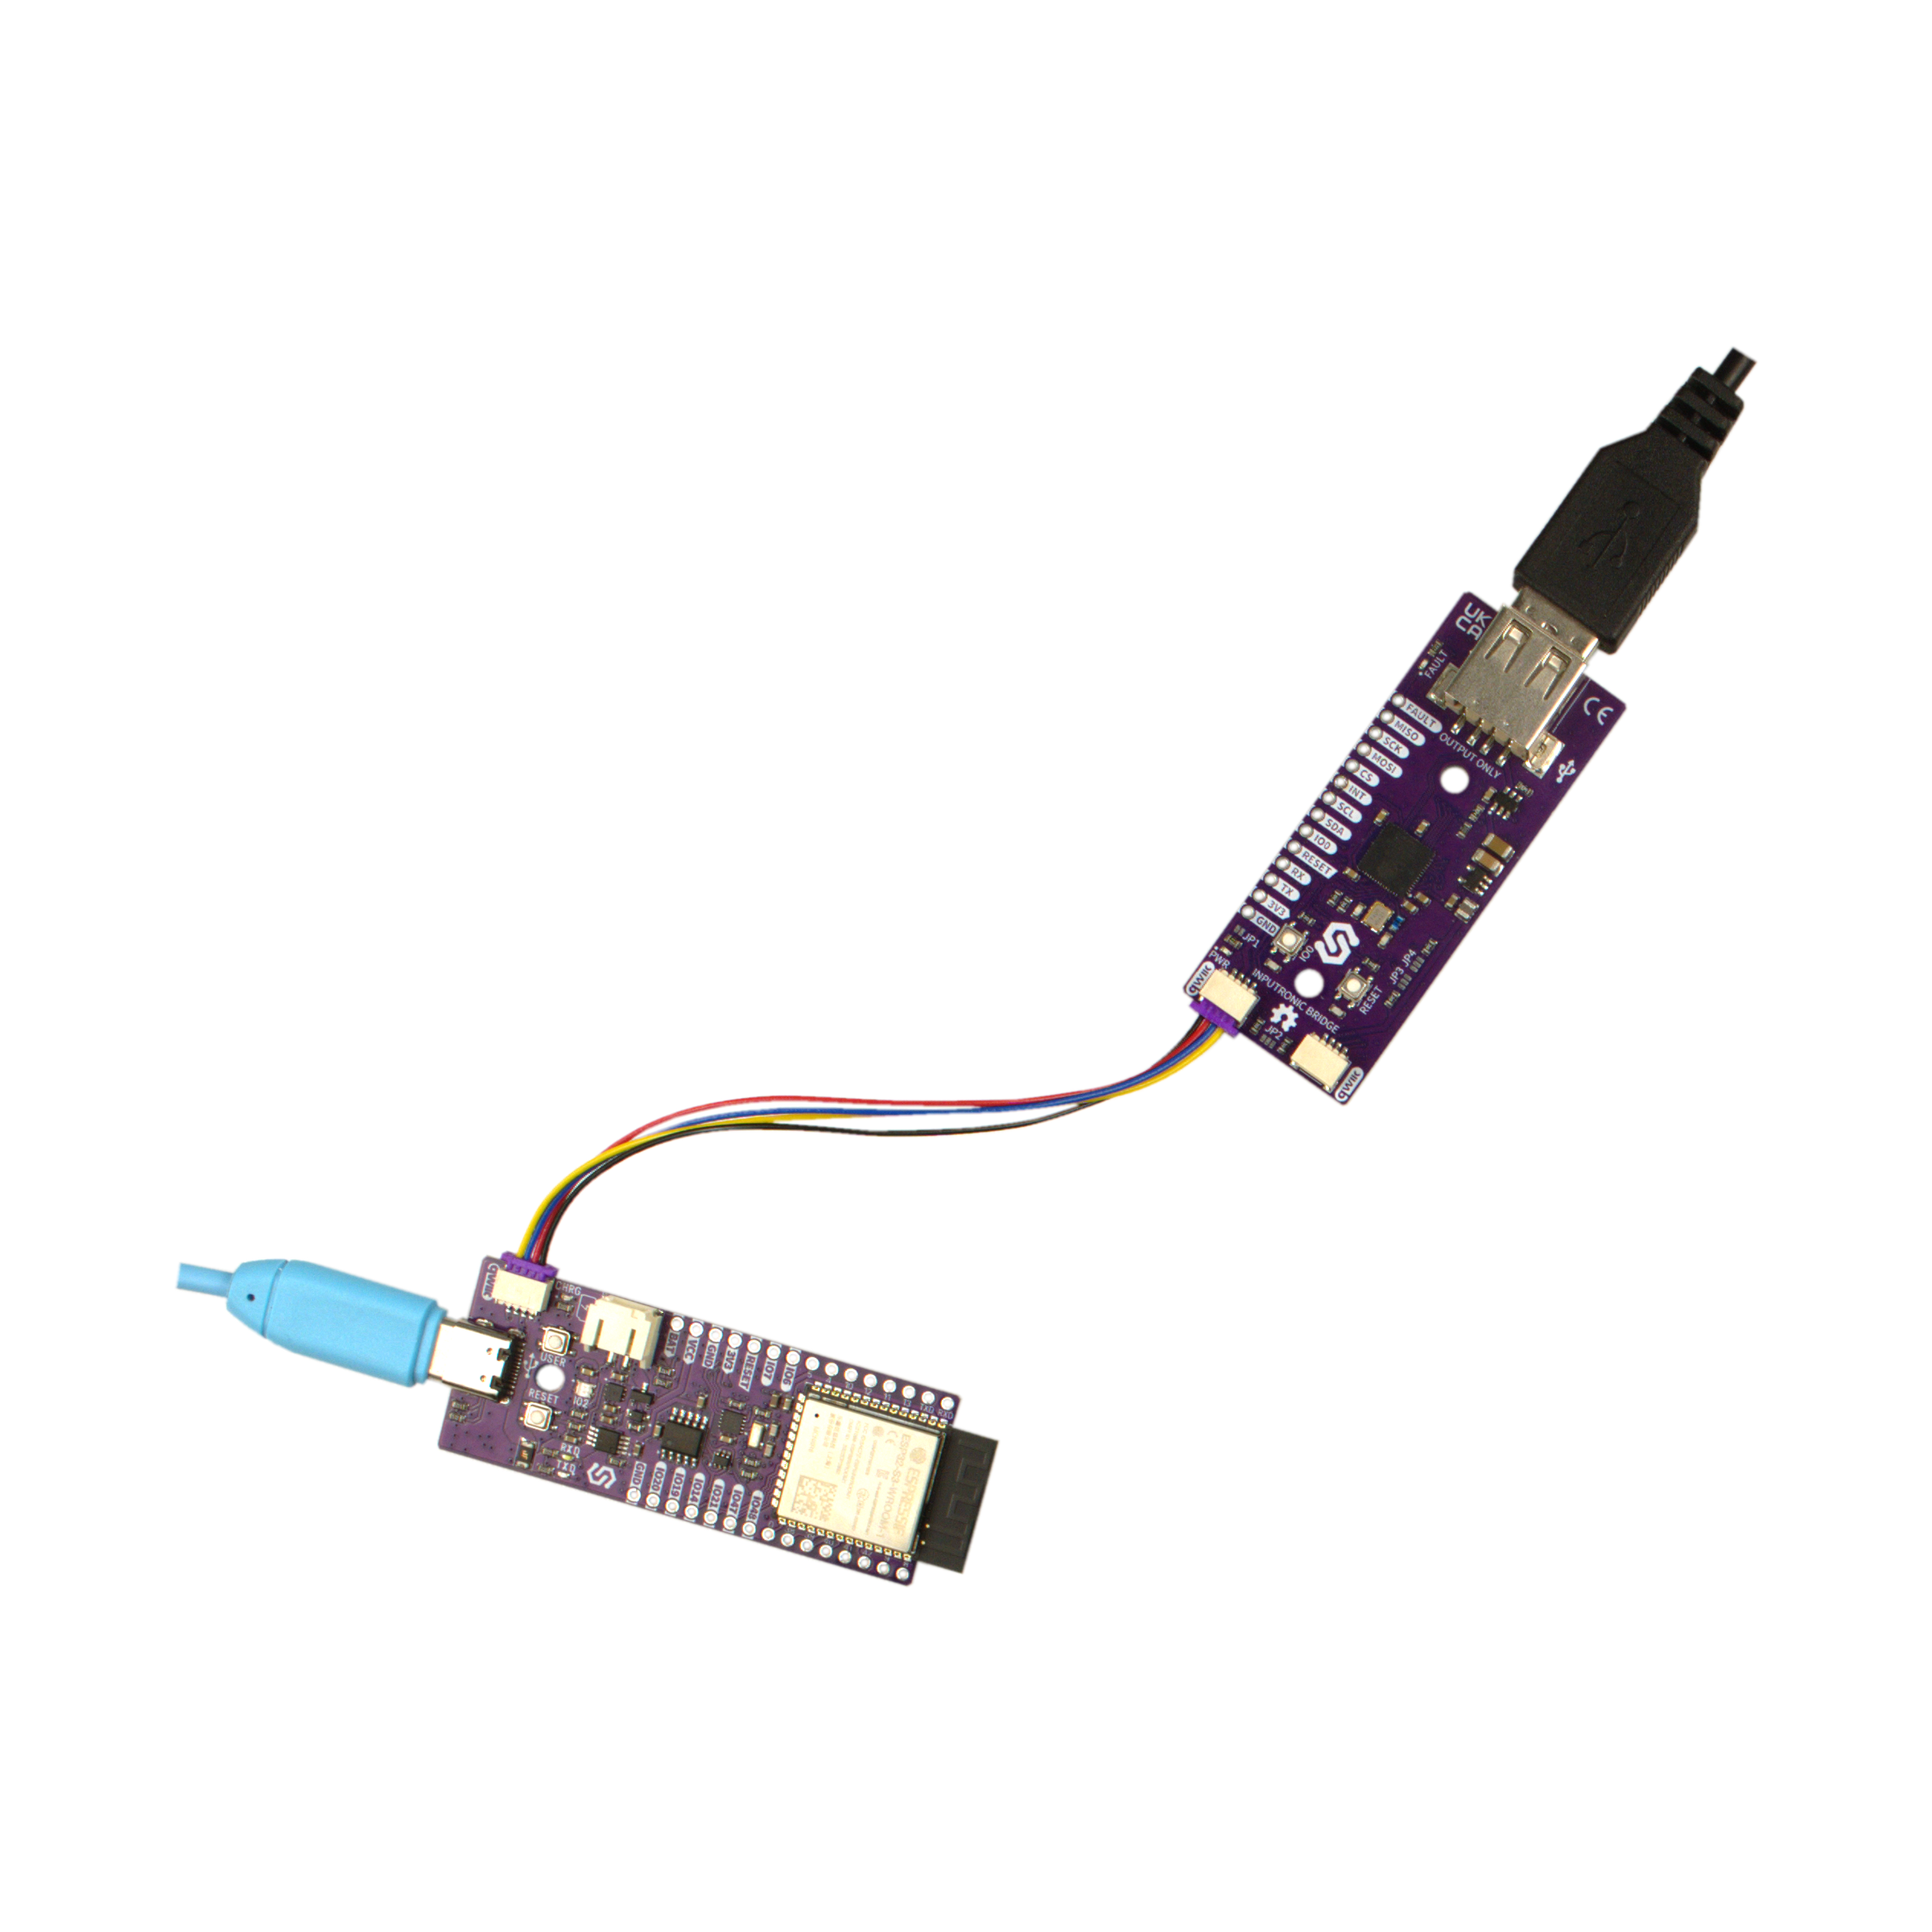
Below are example connection diagrams for Nula DeepSleep. These pins will be used in the examples throughout this documentation.
I2C Connection (Default)
The easiest way to connect the Inputronic BRIDGE to the Nula DeepSleep is using the onboard Qwiic (formerly easyC) system.
| Nula DeepSleep | Inputronic BRIDGE |
|---|---|
| Qwiic Connector | Qwiic Connector |
If you prefer, you can use the standard header pins to manually connect via I2C:
| Nula DeepSleep | Inputronic BRIDGE |
|---|---|
| 3V3 | 3V3 |
| GND | GND |
| IO8 (Standard SDA pin) | SDA |
| IO9 (Standard SCL pin) | SCL |
UART Connection
If you have selected the UART protocol via the onboard jumpers (JP3 & JP4), use the following connections:
| Nula DeepSleep | Inputronic BRIDGE |
|---|---|
| 3V3 | 3V3 |
| GND | GND |
| RX | TX |
| TX | RX |
SPI Connection
If you have selected the SPI protocol via the onboard jumpers (JP3 & JP4), use the following connections (using standard ESP32-S3 FSPI pins):
| Nula DeepSleep | Inputronic BRIDGE |
|---|---|
| 3V3 | 3V3 |
| GND | GND |
| IO11 (Standard MOSI pin) | MOSI |
| IO13 (Standard MISO pin) | MISO |
| IO12 (Standard SCK pin) | CLK |
| IO10 (Standard CS pin) | CS |
Optional Pins
| Nula DeepSleep | Inputronic BRIDGE | Description |
|---|---|---|
| Any Digital Pin (e.g., IO4) | INT | Connect for interrupt-driven event reading to save host CPU cycles. |