Inkplate 13SPECTRA – Printing Text
Printing text on Inkplate is simple and requires only a few functions. The library also supports custom fonts.
Simple Text Printing
To print text, use setCursor followed by print. If you're using the default font, you may want to use setTextSize to increase the font size:
#include "Inkplate.h"
#include "logoImg.h"

Inkplate display;

void setup()
{
    display.begin();
    display.clearDisplay();
    display.display();

    display.fillScreen(INKPLATE_WHITE);

    // Draw many rectangles
    display.fillRect(0, 40, 150, 150, INKPLATE_BLACK);
    display.fillRect(0, 190, 150, 150, INKPLATE_WHITE);
    display.fillRect(0, 340, 150, 150, INKPLATE_GREEN-1);
    display.fillRect(0, 490, 150, 150, INKPLATE_BLUE-1);
    display.fillRect(0, 640, 150, 150, INKPLATE_RED);
    display.fillRect(0, 790, 150, 150, INKPLATE_YELLOW);

    display.drawRect(165, 40, 150, 150, INKPLATE_BLACK);
    display.drawRect(165, 190, 150, 150, INKPLATE_WHITE);
    display.drawRect(165, 340, 150, 150, INKPLATE_GREEN-1);
    display.drawRect(165, 490, 150, 150, INKPLATE_BLUE-1);
    display.drawRect(165, 640, 150, 150, INKPLATE_RED);
    display.drawRect(165, 790, 150, 150, INKPLATE_YELLOW);

    // Draw many circles
    display.fillCircle(405, 115, 72, INKPLATE_BLACK);
    display.fillCircle(405, 265, 72, INKPLATE_WHITE);
    display.fillCircle(405, 415, 72, INKPLATE_GREEN-1);
    display.fillCircle(405, 565, 72, INKPLATE_BLUE-1);
    display.fillCircle(405, 715, 72, INKPLATE_RED);
    display.fillCircle(405, 865, 72, INKPLATE_YELLOW);

    display.drawCircle(570, 115, 72, INKPLATE_BLACK);
    display.drawCircle(570, 265, 72, INKPLATE_WHITE);
    display.drawCircle(570, 415, 72, INKPLATE_GREEN-1);
    display.drawCircle(570, 565, 72, INKPLATE_BLUE-1);
    display.drawCircle(570, 715, 72, INKPLATE_RED);
    display.drawCircle(570, 865, 72, INKPLATE_YELLOW);

    // Draw many triangles
    display.fillTriangle(630, 190, 780, 190, 705, 40, INKPLATE_BLACK);
    display.fillTriangle(630, 340, 780, 340, 705, 190, INKPLATE_WHITE);
    display.fillTriangle(630, 490, 780, 490, 705, 340, INKPLATE_GREEN-1);
    display.fillTriangle(630, 640, 780, 640, 705, 490, INKPLATE_BLUE-1);
    display.fillTriangle(630, 790, 780, 790, 705, 640, INKPLATE_RED);
    display.fillTriangle(630, 940, 780, 940, 705, 790, INKPLATE_YELLOW);

    display.drawTriangle(630, 190, 780, 190, 705, 40, INKPLATE_BLACK);
    display.drawTriangle(630, 340, 780, 340, 705, 190, INKPLATE_WHITE);
    display.drawTriangle(630, 490, 780, 490, 705, 340, INKPLATE_GREEN-1);
    display.drawTriangle(630, 640, 780, 640, 705, 490, INKPLATE_BLUE-1);
    display.drawTriangle(630, 790, 780, 790, 705, 640, INKPLATE_RED);
    display.drawTriangle(630, 940, 780, 940, 705, 790, INKPLATE_YELLOW);

    // Show some pretty text
    display.setTextColor(INKPLATE_BLACK);
    display.setCursor(795, 40);
    display.setTextSize(4);
    display.print("Welcome to Inkplate 13SPECTRA!");

    display.setTextColor(INKPLATE_WHITE);
    display.setCursor(795, 190);
    display.setTextSize(4);
    display.print("Welcome to Inkplate 13SPECTRA!");

    display.setTextColor(INKPLATE_GREEN-1);
    display.setCursor(795, 340);
    display.setTextSize(4);
    display.print("Welcome to Inkplate 13SPECTRA!");

    display.setTextColor(INKPLATE_BLUE-1);
    display.setCursor(795, 490);
    display.setTextSize(4);
    display.print("Welcome to Inkplate 13SPECTRA!");

    display.setTextColor(INKPLATE_RED);
    display.setCursor(795, 640);
    display.setTextSize(4);
    display.print("Welcome to Inkplate 13SPECTRA!");

    display.setTextColor(INKPLATE_YELLOW);
    display.setCursor(795, 790);
    display.setTextSize(4);
    display.print("Welcome to Inkplate 13SPECTRA!");

    // Draw logo
    display.drawBitmap(0, 1090, logo, logo_w, logo_h, INKPLATE_BLACK);
    display.drawBitmap(380, 1090, logo, logo_w, logo_h, INKPLATE_GREEN-1);
    display.drawBitmap(760, 1090, logo, logo_w, logo_h, INKPLATE_BLUE-1);
    display.drawBitmap(1140, 1090, logo, logo_w, logo_h, INKPLATE_RED);
    display.drawBitmap(1520, 1090, logo, logo_w, logo_h, INKPLATE_YELLOW);

    display.display();
}

void loop()
{
}
logoImg.h) alongside the main .ino file. Get both files from the example folder on GitHub and keep them in the same sketch folder.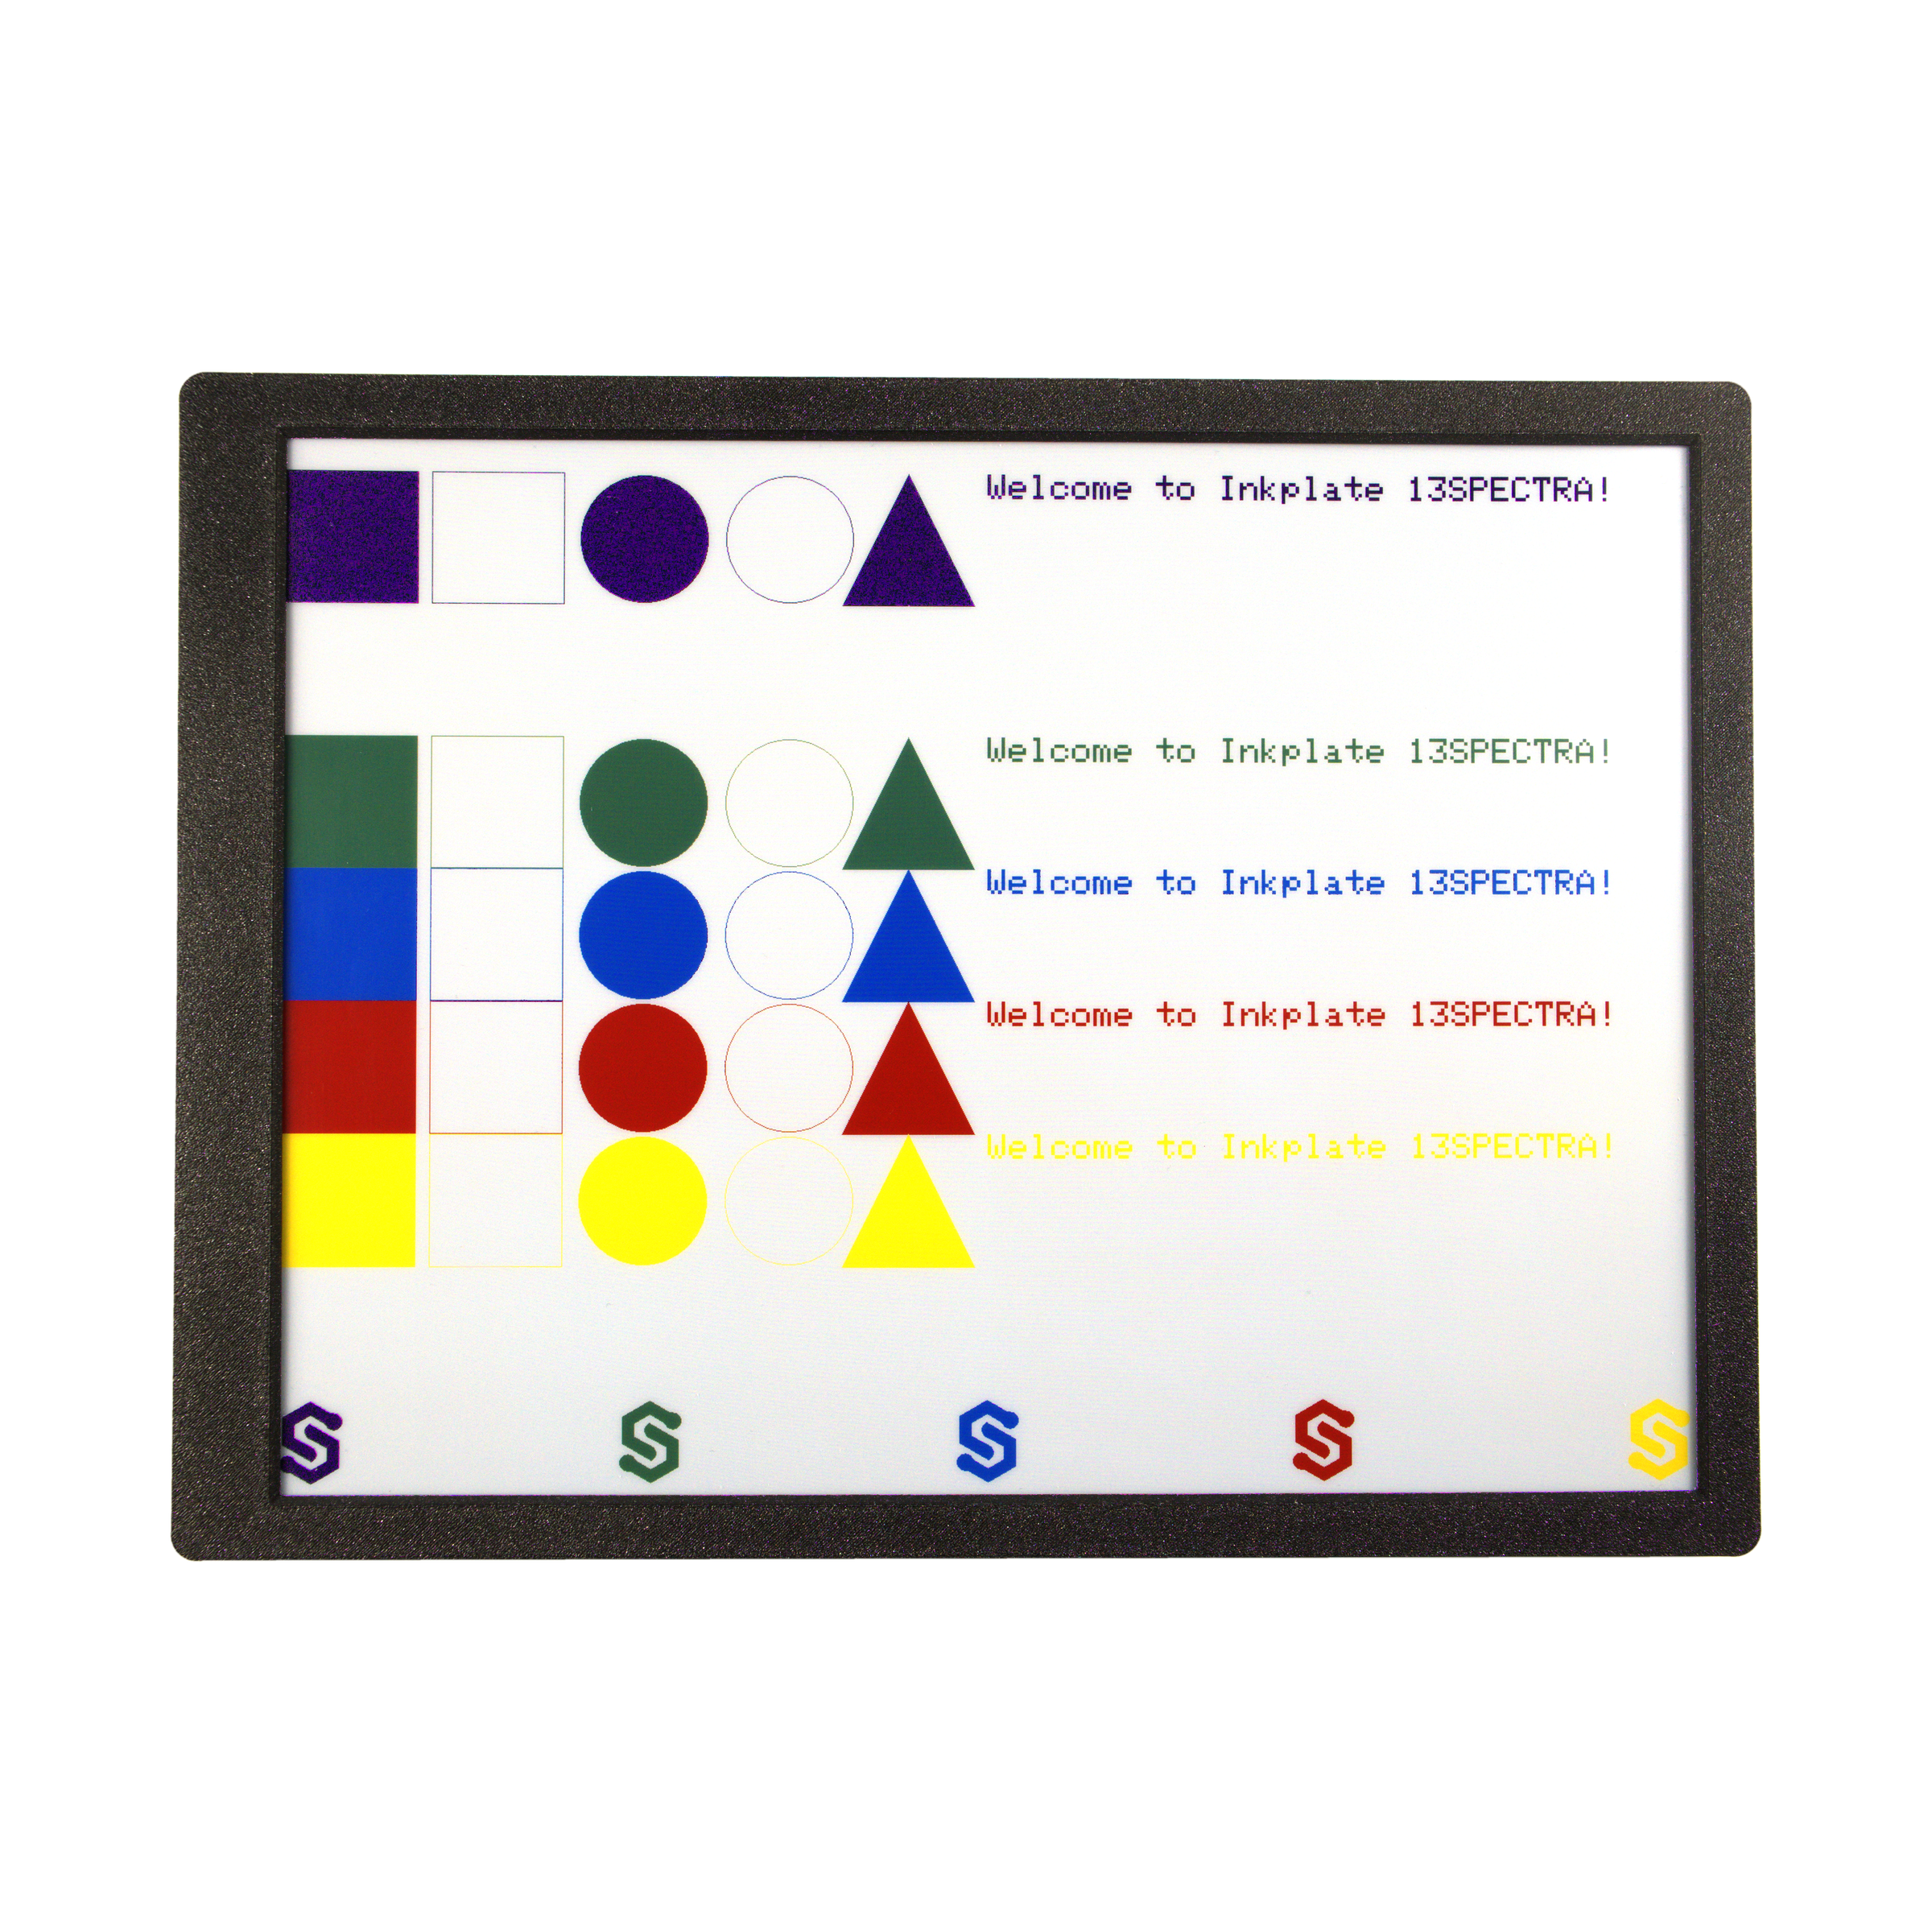
Inkplate13SPECTRA_Simple.ino
Full example showing shapes, colored text, and a bitmap logo on Inkplate 13SPECTRA.
display.setTextSize()
Increases the text size by a given factor.
Returns value: None
Function parameters:
| Type | Name | Description |
|---|---|---|
uint8_t | s | Size factor. 1 is default size, 2 is twice as large, 3 is three times larger, etc. |
display.print()
Prints text at the previously set cursor position. This is the standard Arduino print function used in many native Arduino objects and libraries.
Returns value: size_t, number of bytes printed.
Function parameters:
| Type | Name | Description |
|---|---|---|
const char * | _c | The C-style string to print on the display. |
display.setTextColor()
Sets the color of the text. Must be called before printing.
Returns value: None
Function parameters:
| Type | Name | Description |
|---|---|---|
uint16_t | c | Text color. |
uint16_t | bg | Optional background color. Default is transparent. |
Custom Fonts
The default font appears blocky as it is optimized for minimal memory usage. You can use custom fonts by downloading them from the Adafruit GFX official repository. Adafruit provides well-documented examples on using custom fonts here.
After downloading a font, place it in your sketch folder, include it, and use setFont:
#include "Inkplate.h"
#include "FreeMono9pt7b.h"

Inkplate display;

void setup() {
  display.begin();
  display.clearDisplay();
  display.display();
  display.setFont(&FreeMono9pt7b);
  display.setCursor(100,100);
  display.setTextColor(INKPLATE_BLACK);
  display.setTextSize(3);
  display.print("Hello World!");
  display.display();
}

void loop() {
}
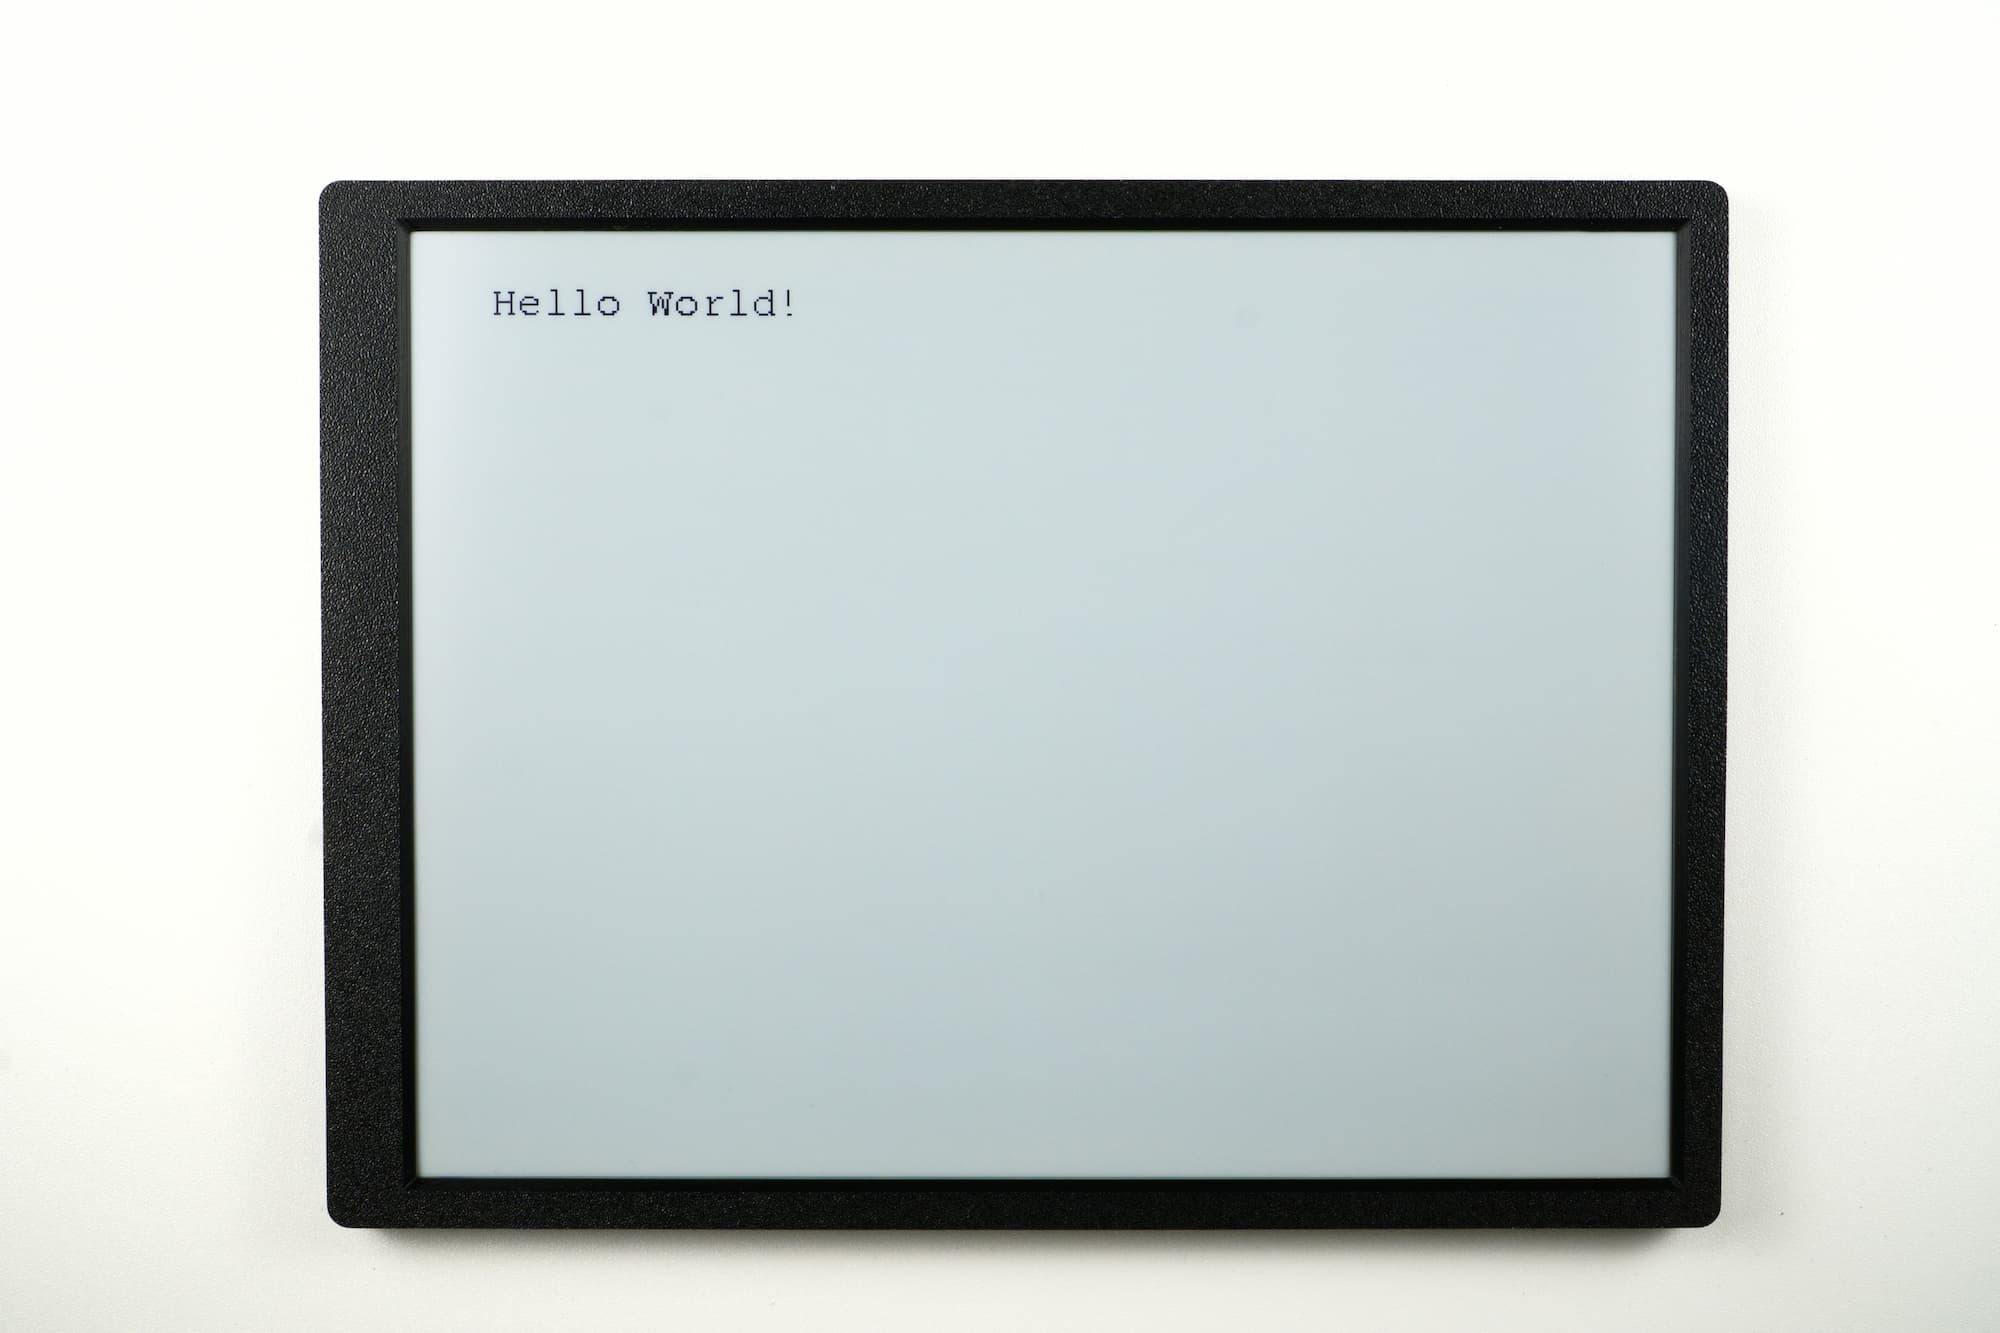
Inkplate13SPECTRA_Custom_Font.ino
Full example showing how to print text using a custom font instead of the default one.
display.setFont()
Sets a custom font for text printing. Must be called before printing.
Returns type: None
Function parameters:
| Type | Name | Description |
|---|---|---|
const GFXfont * | f | Pointer to the GFXfont structure of the font to be set. |
TextBox
You can manually define the area in which text will appear by using the drawTextBox() function.
#include "Inkplate.h"            // Include Inkplate library to the sketch
#include "Roboto_Light_36.h"
Inkplate display; // Create an object on Inkplate library

// Define the text you will show in the text box
const char* text="This is an example of a text written in a textbox. When a word doesn't fit into the current row, it goes to the next one."\
" If the text reaches the lower bound, it ends with three dots (...) to mark that the text isn't displayed fully";

void setup()
{
    display.begin();        // Init Inkplate library (you should call this function ONLY ONCE)
    display.clearDisplay(); // Clear frame buffer of display
    display.display();      // Put clear image on display
    display.setTextColor(INKPLATE_BLACK); //Set the text color to black

    // Create a text box without any optional parameters
    // x0- x coordinate of upper left corner
    // y0- y coordinate of upper left corner
    // x1- x coordinate of bottom right corner
    // y1- y coordinate of bottom right corner
    // text - text we want to display
    display.drawTextBox(40,100,770,1150,text,2);

    // Create a text box with all parameters
    // x0- x coordinate of upper left corner
    // y0- y coordinate of upper left corner
    // x1- x coordinate of bottom right corner
    // y1- y coordinate of bottom right corner
    // text - text we want to display
    // textSizeMultiplier - by what factor we want to enlarge the size of a font
    // font - address of selected custom font
    // verticalSpacing - how many pixels between each row of text
    // showBorder - Create a visible rectangle around the box
    // fontSize - size of the used font in pt
    int offset=32; // Note - some custom fonts are drawn from bottom-to-top which requires an offset, use an offset that best suits the font you use
    display.drawTextBox(830,100+offset,1560,1150,text,1,&Roboto_Light_36,27,false,36);

    // Display both text boxes
    display.display();
}

void loop()
{
    // Nothing...
}
Roboto_Light_36.h) alongside the main .ino file. Get both files from the example folder on GitHub and keep them in the same sketch folder.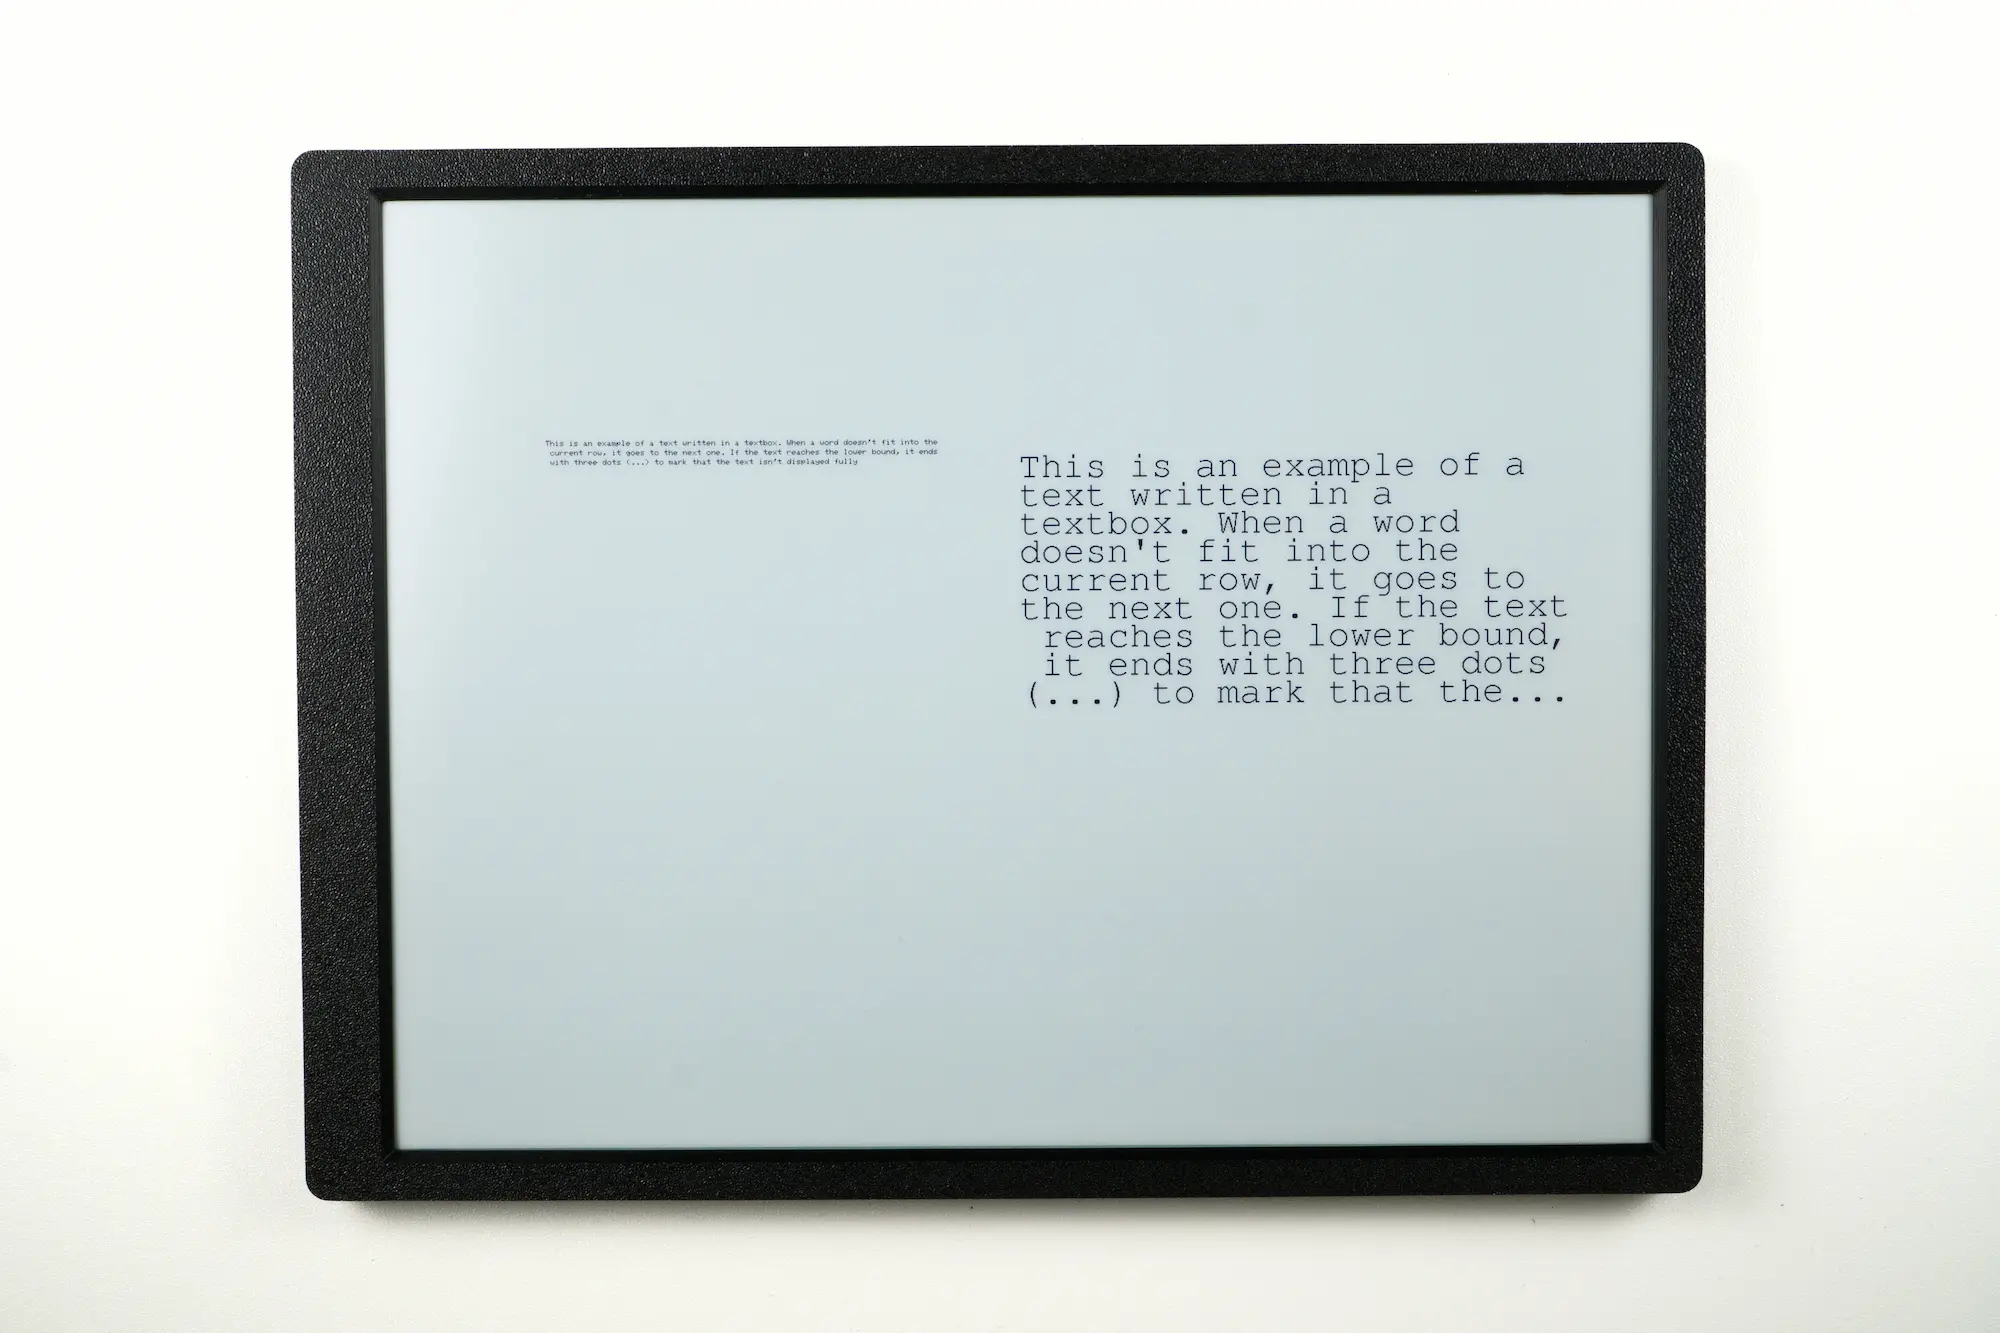
Inkplate13SPECTRA_TextBox.ino
Full example showing how to use the drawTextBox function with and without special parameters.
inkplate.drawTextBox()
This function creates a TextBox.
Returns type: void
Function parameters:
| Type | Name | Description |
|---|---|---|
uint16_t | x0 | X coordinate of the upper left corner. |
uint16_t | y0 | Y coordinate of the upper left corner. |
uint16_t | x1 | X coordinate of the bottom right corner. |
uint16_t | y1 | Y coordinate of the bottom right corner. |
const char* | text | Text we want to display. |
uint16_t | textSize | Factor by which we want to enlarge the font size. |
const GFXfont* | font | Address of the selected custom font. |
uint16_t | verticalSpacing | Number of pixels between each row of text. |
bool | showBorder | Create a visible rectangle around the box. |
uint16_t | fontSize | Size of the used font in pt. |
Full examples
For complete examples of text printing, check out the library:
Inkplate13SPECTRA examples
Most Arduino projects in the library include some form of text output.