6.1 Connecting and getting data
Every example so far has been self-contained: the board measured something, or lit something, and printed the result to your own screen over the USB cable. This one reaches past the desk. The NULA MINI joins your Wi-Fi network, asks a real website on the internet for its contents, and prints back whatever the website replies.
That request is the same one your browser makes every time you open a page. Once your board can make it, the door is open to weather data, clocks that set themselves, dashboards and remote controls.
In this documentation you will learn:
- How to connect your NULA MINI to a Wi-Fi network with the
networkmodule. - What
urequestsdoes, and why neither module needs installing. - How to make an HTTP GET request and read the answer.
- How
tryandexceptkeep a failed request from stopping the whole program. - How to tell a wrong password apart from a genuine network problem.
Hardware required
- 1× Soldered NULA MINI board
- 1× USB-C cable
- 1× breadboard
- A 2.4 GHz Wi-Fi network with internet access
Putting the components together
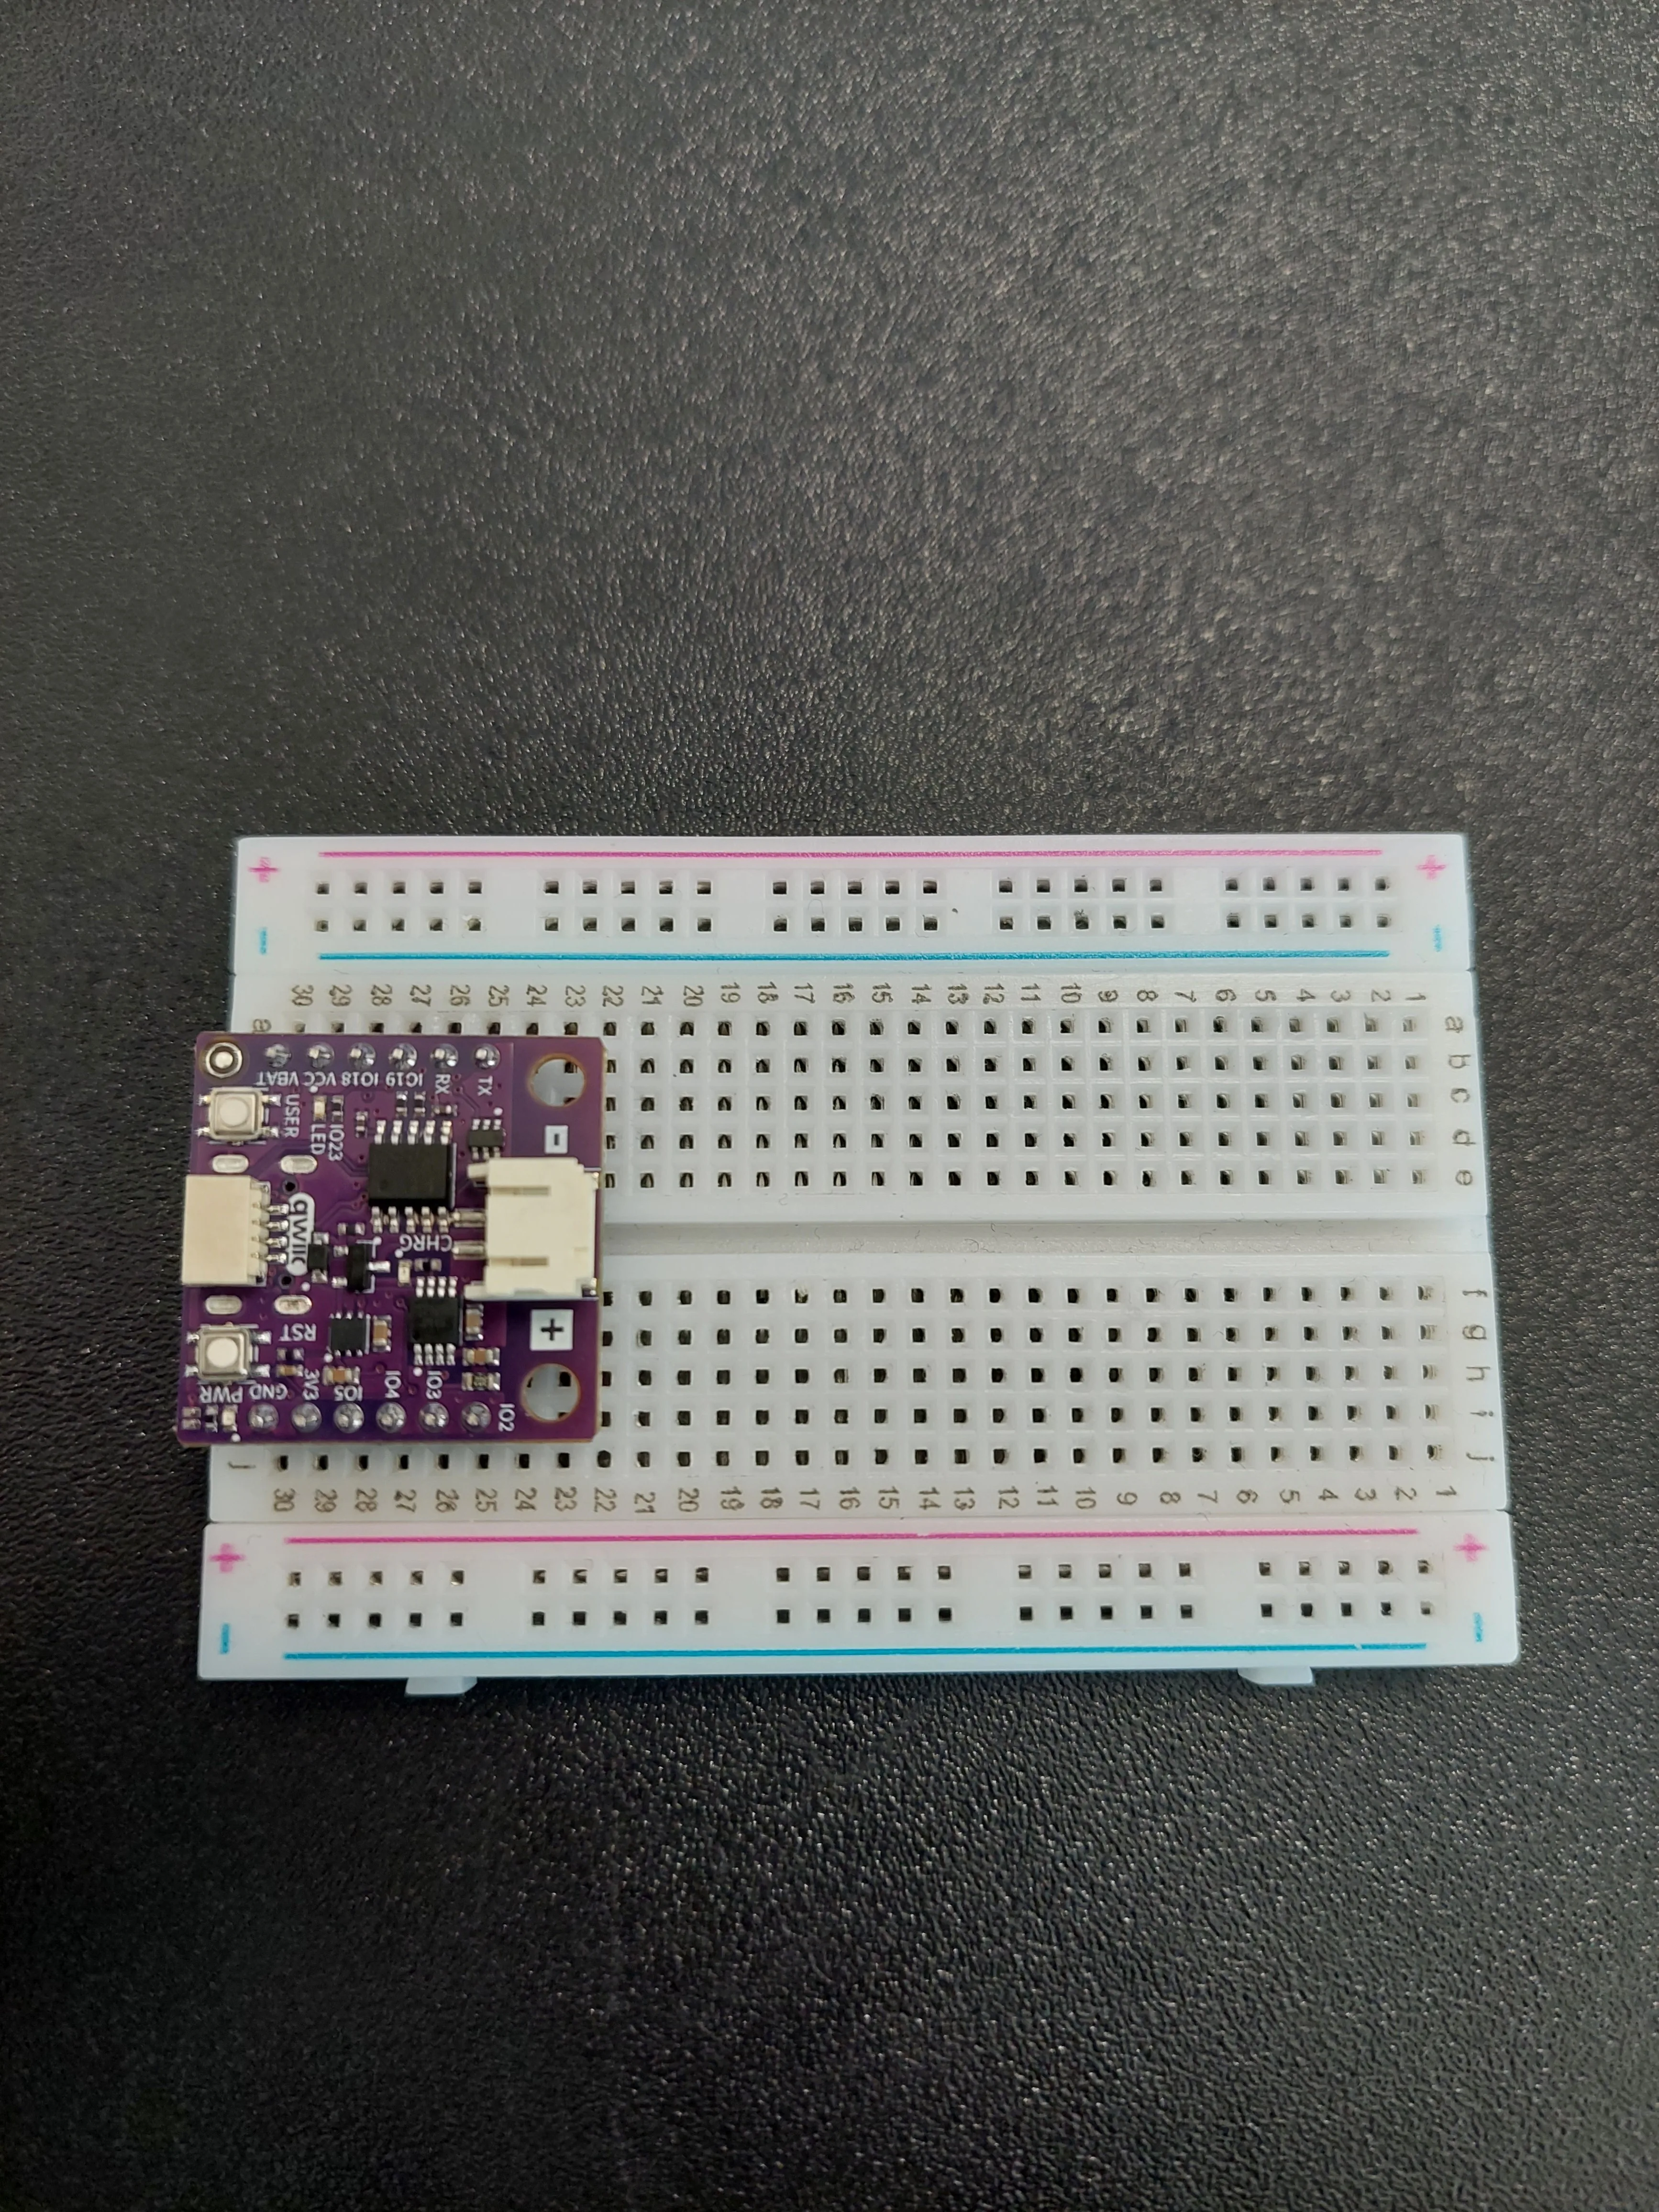
1. Insert the NULA MINI board on the breadboard
Push the board into one end of the breadboard so that its two rows of pins straddle the centre channel.
2. Connect the USB-C cable
Plug the USB-C cable into the connector on the edge of the board, and the other end into your computer. The PWR LED lights up, and that is the entire build.
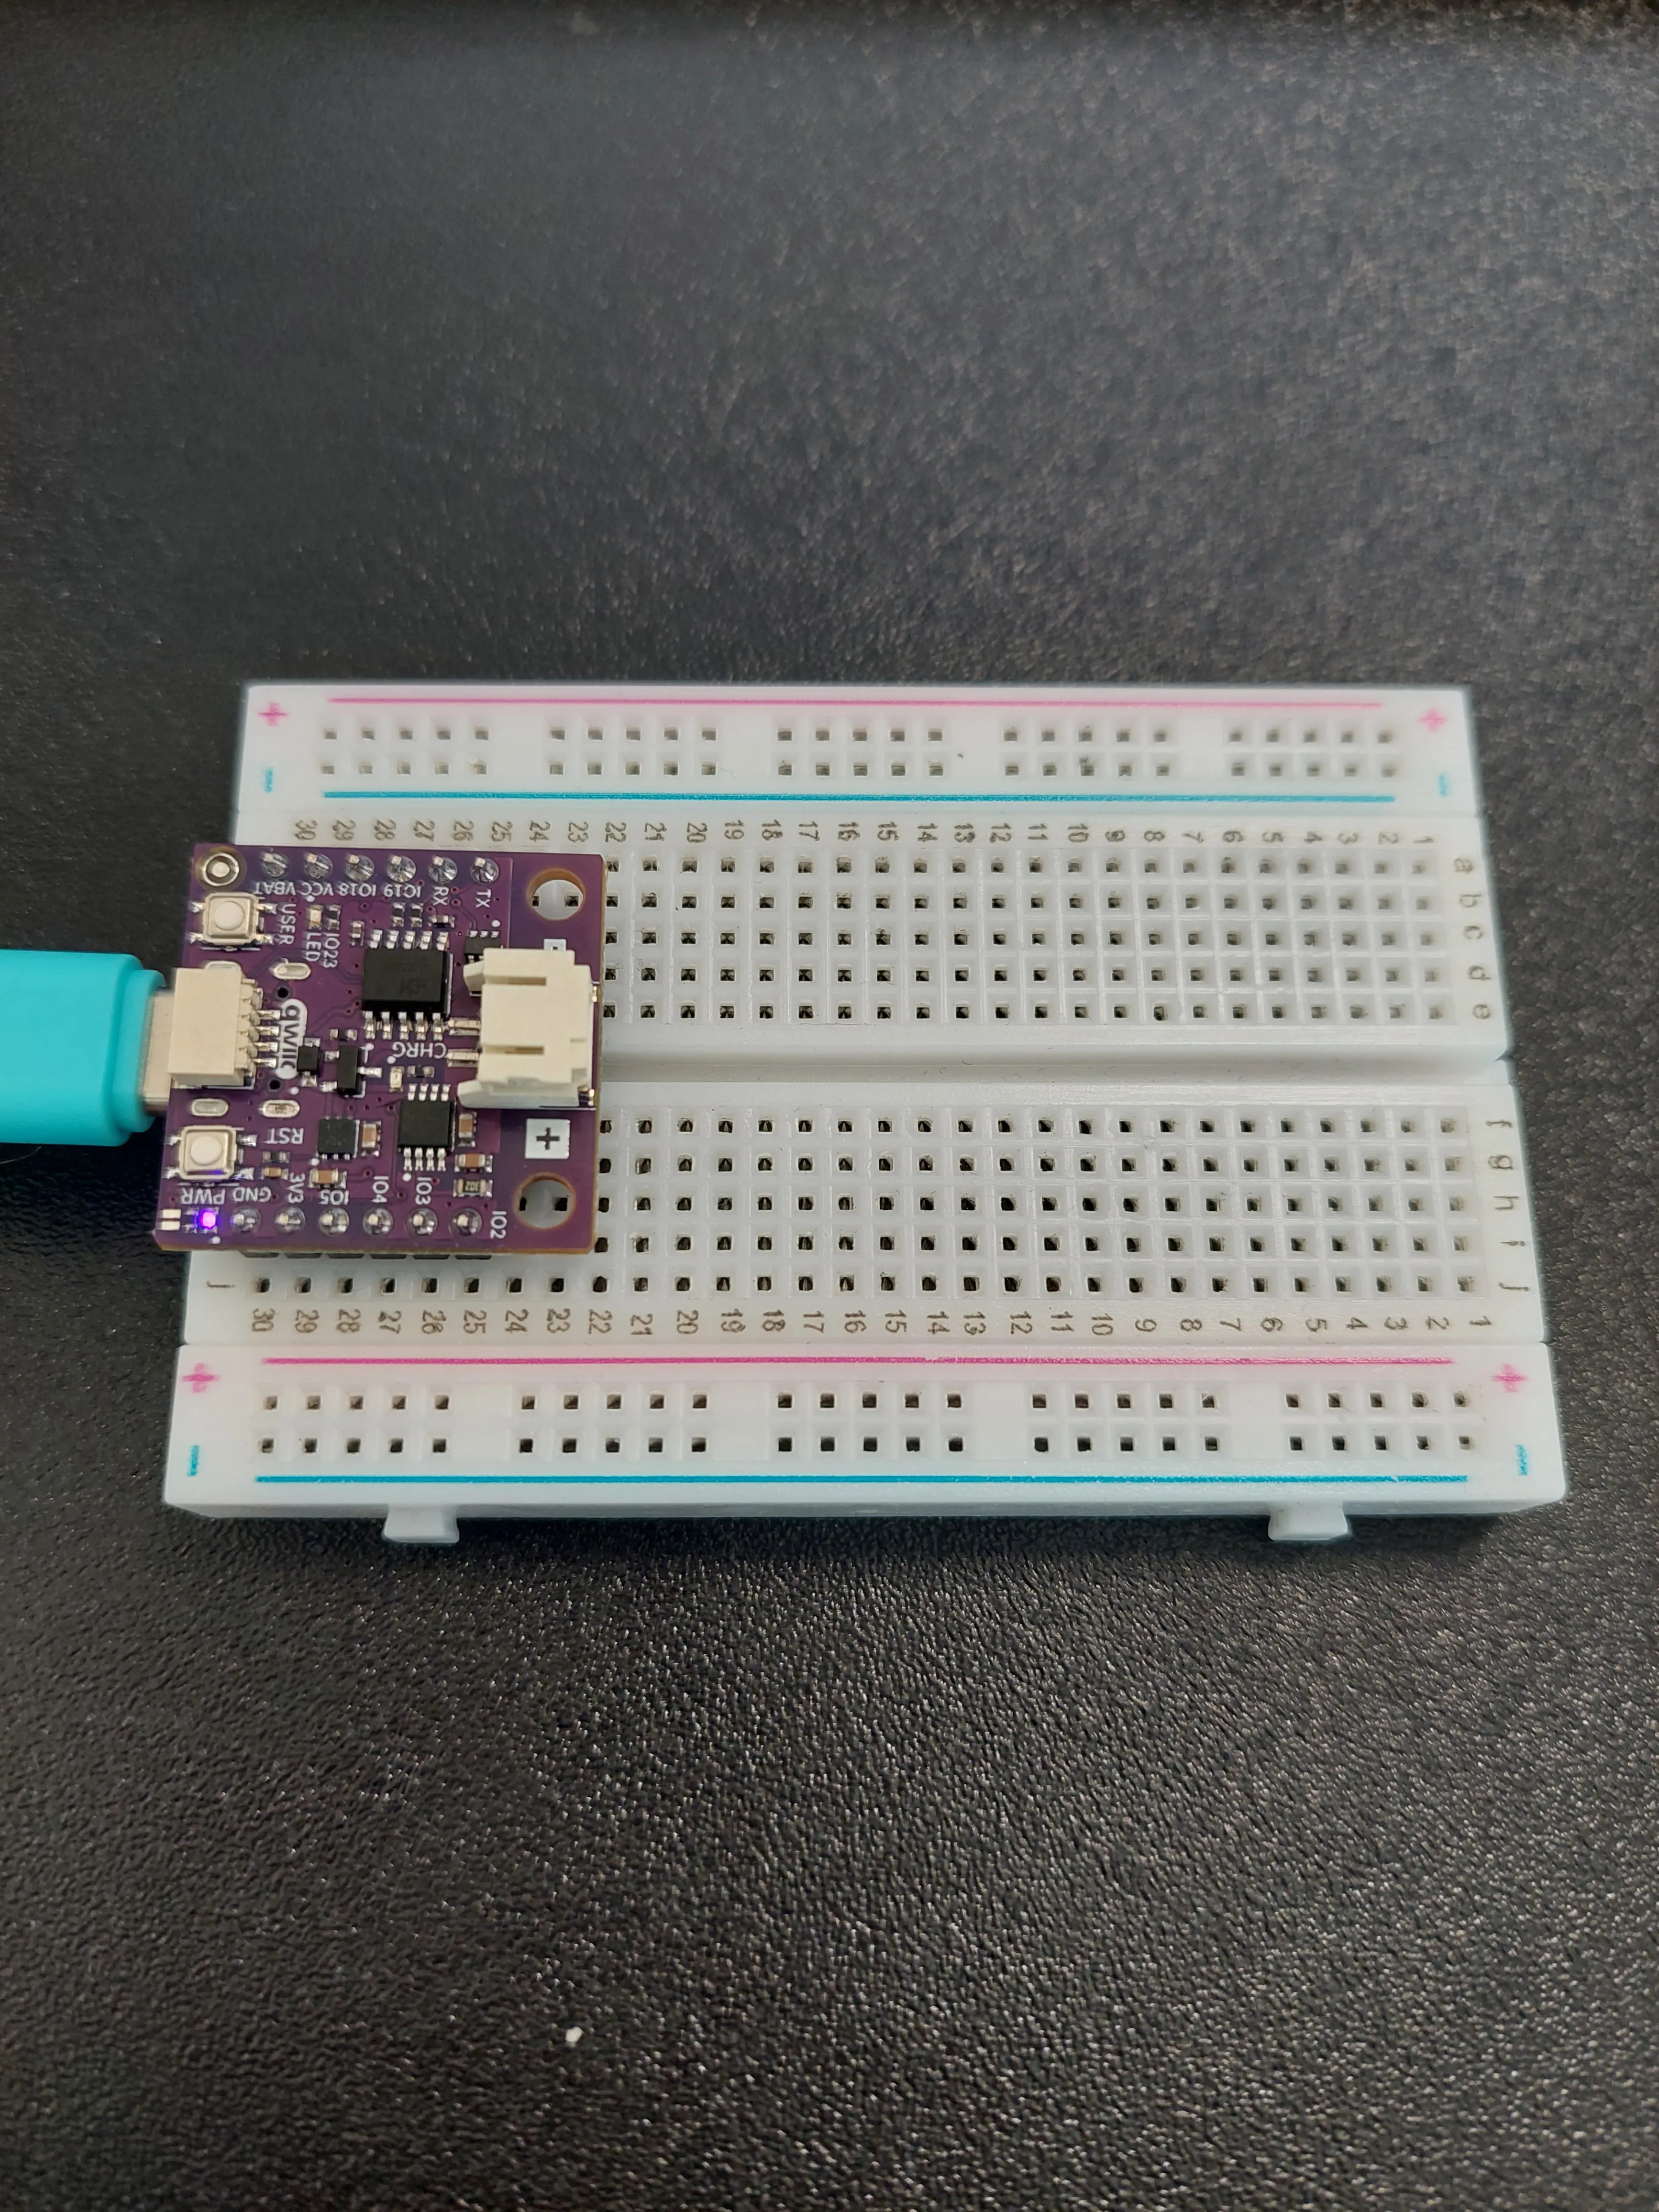
− rail, both Qwiic connectors empty. The small purple glow beside PWR is the only sign anything is happening.Joining a network
A Wi-Fi network is identified by two pieces of text: its SSID, which is the name you see in the list of networks on your phone, and its password. The script holds both near the top:
ssid = "your ssid"
password = "your password"
Replace the text between the quotation marks with your own details, and leave the quotation marks themselves in place. Both are case-sensitive: HomeNetwork and homenetwork are two different names as far as the board is concerned.
Getting online takes three calls:
wlan = network.WLAN(network.STA_IF)
wlan.active(True)
wlan.connect(ssid, password)
network.WLAN(network.STA_IF) creates the object you talk to the radio through. STA is short for station, which is the name for a device that joins somebody else's network, the same role your phone plays. The alternative, network.AP_IF, would make the board create a network of its own instead.
active(True) switches the Wi-Fi hardware on. connect() then starts the attempt.
Once the board is on the network, the router hands it an IP address, a number that identifies it among all the other devices in your house. You did not choose it, and it may well be different the next time the board connects. The script prints it out because example 6.2 gives you something to do with it:
print("IP Address:", wlan.ifconfig()[0])
ifconfig() hands back four values at once: the address of the board, the subnet mask, the gateway and the DNS server. The [0] on the end picks the first of those, which is the one we want. Print wlan.ifconfig() on its own if you would like to see all four.Two modules you already have
import network
import urequests
Unlike the SHTC3 sensor in 5.1, there is nothing to copy onto the board here. Both modules are built into the standard ESP32 MicroPython firmware, so if the board runs MicroPython at all, it has them.
network handles the radio: finding the network, proving you know the password, holding the connection open. urequests sits on top of it and speaks HTTP, the language of the web. Without it you would have to assemble the requests out of raw text yourself.
u in urequests stands for micro. It is a cut-down version of the requests library used in desktop Python, with the same shape but far less of it, so that it fits on a microcontroller. Code written for one usually reads the same in the other.Why the board waits in a loop
Joining a network takes a second or two, long enough that freezing the whole program to wait for it would be wasteful. So connect() only starts the attempt and returns immediately, leaving the radio to get on with it in the background.
That means the script has to do the waiting itself:
while not wlan.isconnected():
    time.sleep(0.5)
    print(".", end="")
isconnected() answers True once the board is online. The loop keeps running while that is still False, printing one dot every half second. Each dot in the console is therefore half a second of waiting, which makes the row of dots a rough stopwatch.
end="" is what keeps the dots on one line. Normally print() finishes with a newline; passing an empty string as end replaces that newline with nothing, so the next dot lands beside the last one instead of below it.isconnected() simply never turns True and the dots carry on forever. No error message appears, because as far as the script is concerned nothing has gone wrong yet. It is still waiting. A board that prints twenty or thirty dots and never gets past them is telling you the credentials are wrong, not that it has crashed. Press Stop to interrupt it.What a GET request is
GET is the HTTP method for reading something. When you type an address into a browser, a GET request is what it sends. This example asks example.com, a domain the internet naming authority maintains specifically so that documentation like this page has something harmless to point at.
response = urequests.get(url)
That single line sends the request and waits for the reply. What comes back is a response object with the two parts we care about:
response.status_codeis a number describing how it went. 200 is the code for "here you go". Anything from 400 upwards means the server refused or could not find what was asked for.response.textis the body of the reply as text. Forexample.comthat body is the HTML of the page itself: the very same characters your browser receives and then draws as a heading and a paragraph.
Finally:
response.close()
This releases the memory the response was holding. It matters more than it looks. A script that makes requests over and over without ever closing them leaks a little memory each time, and eventually runs out.
http://, not https://, but only to keep this first example small. Encrypted addresses do work: swapping in https://example.com/ returns the same 200 and the same page. What it costs is room and time. On this board the plain request finished in about 140 ms and held on to roughly 2 kB of memory, while the encrypted one took about 410 ms and roughly 29 kB, because the board has to negotiate the encryption before it can ask its question. On a chip with a few hundred kilobytes to its name, that is worth knowing before you start making requests in a loop.Catching a failure instead of crashing
Anything that goes over a network can fail, and in MicroPython a failed request does not politely return a negative number the way the Arduino HTTPClient does. It raises an exception, which stops the script dead and prints a traceback.
try and except are how you deal with that:
try:
    response = urequests.get(url)
    # ...use the response...
except Exception as e:
    print("Request failed. Error:", e)
Everything indented under try runs normally. If any of it fails, Python abandons the rest of the block and jumps to except instead, where e holds the reason. The script then carries on rather than falling over.
Everything happens once
There is no while True loop in this script. The board connects, asks its question, prints the answer, and the script ends.
To run it again, press Run again. If you would rather have it run by itself every time the board powers up, copy it onto the board as main.py.
Code
# The network module contains everything needed to join a Wi-Fi network. It is built into MicroPython, so there is
# nothing to install for this one.
import network

# The urequests module lets us speak HTTP, the language browsers use to talk to websites. Without it we would have
# to build the requests out of raw text ourselves.
import urequests
import time

# These two variables hold the name of your Wi-Fi network (the SSID) and its password. Replace the text between the
# quotation marks with your own network details, otherwise the board has nothing to connect to.
# Note that most boards, including the NULA board, can only connect to 2.4 GHz networks and not to 5 GHz ones.
ssid = "your ssid"
password = "your password"

# This is the address we want to visit. A URL is the same kind of address you type into a browser, and example.com
# is a small page that exists for exactly this kind of testing.
url = "http://example.com/"

print()
print("Wi-Fi GET Request Example")

# Here we create our network object, which we named "wlan". network.STA_IF means we want the board to behave as a
# station, which is the name for a device that joins someone else's network, the same way your phone does.
wlan = network.WLAN(network.STA_IF)

# active() switches the Wi-Fi hardware on, and connect() starts the connection attempt using the network name and
# password we defined above. connect() does not wait for the connection to finish, it only starts the process.
wlan.active(True)
wlan.connect(ssid, password)
print("Connecting to Wi-Fi", end="")

# Because connect() returns immediately, we have to wait for the connection ourselves. isconnected() tells us
# whether we are online yet. This while loop keeps running as long as we are not connected, printing one dot every
# half second so we can see that the board is still trying.
while not wlan.isconnected():
    time.sleep(0.5)
    print(".", end="")

# Once we are through the loop above, we are connected. ifconfig() returns four values: the address the router
# handed out to our board, the subnet mask, the gateway and the DNS server. The first of those is the one we care
# about here, so write it down, we will need it in the next example.
print()
print("Connected to Wi-Fi!")
print("IP Address:", wlan.ifconfig()[0])

print("Requesting data from:", url)

# get() sends the request and waits for the website to answer. GET is the HTTP method used for reading data, which
# is exactly what a browser does every time you open a page.
# We wrap this in a try block because anything that goes over a network can fail, and without it a failed request
# would stop the whole program with an error.
try:
    response = urequests.get(url)

    # status_code is the number the server answers with. 200 means "here you go", and anything from 400 upwards
    # means something went wrong. text is the content of the page itself, which for example.com is its HTML.
    print("HTTP Response Code:", response.status_code)
    print("Received data:")
    print("----------------------------------")
    print(response.text)
    print("----------------------------------")

    # close() releases the memory the response was using. Always close a response once you are done with it,
    # otherwise a program that makes many requests will slowly run out of memory.
    response.close()

except Exception as e:

    # If anything went wrong, print the reason instead of letting the program stop.
    print("Request failed. Error:", e)

# And that is all. Unlike the earlier examples there is no while True loop here, because we only wanted to make the
# one request.
What you should see
Press Run. The output arrives in one burst over a few seconds and then stops, because the script has finished.
Wi-Fi GET Request Example
Connecting to Wi-Fi......
Connected to Wi-Fi!
IP Address: 192.168.75.75
Requesting data from: http://example.com/
HTTP Response Code: 200
Received data:
----------------------------------
<!doctype html><html lang="en"><head><title>Example Domain</title><link rel="icon" href="data:,"><meta name="viewport" content="width=device-width, initial-scale=1"><style>body{background:#eee;width:60vw;margin:15vh auto;font-family:system-ui,sans-serif}h1{font-size:1.5em}div{opacity:0.8}a:link,a:visited{color:#348}</style></head><body><div><h1>Example Domain</h1><p>This domain is for use in documentation examples without needing permission. Avoid use in operations.</p><p><a href="https://iana.org/domains/example">Learn more</a></p></div></body></html>

----------------------------------
Reading it from the top:
Count the dots to see how long the connection took. Six dots here, one every half second, so this board was on the network in about three seconds. Anything up to ten or so is ordinary. A row that keeps growing past twenty or thirty is the symptom described earlier: wrong password, or a 5 GHz network.
IP Address: 192.168.75.75 is what this particular router handed out. Yours will differ, and a number starting 192.168. or 10. is the normal shape for a home network. Make a note of it; example 6.2 uses it.
HTTP Response Code: 200 is the important line. It means a real server on the internet received the request and answered properly.
Everything between the dashed lines is the reply. It is HTML, the same text your browser downloads when you visit example.com, before it turns the markup into a heading and a paragraph on screen. You can pick out <title>Example Domain</title> and the sentence beginning This domain is for use in documentation examples. Your board has just read a web page.
print() adds a second one after it.ESP-ROM:esp32c6-..., SPIWP, load: and entry appear first. That is the built-in bootloader of the chip reporting for duty before MicroPython has started. It is entirely normal and has nothing to do with your script.If it does not work
- Dots that never stop. The credentials are wrong, or the network is 5 GHz, or the router is out of range. Check the SSID and password for capital letters and stray spaces. The quotation marks must stay, but nothing should sit between them and your text.
Request failed. Error: -202. The board reached the network but could not turnexample.cominto an address.-202is what it reports when a name cannot be looked up, and that usually means the network itself has no working internet connection. A guest network blocking outbound requests looks the same, and so does a typo in the address.ImportError: no module named 'urequests'. The firmware on the board is not the standard ESP32 build. Reflash it with theESP32_GENERIC_C6image from micropython.org.- Nothing at all, and no prompt. The board is not connected, or another script left running is holding it. Press Stop, then Run again. On Windows, a board that never appears as a port at all needs the CH340 driver.
Full example
Check out the full example code on the link below:
6.1_Connecting_and_Getting_Data.py
Example that shows how to connect the NULA MINI board to a Wi-Fi network and make an HTTP GET request to example.com, printing the reply to the console.