4.2 Auto Scroll Text
In example 4.1 both messages were chosen to fit: twelve characters each, comfortably inside the sixteen the display can show. This one deliberately breaks that rule. The message is twenty-three characters long, which is seven more than there is room for, and instead of shortening it we are going to move it one character at a time, over and over, so the whole sentence goes past the reader like a departures board.
The build does not change at all from 4.1. What changes is what the display does with a message that is too long for it.
In this documentation you will learn:
- Why a message longer than 16 characters is not lost, even though you cannot see all of it.
- That each row of the display is really a 40-character buffer with a small window onto it.
- How
lcd.scrollDisplayLeft()moves that window instead of moving the text. - How to set the scroll speed with a
delay(), and why the whole loop takes about 12 seconds. - Why the screen goes briefly blank every lap, and why that is not a fault.
- Why a scrolling message needs
loop(), when 4.1 did everything insetup().
Hardware required:
- 1x Soldered NULA MINI board
- 1x Breadboard
- 1x 16x2 LCD display with I2C adapter
- 1x Qwiic cable
- 1x USB-C cable
Putting the components together
If your board is still wired up from example 4.1, it is already correct, so skip straight to the code. Otherwise the four steps below are the same ones you did there.
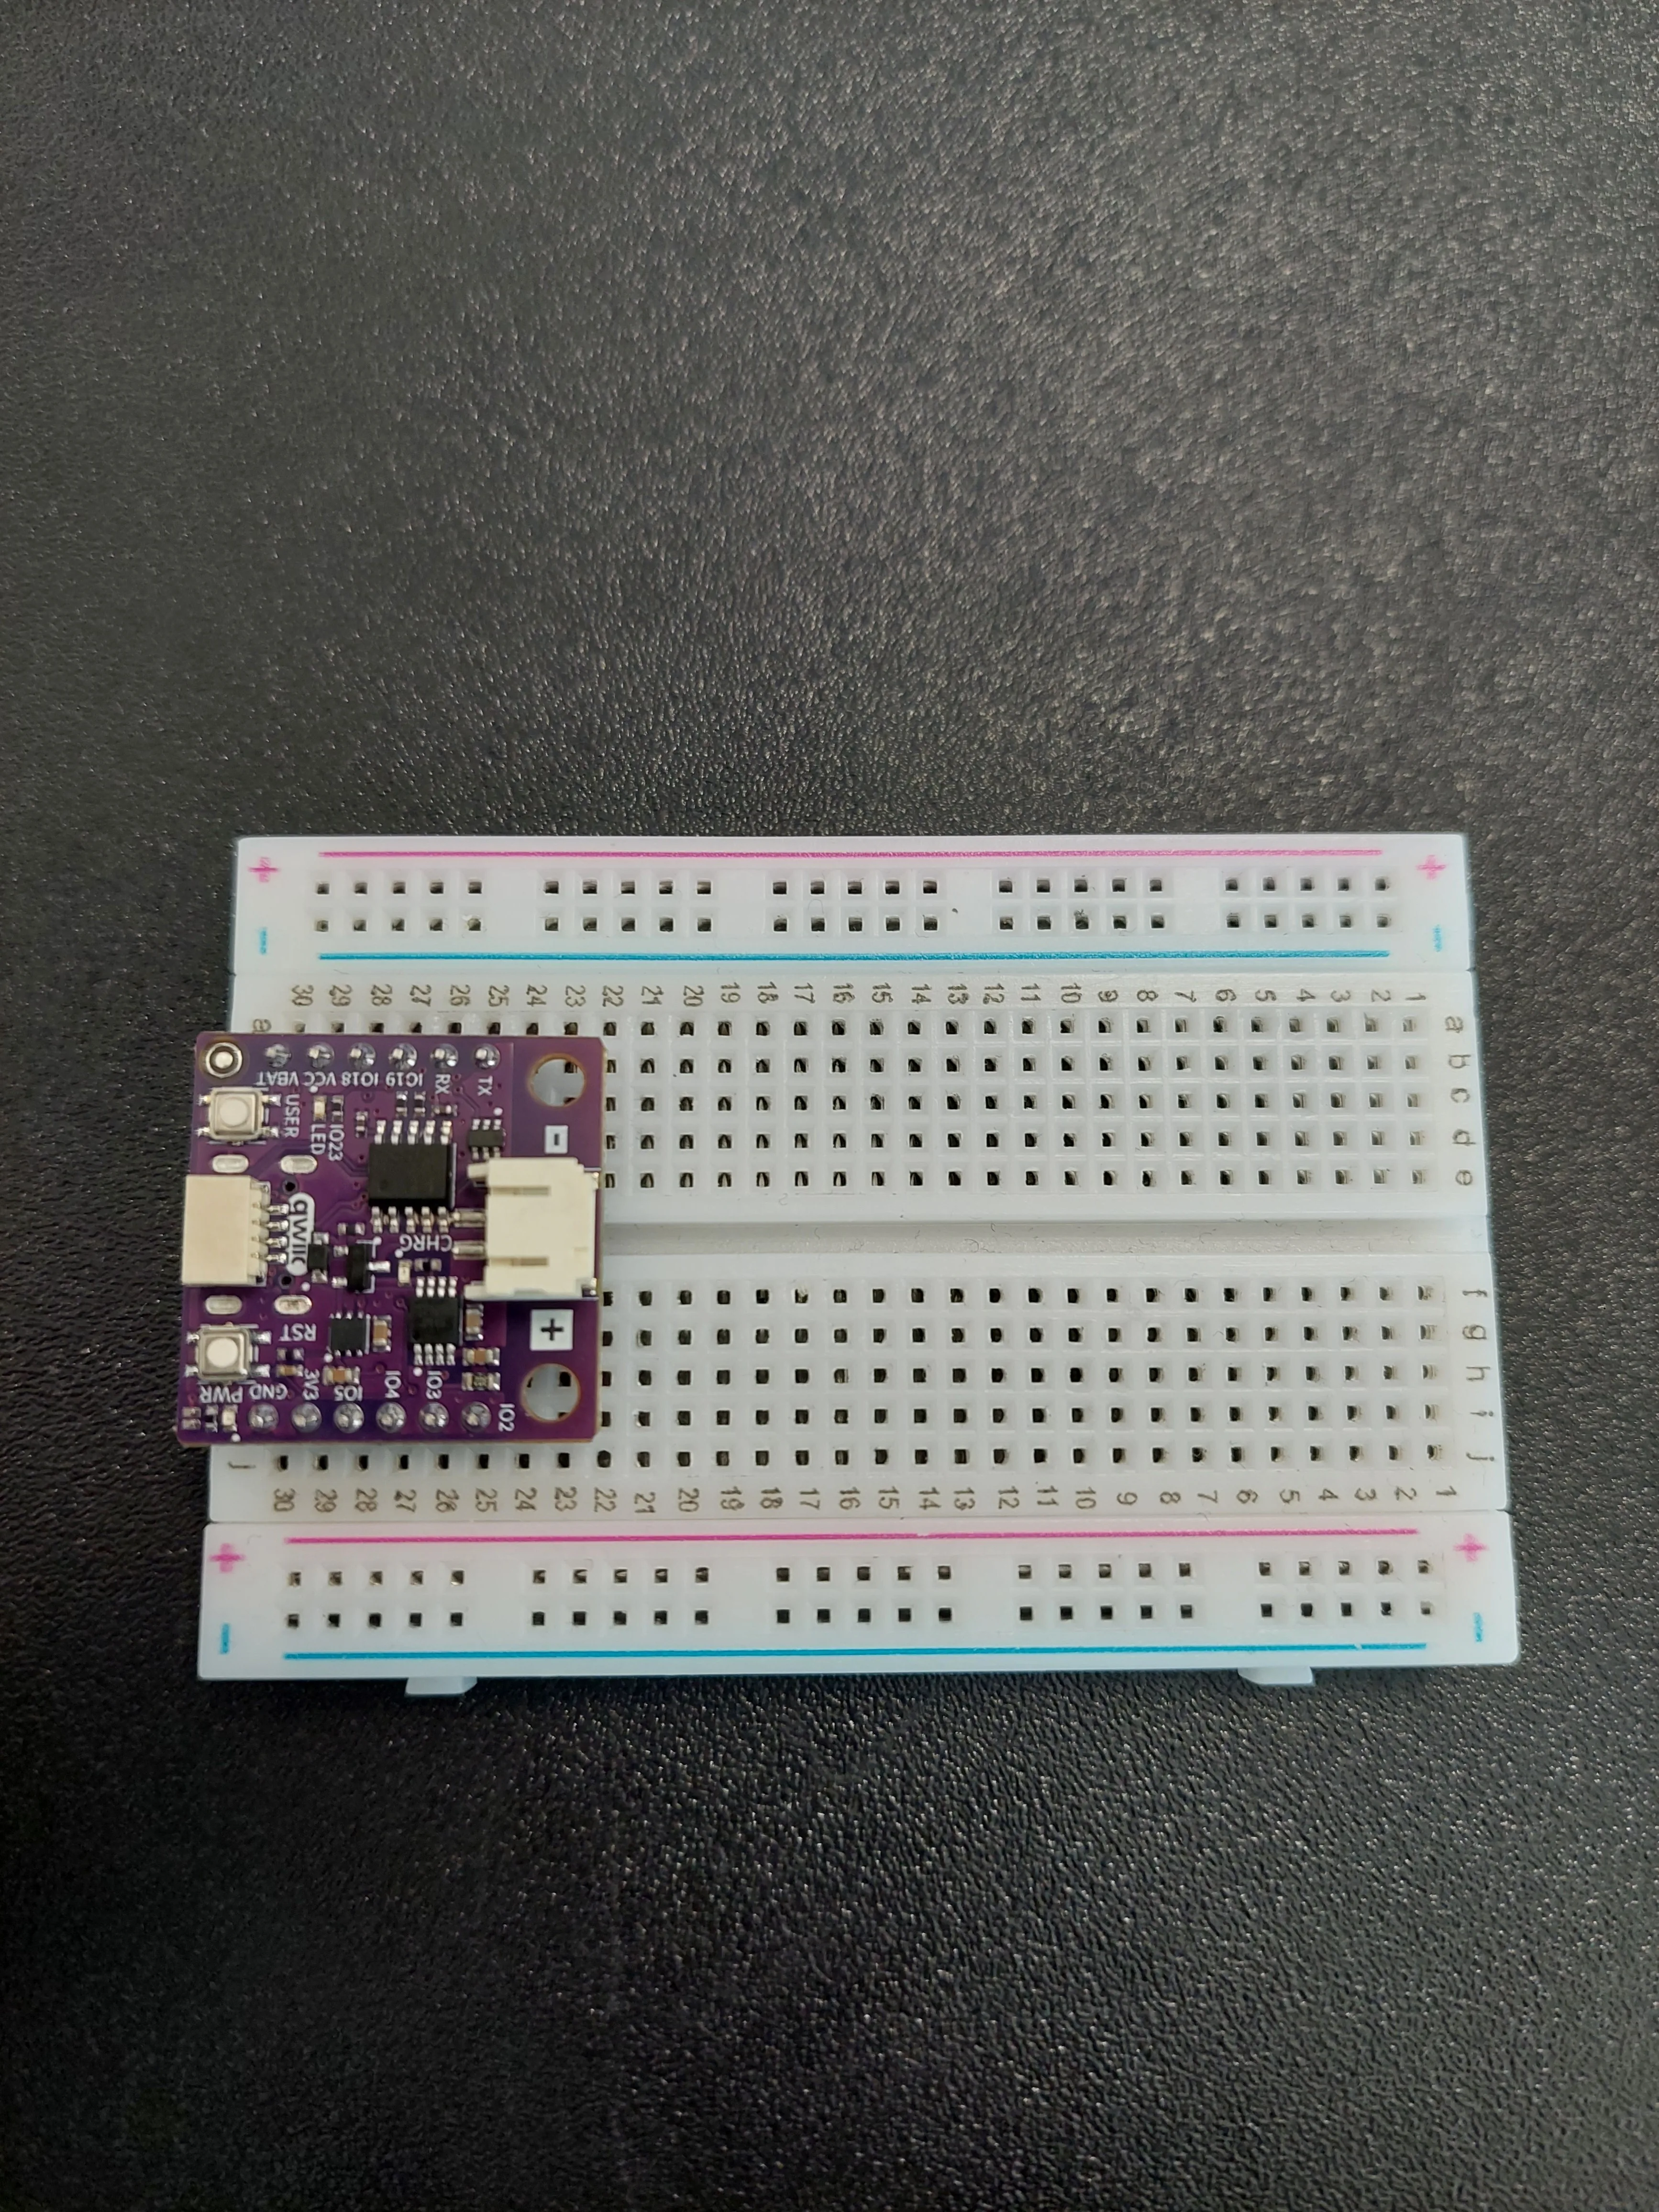
1. Insert the NULA MINI board on the breadboard
Push the board into one end of the breadboard so that its two rows of pins sit on either side of the centre channel, with the chip facing down.
2. Plug the Qwiic cable into the board
The NULA MINI has one Qwiic connector, on the edge of the board between the USER and RST buttons. It is the white connector marked qwiic on the silkscreen. Push the cable in until it clicks.
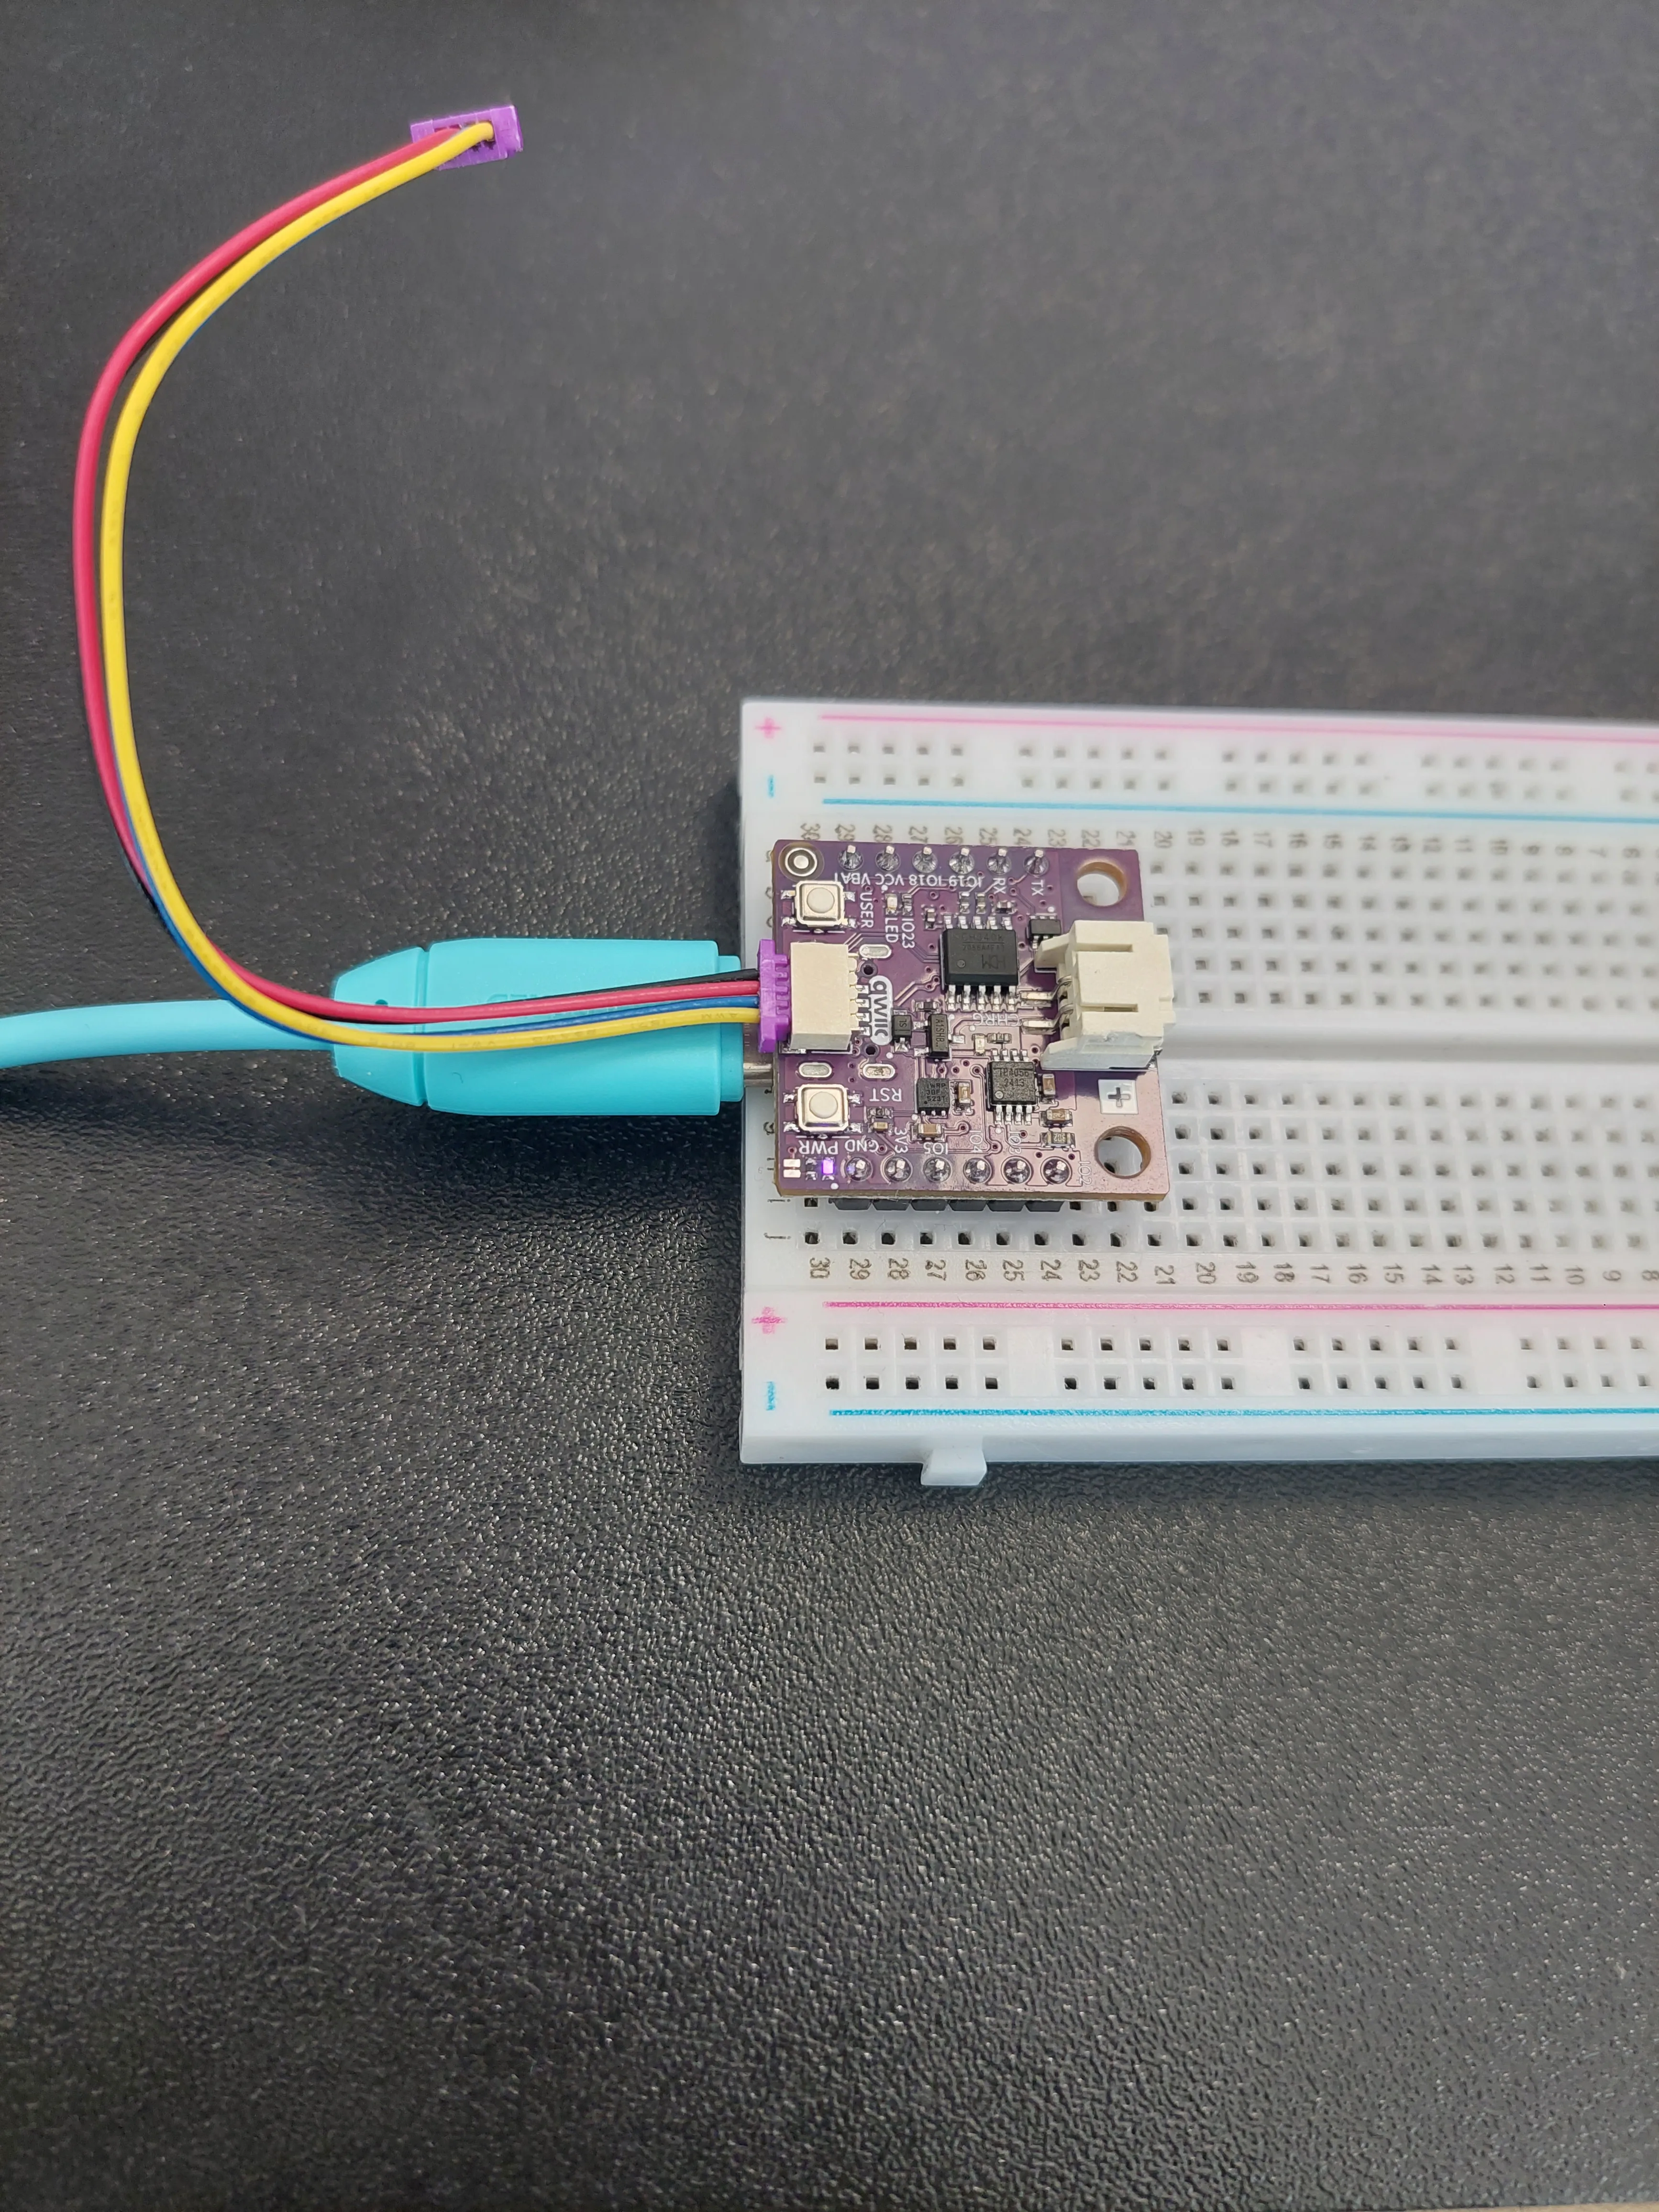
- and +. That one is the battery connector, and a Qwiic cable will not fit it.3. Plug the other end into the display
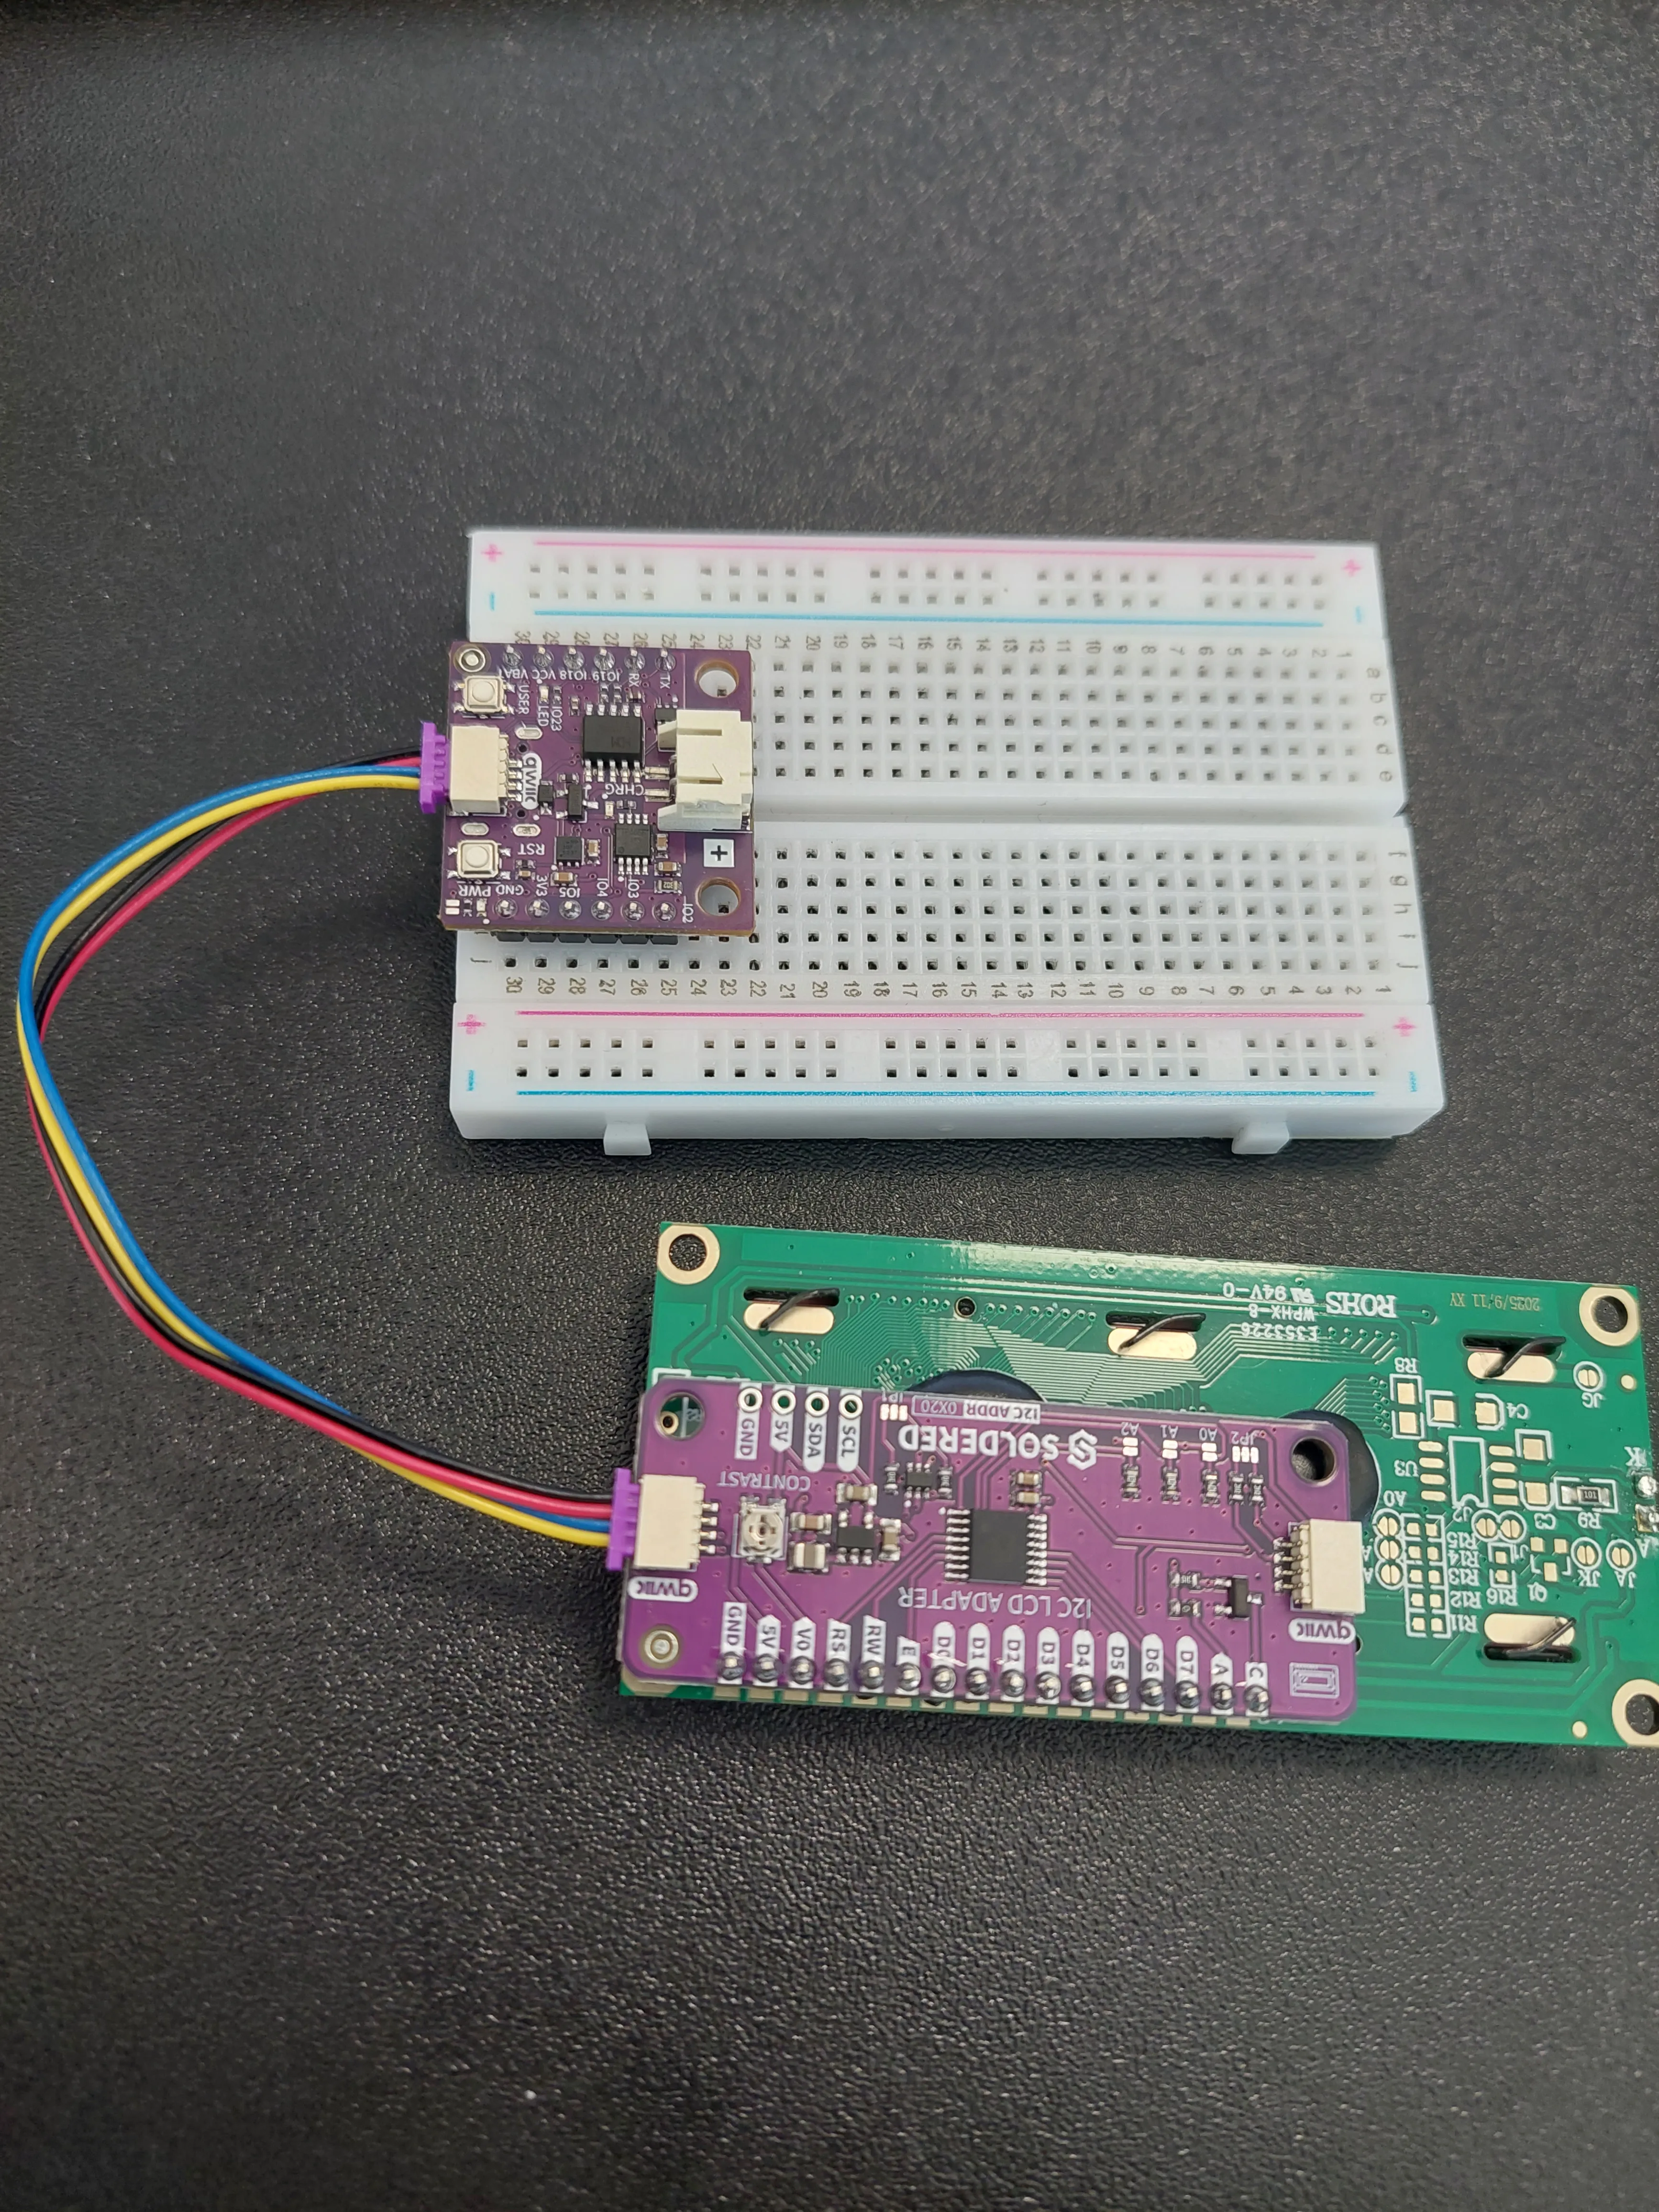
Turn the display over and plug the free end of the cable into either of the two Qwiic connectors on the purple I2C LCD ADAPTER board. They are wired together, so it makes no difference which one you use.
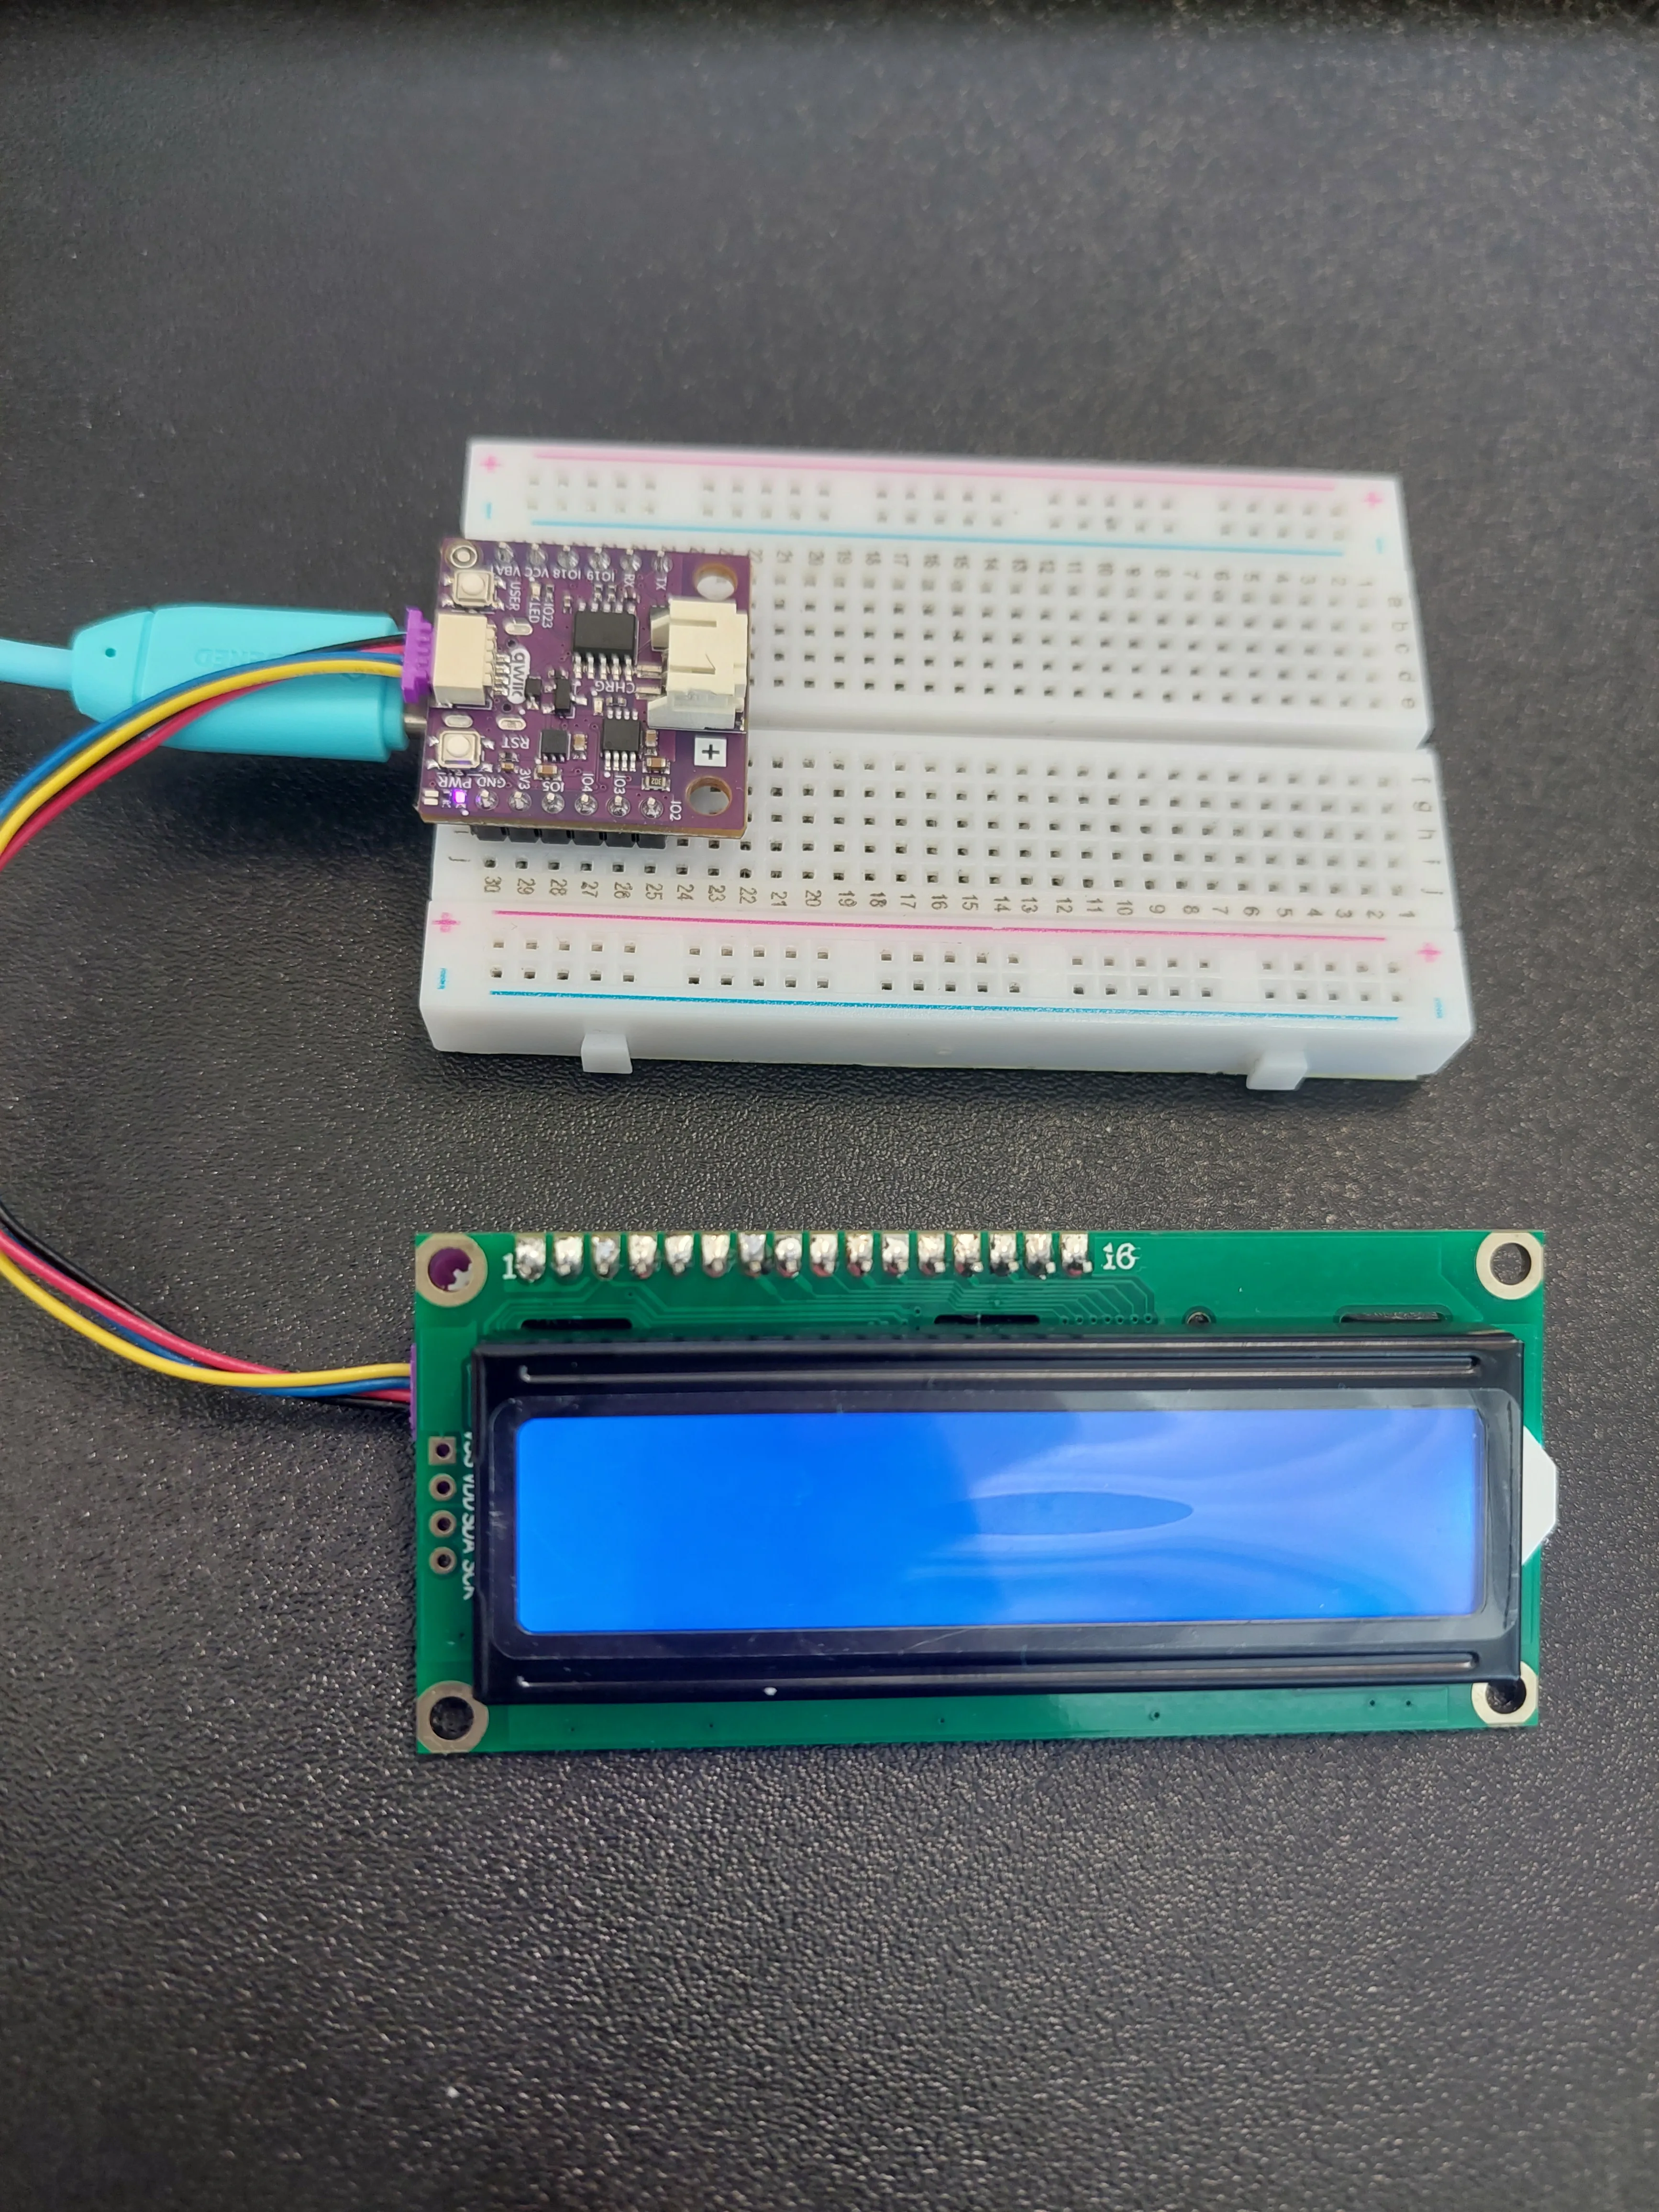
4. Plug in the USB-C cable
Connect the board to your computer. The purple PWR light comes on and the display's backlight lights up blue, with nothing on the screen yet.
Installing the library
This example uses the same Soldered LCD library as 4.1, so if that example worked you already have it. If not, open Tools → Manage Libraries, search for Soldered LCD, and install the one published by Soldered Electronics. There are fuller instructions on the Setting up the Arduino environment page.
fatal error: LCD-SOLDERED.h: No such file or directory means you have the wrong one of the two.Where the rest of the message lives
Example 4.1 said that a message longer than sixteen characters gets cut off at the edge of the screen. That is what it looks like, but it is not quite what happens, and the difference is the whole point of this example.
Each row of the display is backed by a 40-character buffer inside the display's controller chip. Printing writes into that buffer. The glass shows a 16-character window onto it, and everything outside the window is still there: stored, remembered, simply not being shown.
Our message is twenty-three characters long, so it fits in the buffer with room to spare:
position: 0123456789012345678901234567890123456789
buffer:    Hello from NULA MINI!
shown:    ^^^^^^^^^^^^^^^^
The sixteen ^ marks are the window. When the sketch prints the message, positions 0 to 15 are what you see, Hello from NULA, and MINI! sits in positions 16 to 21, written and waiting.
lcd.scrollDisplayLeft() does not move the text. It moves that window one position along the buffer, which makes the text appear to slide the other way. Call it repeatedly and the window walks the length of the buffer, bringing the hidden characters into view a column at a time.
Because the buffer is 40 positions long, the window needs 40 shifts to get back where it started, and each shift is followed by delay(scrollDelay). That sets the length of one lap:
40 shifts x 300 ms = 12000 ms = 12 seconds per lap
Change scrollDelay and the arithmetic follows: at 100 a lap takes about four seconds and the text moves briskly, at 600 it takes twenty-four and reads more comfortably.
setup().The message has a space at each end
Look closely at the message in the code and you will see it starts and ends with a space:
String message = " Hello from NULA MINI! ";
Neither is a typo. The window eventually wraps around from the end of the 40-character buffer back to the beginning, so the end of the message meets its own start. Without those two spaces you would get MINI!Hello jammed together for one lap in every rotation.
Once a lap the screen goes blank
There is one more consequence of those numbers, and it is worth knowing about before you run the sketch. The message takes up 23 of the 40 buffer positions, which leaves 17 empty ones, and a 16-character window fits inside a 17-character gap with a position to spare. So for two or three steps of every lap, the window is looking at nothing at all and the display is genuinely, correctly empty.
CONTRAST trimmer. See If the backlight is on but the screen is empty in the previous example.Everything repeats, this time
In 4.1 every instruction sat in setup() and loop() was left empty, because a display holds its last message on its own and there was nothing to repeat.
Here that flips around. The message is still printed once in setup(), because printing it repeatedly would achieve nothing. But the movement has to be driven, so loop() does two things forever: shift the window one position, then wait. That pairing of an action and a delay() is what turns a static screen into an animated one.
Code
/**
 **************************************************
 *
 * @file        4.2_Auto_Scroll_Text.ino
 * @brief       Example that shows how to automatically scroll text on a 16x2 LCD.
 *              The LCD is controlled using the Soldered LCD library.
 *              This example demonstrates how to use lcd.scrollDisplayLeft() and lcd.scrollDisplayRight()
 *              to move text smoothly across the screen.
 *              For details, connection diagram and more, check out the example documentation at: <link placeholder>
 * @author      Soldered
 ***************************************************
 */

#include "LCD-SOLDERED.h"   // Include the Soldered LCD library

/*
Create an LCD object with 16 columns and 2 rows.
These parameters correspond to your display size.
*/
LCD lcd(16, 2);

/*
Create a message that will scroll across the display.
*/
String message = " Hello from NULA MINI! ";

/*
The speed of scrolling in milliseconds. Higher number = slower scroll.
*/
const int scrollDelay = 300;

void setup() {
  /*
  Initialize the LCD and turn on the backlight.
  */
  lcd.begin();
  lcd.backlight();

  /*
  Print the message once. Only the visible part will show initially.
  */
  lcd.print(message);
}

void loop() {
  /*
  Scroll the text one position to the left, creating a moving effect.
  */
  lcd.scrollDisplayLeft();

  /*
  Wait a short time before the next movement to control scrolling speed.
  */
  delay(scrollDelay);
}
lcd.clear() here, and none is needed: lcd.begin() already clears the display and returns the cursor to the start as part of setting it up. That is also why lcd.print() can be called without a setCursor() first: the cursor is already at position 0.What you should see
Upload the sketch. The message appears and immediately begins sliding across the top row, one character every 300 milliseconds, and it never stops:
Full example
Check out the full example code on the link below:
4.2_Auto_Scroll_Text.ino
Example that scrolls a message longer than the screen across the Qwiic 16x2 LCD using lcd.scrollDisplayLeft().