1.1 Hello World
This example sets up serial communication between the Soldered NULA MINI board and your computer, so the board can talk back to you. That is how you debug a sketch, watch sensor values, or just print text.
It is the "Hello World" of microcontrollers, and the quickest way to confirm the board is working and talking to your computer.
In this documentation you will learn:
- How to set up a serial connection using
Serial.begin(). - How to print a message to the Serial Monitor with
Serial.println().
Hardware required:
- 1x Soldered NULA MINI board
- 1x USB-c cable
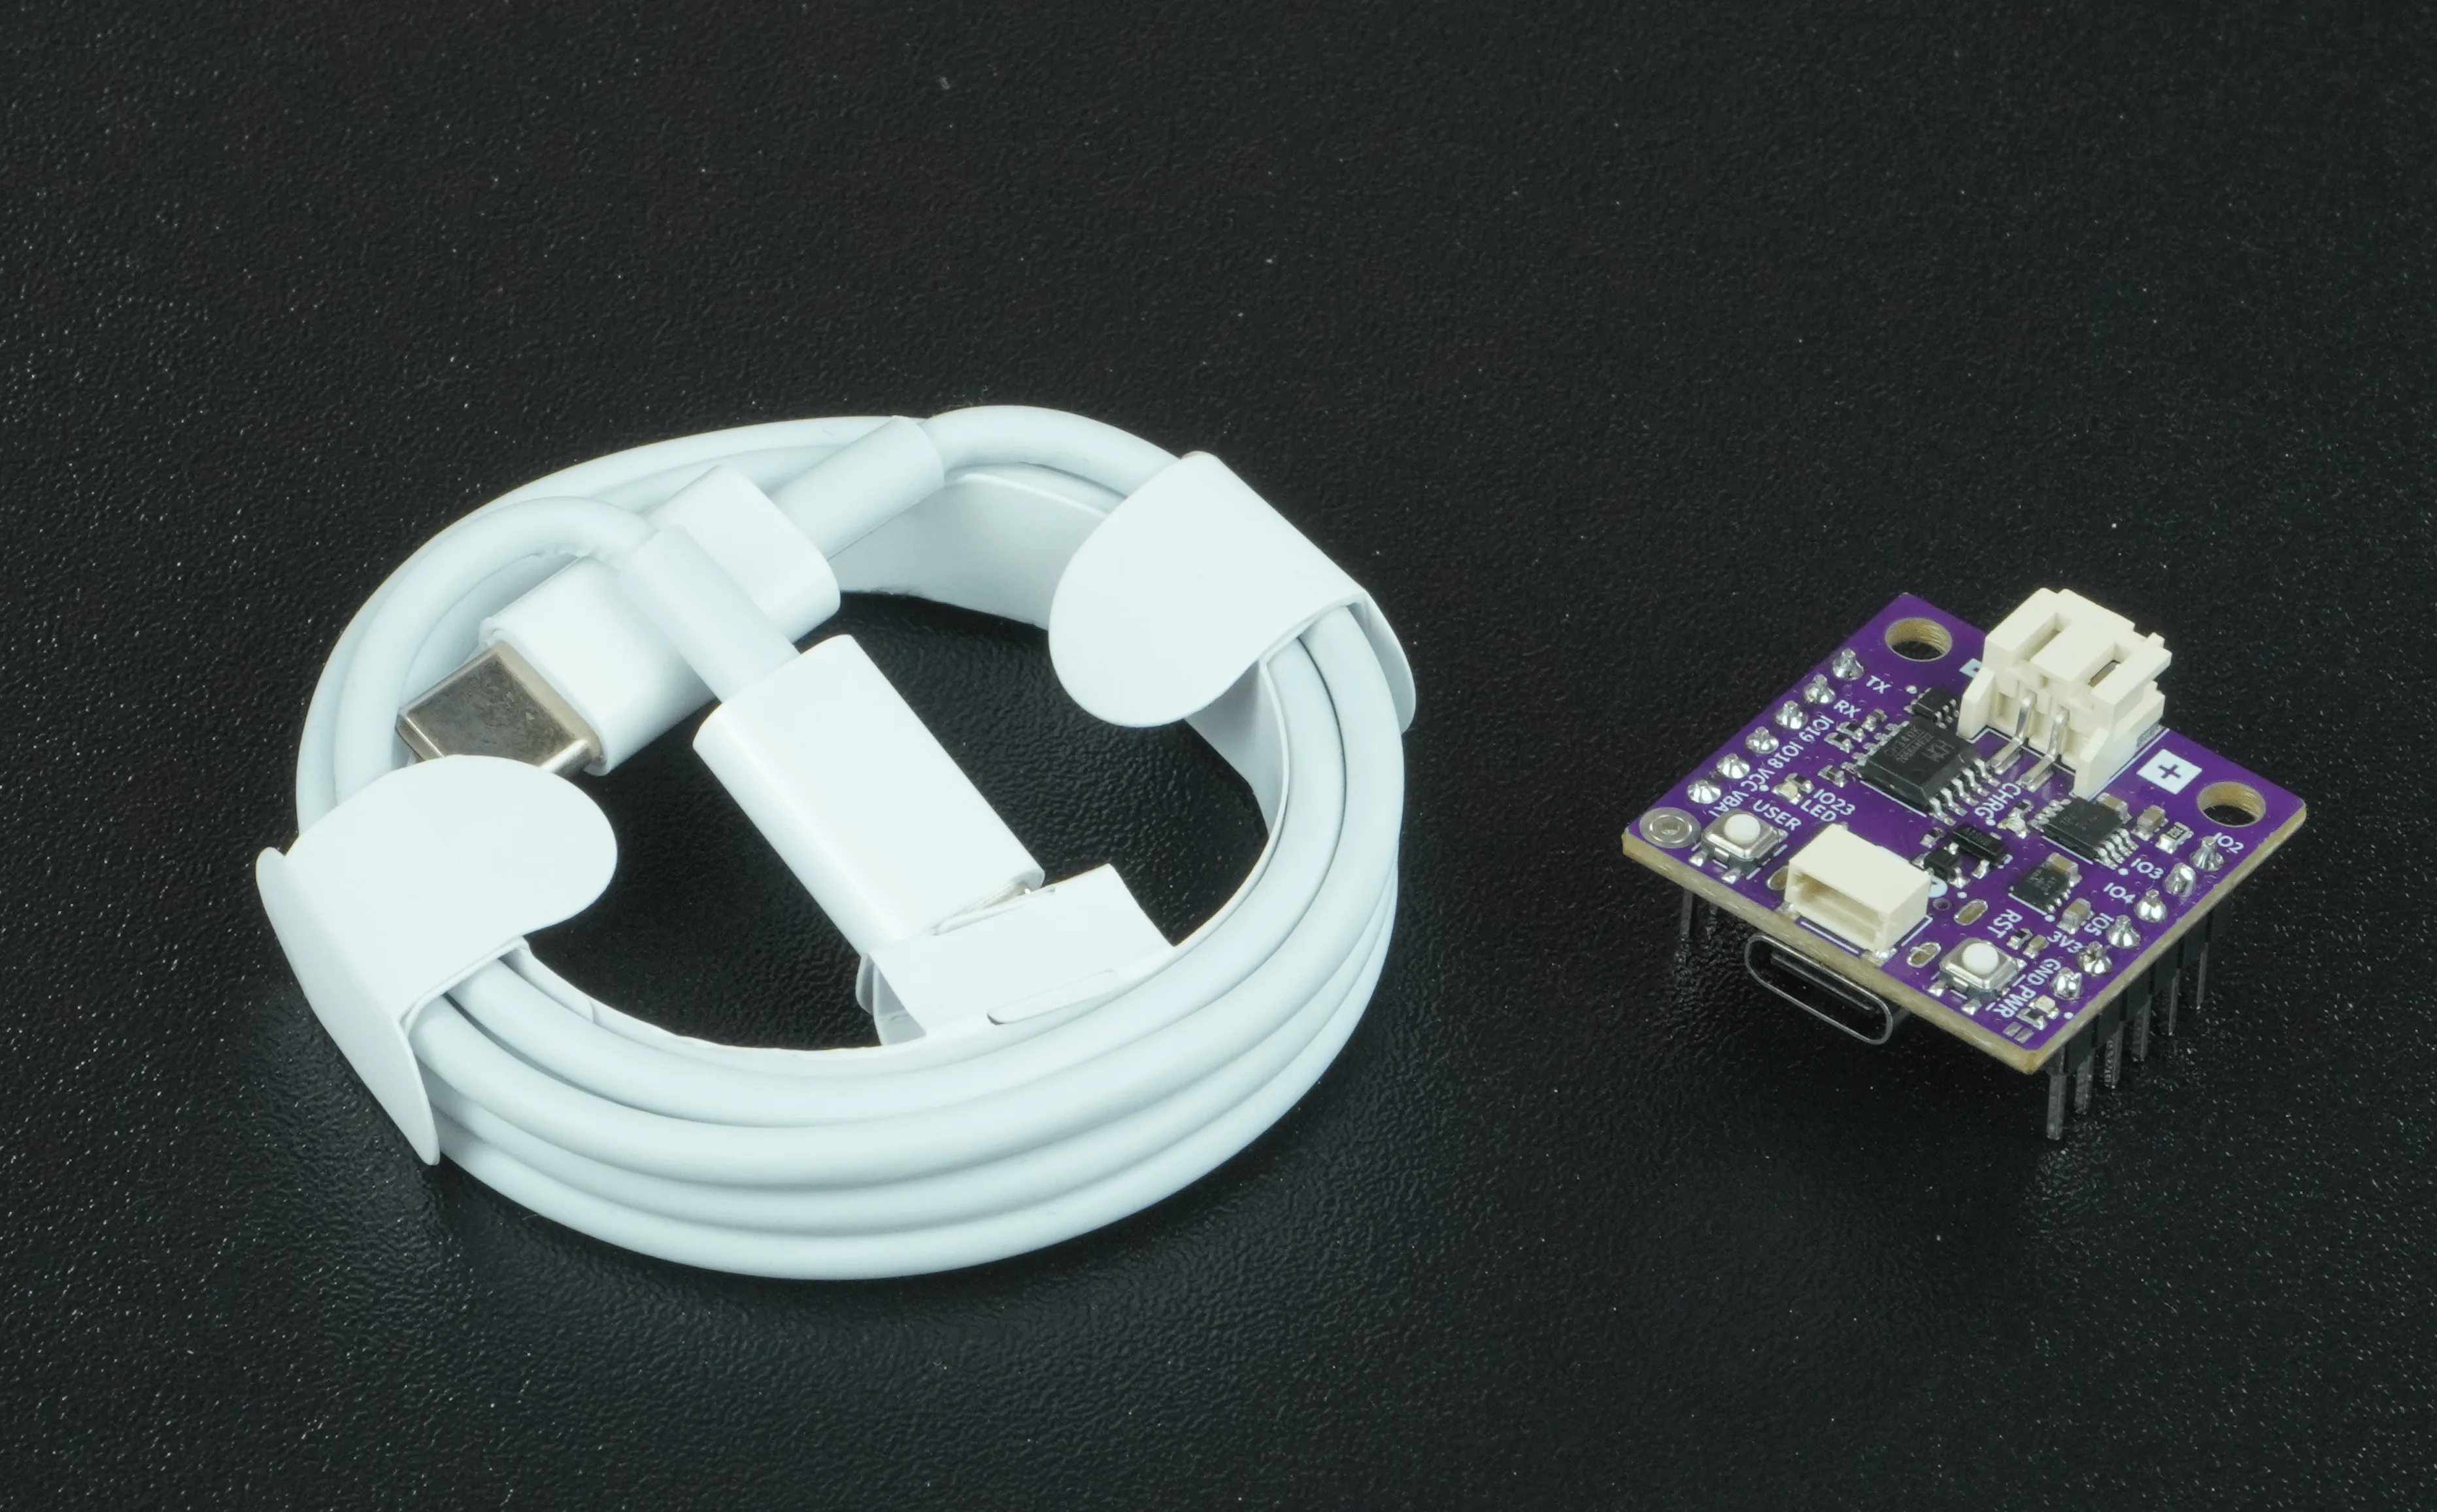
Connecting the board
Connect the Soldered NULA MINI to your computer with a USB-C cable, then select the right COM port in the Arduino IDE.
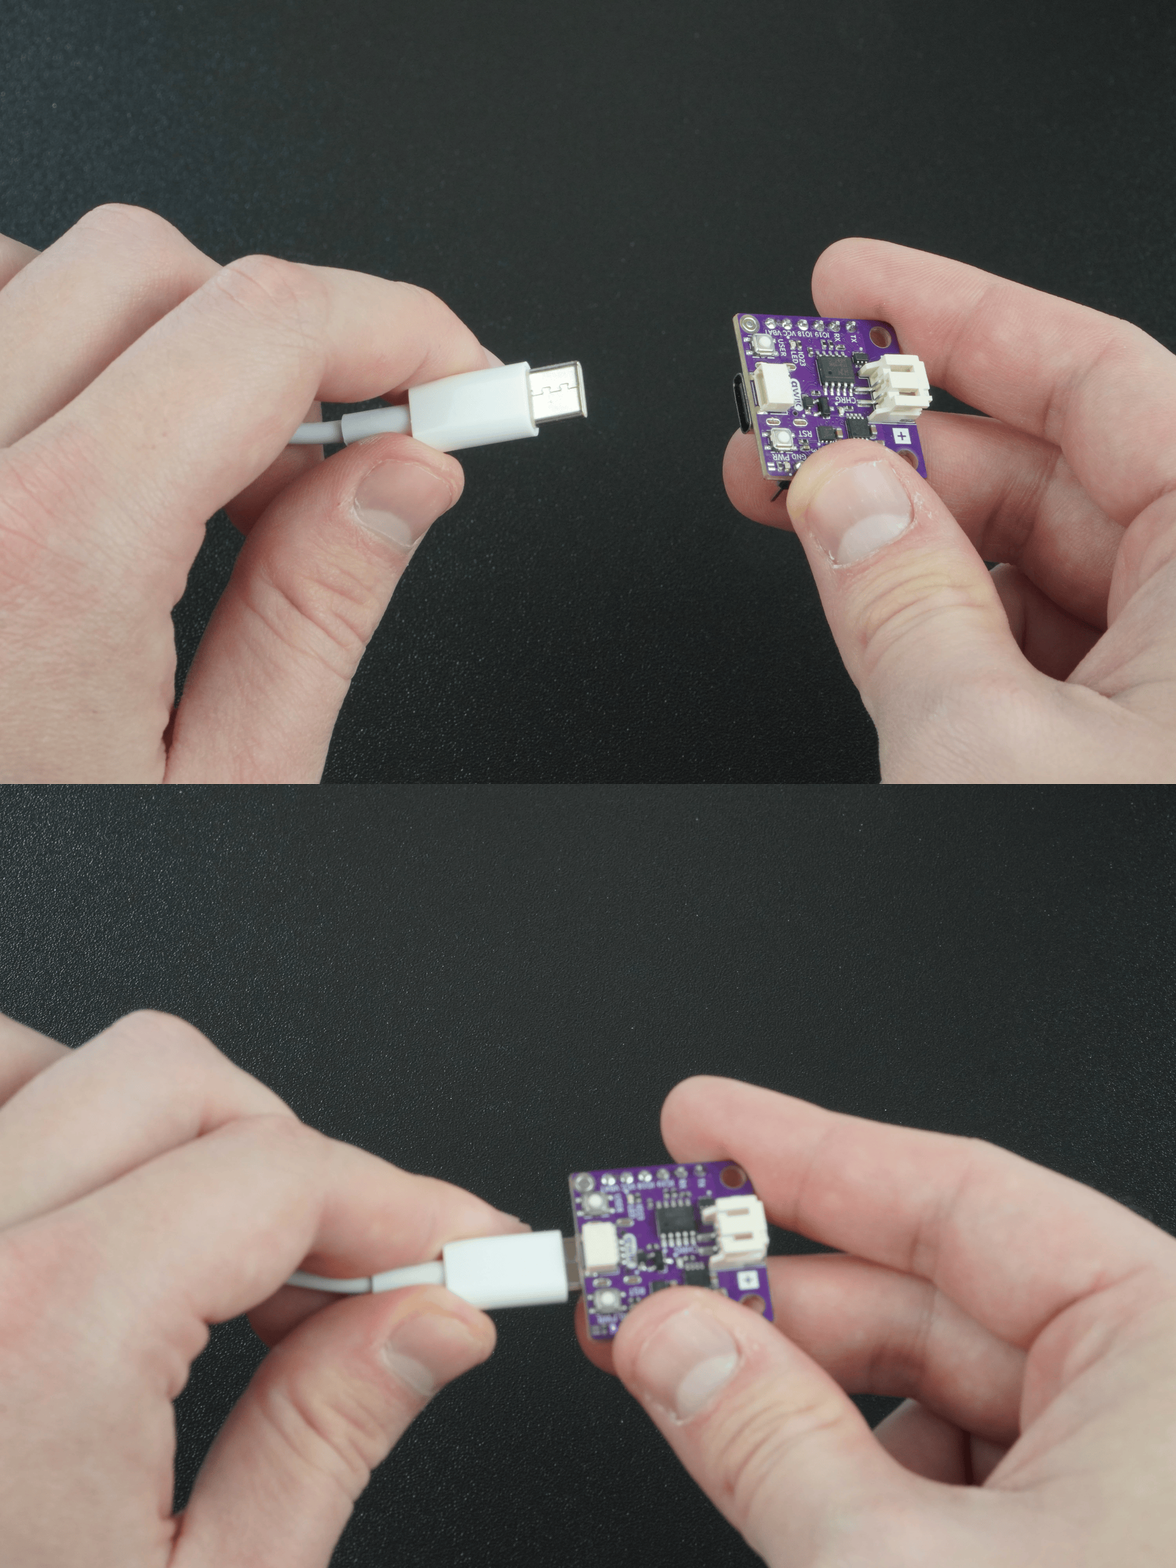
What is Serial Communication
Serial communication is a way for your NULA MINI board and your computer to talk to each other using text messages. Imagine you and your friend are passing notes in class, but instead of giving the whole note at once, you send it one letter at a time in the right order. That is what serial means: information sent one piece after another, very quickly. Your board sends characters like 'H','e','l','l','o' to your computer, and the Arduino IDE's Serial Monitor puts them together so you can read "Hello". This communication happens through the USB cable, and both sides have to "agree" on the speed (the baud rate), like making sure you both speak the same language and at the same pace.
Setting up Serial communication
To enable Serial communication, you need to initialize it inside the setup() function with
Serial.begin(baudRate). BaudRate is the speed of communication. For this example, 115200 baud is used. This function tells the board to start talking to the computer at that speed.
void setup() {
  /*
  Serial.begin() establishes serial communication between your board and another device, in this
  example, to your computer via a USB cable. In this example we will be communicating with the Serial Monitor, so ensure
  that the baud variable is set to one of the baud rates listed in the Serial Monitor's baud rate dropdown menu.
  */
  Serial.begin(115200);
}
Printing a message
Serial.println("text") prints a piece of text to the Serial Monitor and then starts a new line. Here the board prints "Hello, World!" once, immediately after startup, because the call sits in setup(). To print it over and over, move the call into loop().
Serial.print() function instead.void setup() {
/*
Serial.begin() establishes serial communication between your board and another device, in this
example, to your computer via a USB cable. In this example we will be communicating with the Serial Monitor, so ensure
that the baud variable is set to one of the baud rates listed in the Serial Monitor's baud rate dropdown menu.
*/
Serial.begin(115200);
/*
Serial.println() Prints data to serial port as human-readable ASCII text followed by a carriage return character ('\r')
and a newLine character ('\n'). In other words, function prints the text and then skips to the next line.
*/
Serial.println("Hello, World!");
}
/*
loop() runs over and over after setup() has finished. This example has nothing to repeat, so it stays
empty - but every Arduino sketch needs both setup() and loop(), even when one of them does nothing.
*/
void loop() {
}

Full example
Check out the full example code on the link below:
1.1_Hello_World.ino
Example that shows how to initialize the Serial monitor and write data to it