6.1 Connecting and Getting Data
Every example so far has been self-contained: the board measured something, or lit something, and printed the result to your own screen over the USB cable. This one reaches past the desk. The NULA MINI joins your Wi-Fi network, asks a real website on the internet for its contents, and prints back whatever the website replies.
That request is the same one your browser makes every time you open a page. Once your board can make it, the door is open to weather data, clocks that set themselves, dashboards and remote controls.
In this documentation you will learn:
- How to connect your NULA MINI to a Wi-Fi network.
- What the
WiFiandHTTPClientlibraries do, and why neither needs installing. - How to make an HTTP GET request and read the answer.
- How to tell a wrong password apart from a genuine network problem.
Hardware required
- 1× Soldered NULA MINI board
- 1× USB-C cable
- 1× breadboard
- A 2.4 GHz Wi-Fi network with internet access
Putting the components together
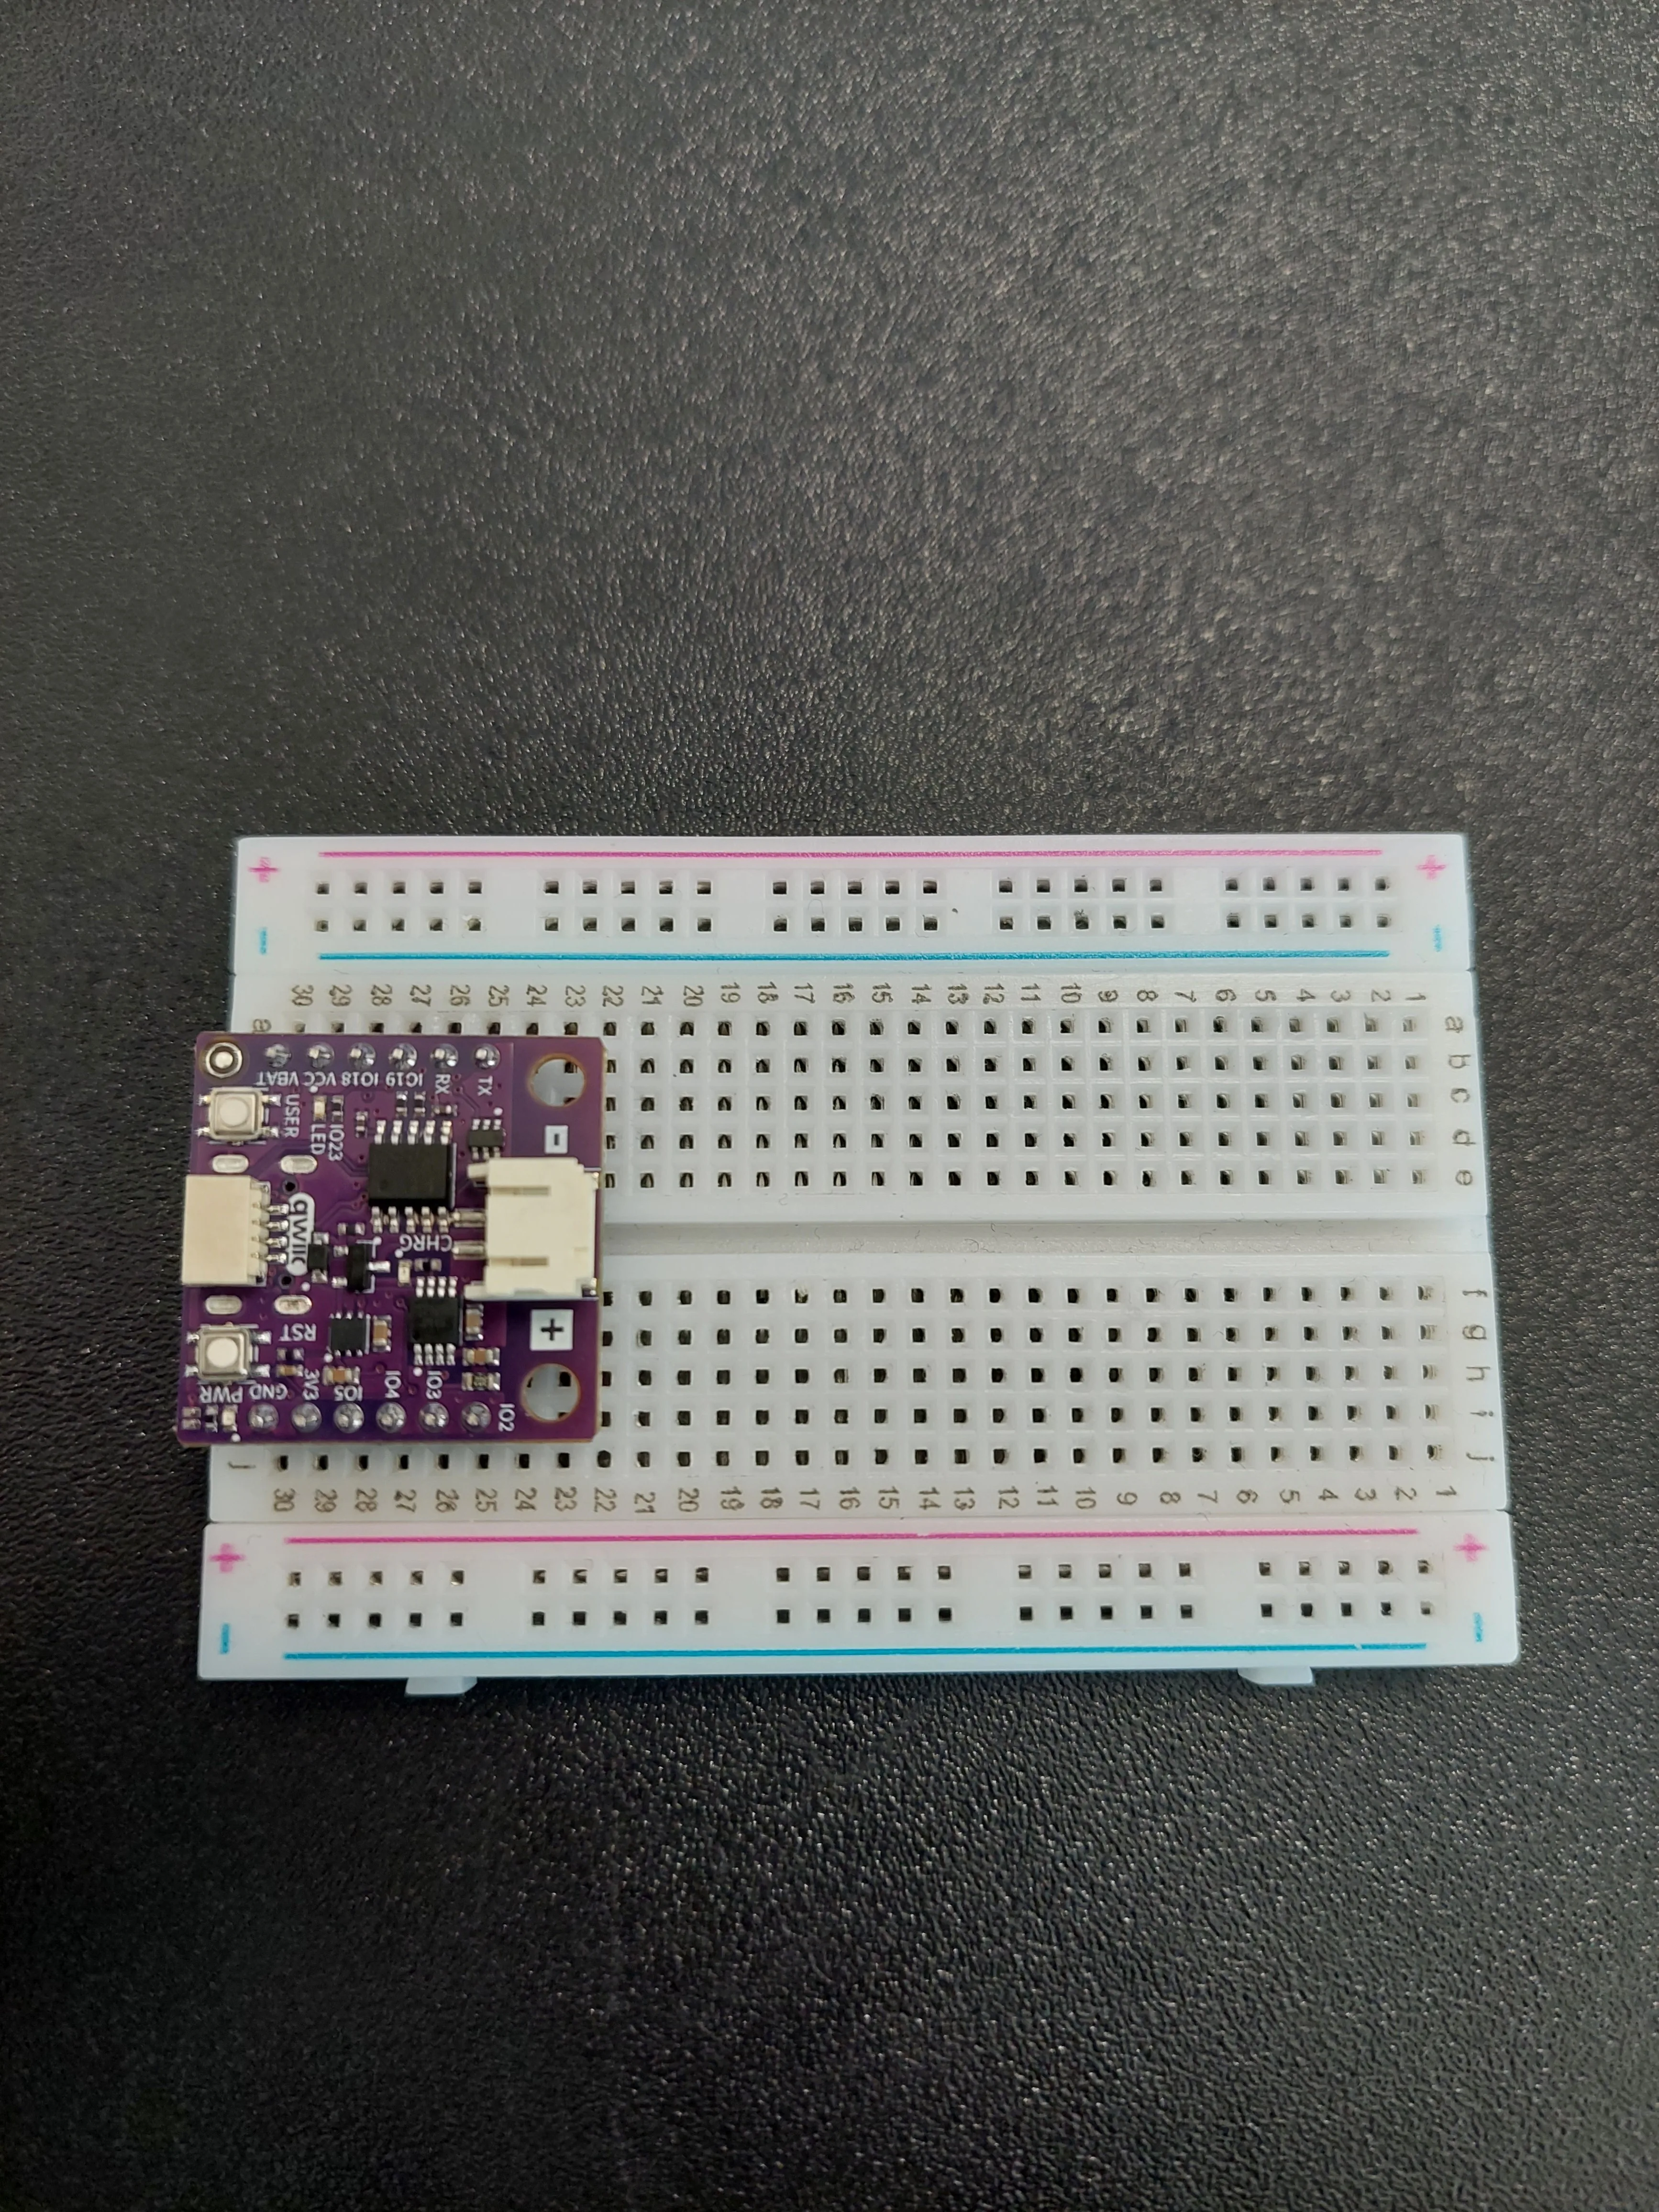
1. Insert the NULA MINI board on the breadboard
Push the board into one end of the breadboard so that its two rows of pins straddle the centre channel.
2. Connect the USB-C cable
Plug the USB-C cable into the connector on the edge of the board, and the other end into your computer. The PWR LED lights up, and that is the entire build.
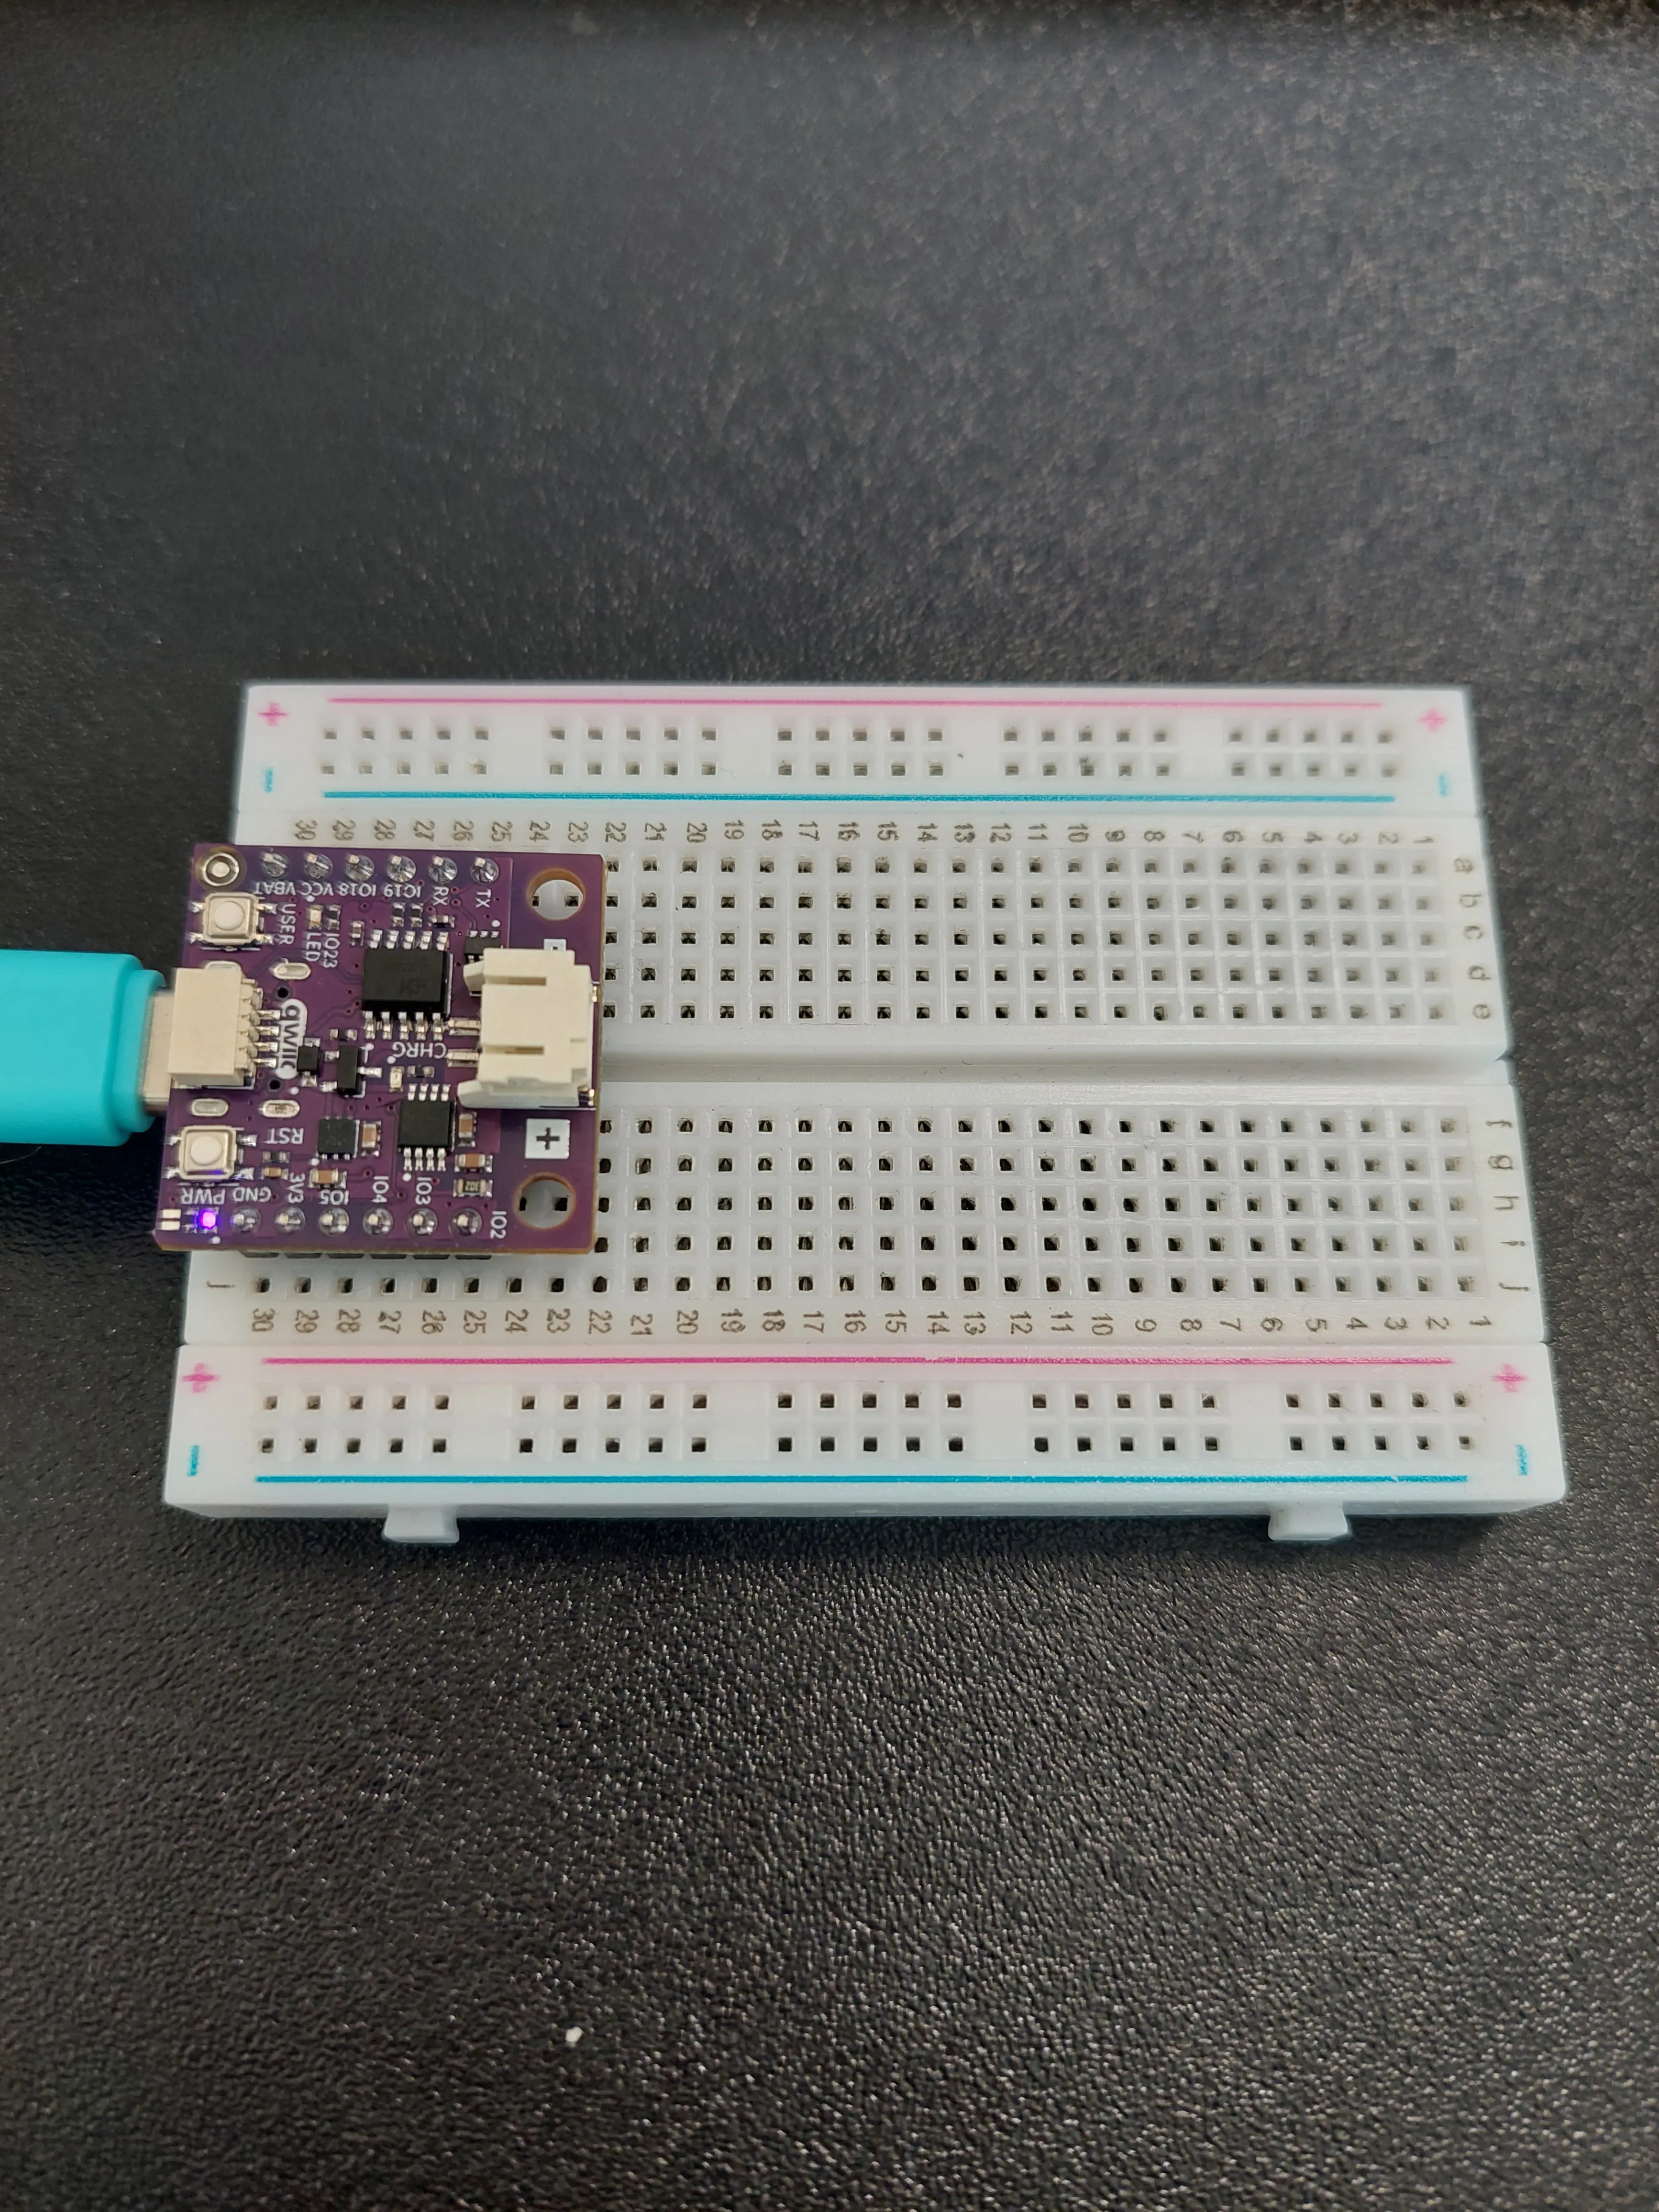
− rail, both Qwiic connectors empty. The small purple glow beside PWR is the only sign anything is happening.Joining a network
A Wi-Fi network is identified by two pieces of text: its SSID, which is the name you see in the list of networks on your phone, and its password. The sketch holds both near the top:
const char* ssid = "your ssid";
const char* password = "your password";
Replace the text between the quotation marks with your own details, and leave the quotation marks themselves in place. Both are case-sensitive: HomeNetwork and homenetwork are two different names as far as the board is concerned.
Once the board is on the network, the router hands it an IP address, a number that identifies it among all the other devices in your house. You did not choose it, and it may well be different the next time the board connects. The sketch prints it out because example 6.2 gives you something to do with it.
Two libraries you already have
#include <WiFi.h>
#include <HTTPClient.h>
Unlike the SHTC3 sensor in 5.1, there is nothing to install here. Both libraries ship with the ESP32 board definition you added back in 0.2, so selecting Soldered NULA Mini ESP32C6 is all it takes to make them available.
WiFi.h handles the radio: finding the network, proving you know the password, holding the connection open. HTTPClient.h sits on top of it and speaks HTTP, the language of the web. Without it you would have to assemble the requests out of raw text yourself.
WiFi.h. Windows does not care about the difference, but the file is named that way and other systems do care.Why the board waits in a loop
Joining a network takes a second or two, long enough that freezing the whole program to wait for it would be wasteful. So WiFi.begin() only starts the attempt and returns immediately, leaving the radio to get on with it in the background.
That means the sketch has to do the waiting itself:
while (WiFi.status() != WL_CONNECTED) {
  delay(500);
  Serial.print(".");
}
WiFi.status() reports the current state of the connection, and WL_CONNECTED is the value it returns once the board is online. The loop keeps running as long as those two differ, printing one dot every half second. Each dot in the Serial Monitor is therefore half a second of waiting, which makes the row of dots a rough stopwatch.
WiFi.status() simply never reaches WL_CONNECTED and the dots carry on forever. No error message appears, because as far as the sketch is concerned nothing has gone wrong yet. It is still waiting. A board that prints twenty or thirty dots and never gets past them is telling you the credentials are wrong, not that it has crashed.What a GET request is
GET is the HTTP method for reading something. When you type an address into a browser, a GET request is what it sends. This example asks example.com, a domain the internet's naming authority maintains specifically so that documentation like this page has something harmless to point at.
HTTPClient http;
String url = "http://example.com/";

http.begin(url);
int httpCode = http.GET();
http.begin() prepares the request by telling the client where to go. Nothing travels over the network yet. http.GET() is the line that actually sends it and waits for the reply, and it returns a number describing how that went:
- 200 or above means the server answered.
200itself is the code for "here you go". - A negative number means no answer ever arrived: the request failed before any server could reply.
http.errorToString()turns that number into a short sentence, which is far easier to act on than the number alone.
If the code is positive, http.getString() hands back the body of the reply as text. For example.com that body is the HTML of the page itself: the very same characters your browser receives and then draws as a heading and a paragraph.
Finally:
http.end();
This closes the connection and releases the memory the client was holding. It matters more than it looks. A sketch that makes requests over and over without ever calling end() leaks a little memory each time, and eventually runs out.
http://, not https://. An encrypted connection needs the board to check the server's security certificate, which takes more code and more memory (WiFiClientSecure in place of a plain client). Starting with plain HTTP keeps this first example down to the part you are actually here to learn.Everything happens once
The whole sketch lives inside setup(), and loop() is left empty:
void loop() {
  //Nothing happens here, the request was made once in setup()
}
So the board connects, asks its question, prints the answer, and then sits there doing nothing at all. To run it again, press the RST button. That restarts the sketch from the top, and both the connection and the request happen afresh.
Code
/**
 **************************************************
 *
 * @file        6.1_Connecting_and_Getting_Data.ino
 * @brief       Example that shows how to connect the NULA board to a Wi-Fi network and then ask a website for data.
 *              The board makes an HTTP GET request to example.com and prints whatever the website sends back to the
 *              Serial Monitor. This is the first step towards any project that needs data from the internet.
 *              For details, connection diagram and more, check out the example documentation at: <link placeholder>
 * @author      Soldered
 ***************************************************
 */

/*
The WiFi library contains everything needed to join a Wi-Fi network. It comes together with the board definition, so
there is nothing to install for this one.
*/
#include <WiFi.h>

/*
The HTTPClient library lets us speak HTTP, the language browsers use to talk to websites. Without it we would have to
build the requests out of raw text ourselves.
*/
#include <HTTPClient.h>

/*
These two variables hold the name of your Wi-Fi network (the SSID) and its password. Replace the text between the
quotation marks with your own network details, otherwise the board has nothing to connect to.
Note that most boards, including the NULA board, can only connect to 2.4 GHz networks and not to 5 GHz ones.
*/
const char* ssid = "your ssid";
const char* password = "your password";

void setup() {

  /*
  Serial.begin() establishes serial communication between your board and your computer via a USB cable. In this
  example the Serial Monitor is the only place where we can see what is happening, so it is essential here.
  */
  Serial.begin(115200);
  Serial.println();
  Serial.println("Wi-Fi GET Request Example");

  /*
  WiFi.begin() starts the connection attempt using the network name and password we defined above. The function does
  not wait for the connection to finish, it only starts the process and immediately returns.
  */
  WiFi.begin(ssid, password);
  Serial.print("Connecting to Wi-Fi");

  /*
  Because WiFi.begin() returns immediately, we have to wait for the connection ourselves. WiFi.status() tells us the
  current state of the connection, and WL_CONNECTED is the value it reports once we are online. This while loop keeps
  running as long as we are not connected yet, printing one dot every half second so we can see that the board is
  still trying.
  */
  while (WiFi.status() != WL_CONNECTED) {
    delay(500);
    Serial.print(".");
  }

  /*
  Once we are through the loop above, we are connected. WiFi.localIP() returns the address the router handed out to
  our board. Write it down, we will need it in the next example.
  */
  Serial.println();
  Serial.println("Connected to Wi-Fi!");
  Serial.print("IP Address: ");
  Serial.println(WiFi.localIP());

  /*
  Here we create our HTTP client object, which we named "http", and the address we want to visit. A URL is the same
  kind of address you type into a browser.
  */
  HTTPClient http;
  String url = "http://example.com/";

  Serial.print("Requesting data from: ");
  Serial.println(url);

  /*
  begin() prepares the request by telling the client which address we want to reach. Nothing is sent over the network
  yet at this point.
  */
  http.begin(url);

  /*
  GET() actually sends the request and waits for the website to answer. GET is the HTTP method used for reading data,
  which is exactly what a browser does every time you open a page.
  The function returns a response code: numbers of 200 and above mean the server answered, while a negative number
  means we never got an answer at all.
  */
  int httpCode = http.GET();

  /*
  Here we check whether we got an answer. If we did, we print the response code and then the body of the response,
  which for example.com is the HTML of the page itself.
  */
  if (httpCode > 0) {
    Serial.print("HTTP Response Code: ");
    Serial.println(httpCode);

    /*
    getString() returns the content the server sent us as text.
    */
    String payload = http.getString();
    Serial.println("Received data:");
    Serial.println("----------------------------------");
    Serial.println(payload);
    Serial.println("----------------------------------");
  } else {

    /*
    errorToString() turns the negative error code into a short sentence, which is much easier to understand than the
    number on its own.
    */
    Serial.print("Request failed. Error: ");
    Serial.println(http.errorToString(httpCode));
  }

  /*
  end() closes the connection and frees the memory the client was using. Always close a connection once you are done
  with it, otherwise a program that makes many requests will slowly run out of memory.
  */
  http.end();
}

void loop() {
  //Nothing happens here, the request was made once in setup()
}
What you should see
Upload the sketch, then open the Serial Monitor and set it to 115200 baud. Because everything happens in setup(), the output arrives in one burst a few seconds after the board restarts. If you miss it, press RST with the monitor already open and it all runs again.

The reply arrives as one unbroken line, which is why it runs off to the right instead of wrapping, and why the window has grown a horizontal scroll bar. Written out in full, the whole output reads:
ESP-ROM:esp32c6-20220919
Build:Sep 19 2022
rst:0x1 (POWERON),boot:0x6e (SPI_FAST_FLASH_BOOT)
SPIWP:0xee
mode:DIO, clock div:2
load:0x40875730,len:0x1278
load:0x4086b910,len:0xc58
load:0x4086e610,len:0x31c0
entry 0x4086b910

Wi-Fi GET Request Example
Connecting to Wi-Fi......
Connected to Wi-Fi!
IP Address: 192.168.75.75
Requesting data from: http://example.com/
HTTP Response Code: 200
Received data:
----------------------------------
<!doctype html><html lang="en"><head><title>Example Domain</title><link rel="icon" href="data:,"><meta name="viewport" content="width=device-width, initial-scale=1"><style>body{background:#eee;width:60vw;margin:15vh auto;font-family:system-ui,sans-serif}h1{font-size:1.5em}div{opacity:0.8}a:link,a:visited{color:#348}</style></head><body><div><h1>Example Domain</h1><p>This domain is for use in documentation examples without needing permission. Avoid use in operations.</p><p><a href="https://iana.org/domains/example">Learn more</a></p></div></body></html>

----------------------------------
Reading it from the top:
The first nine lines are not your sketch. ESP-ROM, SPIWP and the three load: lines are the chip's built-in bootloader reporting for duty before your program has started. They print on every reset, in every example, and that is entirely normal. Your sketch begins at the blank line, with Wi-Fi GET Request Example.
Count the dots to see how long the connection took. Six dots here, one every half second, so this board was on the network in about three seconds. Anything up to ten or so is ordinary. A row that keeps growing past twenty or thirty is the symptom described earlier: wrong password, or a 5 GHz network.
IP Address: 192.168.75.75 is what this particular router handed out. Yours will differ, and a number starting 192.168. or 10. is the normal shape for a home network. Make a note of it; example 6.2 uses it.
HTTP Response Code: 200 is the important line. It means a real server on the internet received the request and answered properly.
Everything between the dashed lines is the reply. It is HTML, the same text your browser downloads when you visit example.com, before it turns the markup into a heading and a paragraph on screen. You can pick out <title>Example Domain</title> and the sentence beginning This domain is for use in documentation examples. Your board has just read a web page.
Serial.println(payload) adds a second one after it.If it does not work
- Dots that never stop. The credentials are wrong, or the network is 5 GHz, or the router is out of range. Check the SSID and password for capital letters and stray spaces. The quotation marks must stay, but nothing should sit between them and your text.
- Unreadable symbols instead of words. The Serial Monitor is at the wrong baud rate. It must be 115200.
- Nothing at all. Either the monitor opened after the burst had already passed (press
RST), or the board is not on the port shown at the top of the window. On Windows, a board that never appears as a port at all needs the CH340 driver. - A negative response code. The board reached the network but could not reach the site. Usually the network itself has no working internet connection, or a guest network is blocking outbound requests. The sentence printed after
Request failed. Error:narrows it down.
Full example
Check out the full example code on the link below:
6.1_Connecting_and_Getting_Data.ino
Example that shows how to connect the NULA MINI board to a Wi-Fi network and make an HTTP GET request to example.com, printing the reply to the Serial Monitor.